Note: This lesson is rather easy, so I recommend completing it soon so we can move on to the next one - the course is long.


Note: This lesson is rather easy, so I recommend completing it soon so we can move on to the next one - the course is long.
Last edited by Goofy; May 29, 2012 at 09:24 AM.


I had some free time so I decided to do it right now. Are they any good?
Spoiler Alert, click show to read:
Spoiler Alert, click show to read:
EDIT:
Spoiler Alert, click show to read:
Spoiler Alert, click show to read:
Last edited by NekoGenijalan; May 04, 2012 at 10:16 AM.
It's nice to see you're eager to start.Originally Posted by NekoGenijalan
Oh well, I didn't remember to mention that try to keep the outcome quite natural-looking.
So, the upper one has way too much green. Usually when you're playing with the Colour Balance function you should keep the new values between -15 and 15. However, the second one is actually pretty nice (yet not natural), although you may want to reduce the amount of black (or decrease the duplicated layer's opacity value - if there is one, I can't actually tell by that picture). You can also use the Color to Alpha function (Colors > Color to Alpha) to make black transparent on the new layer.
It would be good if you wanted to edit the pictures in a little more moderate way.
Remember - on this lesson you don't have to edit the images very much, just a little retouching on colours and contrast.
I'll be editing the lesson on some parts - that will mainly include minor changes and additional notes.
Last edited by Goofy; May 04, 2012 at 09:40 AM.


")
")
")


")
")
")
")
Use all the techniques on the two images or one technique on each?
Spoiler Alert, click show to read:
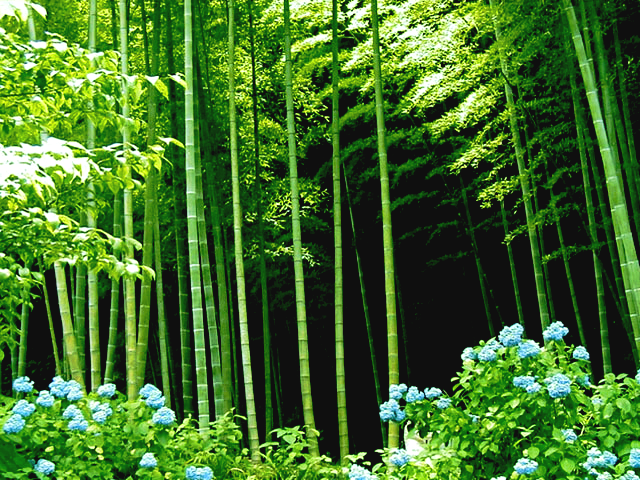
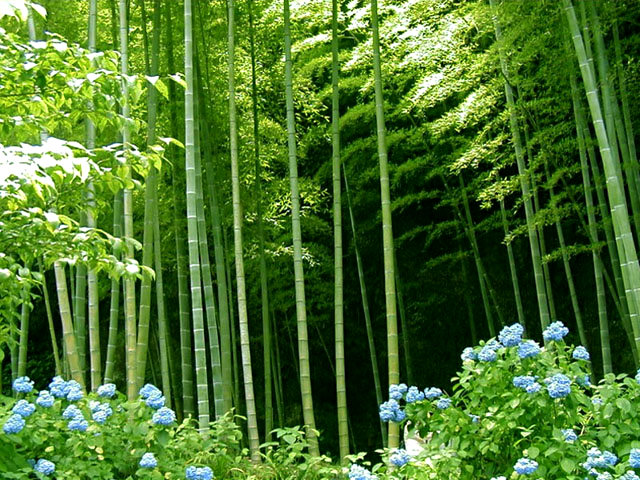
As you can see I tried to make the bamboo look like it was taken with a camera from the 1960s.
Last edited by Legio; May 04, 2012 at 10:29 AM.
Oh, that was taken into account in the original homework description - then I edited it the way it now appears (so the description doesn't actually mention that). But I just added this tip (I don't know if you posted before I added it):
So, do anything you want - but make sure you use at least two techniques (all in all).Mix the techniques I have taught above
You can use all the four techniques in the same image if you choose, but the result may not be very great-looking.
EDIT: Great work Legio! Passed!
Yeah, it looks actually quite nice - the only flaw is the leaves on the left and in the middle: they're all-white, but that is due to the original image, so, great work as I said.As you can see I tried to make the bamboo look like it was taken with a camera from the 1960s.
PS. Could you please put the images in spoilers?
EDIT2: NekoGenijalan: nice work - passed!
Last edited by Goofy; May 04, 2012 at 03:09 PM.
")

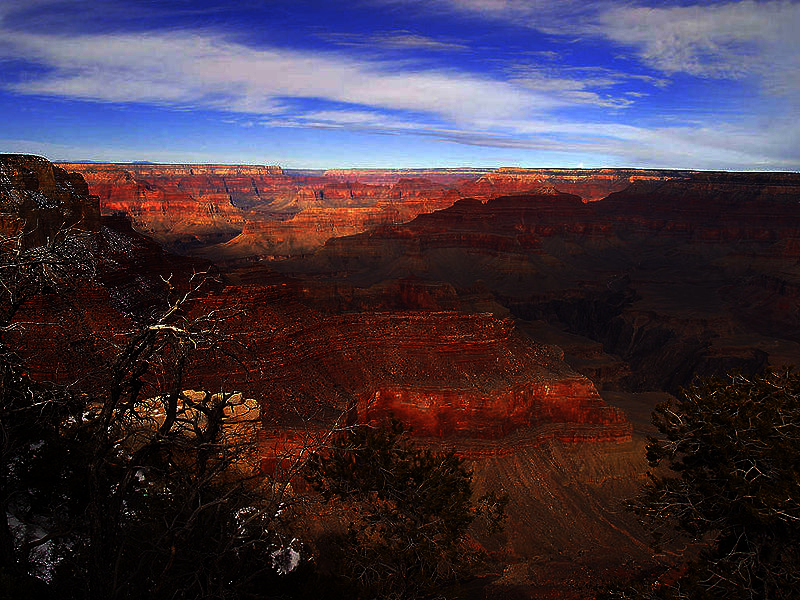
Reddish sundown thing, it might have made the sky a bit too purple.Spoiler Alert, click show to read:
Spoiler Alert, click show to read:
Last edited by Kameraden; May 05, 2012 at 04:05 AM.
I can post
Pic 1
The orginal:
Spoiler Alert, click show to read:
My version:
Spoiler Alert, click show to read:
I think I might have gone OTT with the colour correction on blueAnd the duplicate layer is set to 25%
Pic 2
The original:
Spoiler Alert, click show to read:
My version:
Spoiler Alert, click show to read:
I think maybe it's a bit over-contrasted, but I wanted to try and get across a 'dark' sort of atmosphereThe the duplicate layer is set to 50% on this one
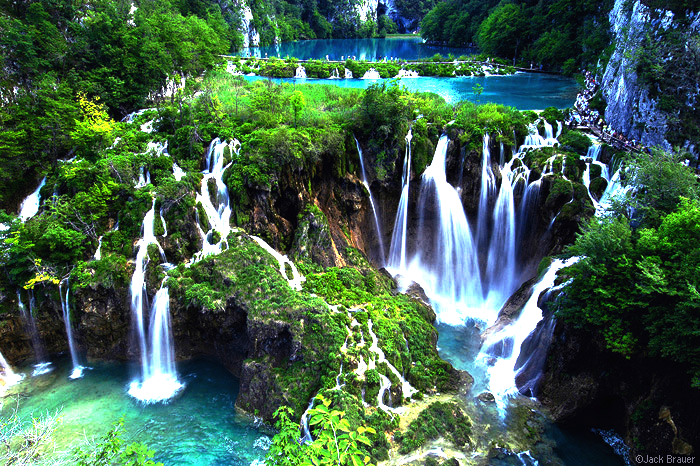
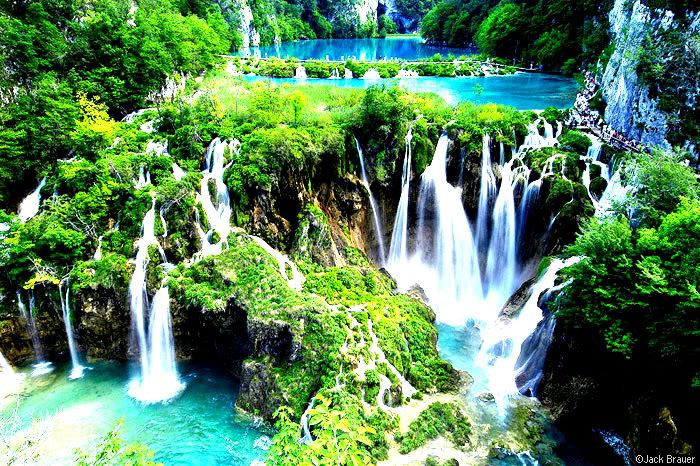
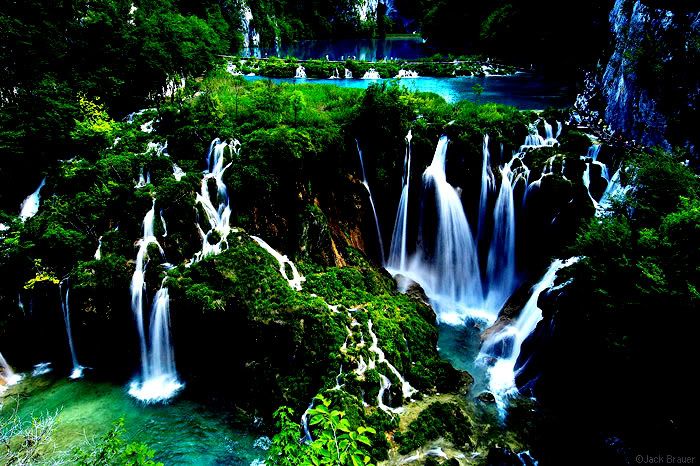
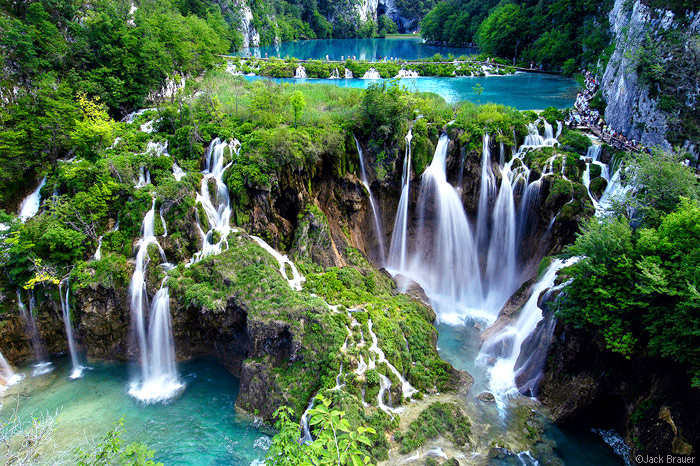
NekoGenijalan I really liked your original waterfall oneT's a shame teach didn't allow it

*quickly looks up at the profs face, I didn't mean it sir, honest*
Last edited by Shankbot de Bodemloze; May 04, 2012 at 01:46 PM.
THE WRITERS' STUDY | THE TRIBUNAL | THE CURIA | GUIDE FOR NEW MEMBERS
PROUD PATRON OF JUNAIDI83, VETERAAN & CAILLAGH
UNDER THE PATRONAGE OF MEGA TORTAS DE BODEMLOZE

")
")

")
")
First Image
Spoiler Alert, click show to read:
Second Image
Spoiler Alert, click show to read:
Personally I really like how my sky turned out in the second image
Last edited by TheDarkKnight; May 04, 2012 at 02:30 PM.
Things I trust more than American conservatives:
Drinks from Bill Cosby, Flint Michigan tap water, Plane rides from Al Qaeda, Anything on the menu at Chipotle, Medical procedures from Mengele
Indeed, it's not as purple
THE WRITERS' STUDY | THE TRIBUNAL | THE CURIA | GUIDE FOR NEW MEMBERS
PROUD PATRON OF JUNAIDI83, VETERAAN & CAILLAGH
UNDER THE PATRONAGE OF MEGA TORTAS DE BODEMLOZE
Here is my work. Hope it works.
Original
New
Original
New
I hold the blitz record for Medieval II (106 region in 7 turns) set in January 2024.
Check out my Youtube Channel: CosmicConqueror
Proud Member of TWC since 2011!
I like how on the second one you've gone lighter instead of darkerMaybe be a bit too bright?
I'm a big fan of high-contrast so you first I think is
Last edited by Shankbot de Bodemloze; May 04, 2012 at 02:17 PM.
THE WRITERS' STUDY | THE TRIBUNAL | THE CURIA | GUIDE FOR NEW MEMBERS
PROUD PATRON OF JUNAIDI83, VETERAAN & CAILLAGH
UNDER THE PATRONAGE OF MEGA TORTAS DE BODEMLOZE
Well, maybe - that is good enough though. I'm still waiting for the other image.
On the other hand note it is easier to make a "reddish sundown thing" by using a new layer (mode set to Overlay) and a transparent-to-red gradient. We'll use gradients on Lesson 3, but if someone got interested and can do that with these short instructions, feel free to try.
I think you've added too much cyan and yellow - look at the pond above the waterfall for example. You can see the image is "burnt" - with this I mean that it is too bright in that part.
Try to do the same with more moderate changes.
The fault can be mine, though - the homework description for this lesson is a bit confusing. You shouldn't apply too many techniques to one image.
Reducing brightness or adjusting the curves without the contrast increasing too much may be a good idea. A gradient would work well also, but I don't (as said above) expect you to be able to use them at this point.
I liked it as well, but I'd like to see even better work by him.
That's it - you're off to the detention!
It has a pretty decent effect indeed. Too bad the image is a bit of low quality; the shrub on the left looks weird because of the high contrast. Good work on that image though!
As it comes to your first image, I think you have the same issue as Shankbot12 - you have either added too much colour (in your case mainly green/yellow) or applied too many techniques on the same image.
On the first image - very good, but the contrast is way too high. And as Shankbot12 said, the second image may be a bit too bright.
I think you (Shankbot12, Gen. Chris and King William the Conqueror) should make a little more temperately edited versions - try to keep the look quite natural!
Don't give up yet, and don't take my critic personally - I'll do my best to make you learn! Legio's results are pretty good - look at them if you need more examples!
Last edited by Goofy; May 05, 2012 at 01:40 AM.
Okay
So you need a new one of both or of just the second one?
Original
New
Last edited by King William the Conqueror; May 04, 2012 at 02:35 PM.
I hold the blitz record for Medieval II (106 region in 7 turns) set in January 2024.
Check out my Youtube Channel: CosmicConqueror
Proud Member of TWC since 2011!
Actually that was the effect I wanted for my first one. And I only used one technique.
EDIT
How's this instead?
Spoiler Alert, click show to read:
Last edited by TheDarkKnight; May 04, 2012 at 02:29 PM.
Things I trust more than American conservatives:
Drinks from Bill Cosby, Flint Michigan tap water, Plane rides from Al Qaeda, Anything on the menu at Chipotle, Medical procedures from Mengele
*Shankbot12 storms off out of the class whilst mumbling back to the drawing board - and I've got the bloody detetention! Thanks a lot teach you little -
"Ah Shankbot12, what were you about to say?" The teach booms, leaning over from the desk.
"Nothin' sir, I swear down," comes the mumbles reply, as Shankbot12 stuffs his hands in his pockets and carries on walking out.*
I'm on it profIf not just let me know... I don't want another detention
EDIT: *he runs into Gen in the hall. "Hey Gen wasup!" Shankbot12 says, trying his best to impersonate a 'bad-man'
"Nothing just finished my second attempt is all." Gen says, showing of his new work to Shankbot12, or Shankzzz as he wants to be called
"Nice!" says Shankbot12 with a clap of approval before storming even more angrier than before, at least someone else has finished.
"Cheers, bye, bye, bye," Gen says running off back into the class.*
Last edited by Shankbot de Bodemloze; May 04, 2012 at 02:37 PM.
THE WRITERS' STUDY | THE TRIBUNAL | THE CURIA | GUIDE FOR NEW MEMBERS
PROUD PATRON OF JUNAIDI83, VETERAAN & CAILLAGH
UNDER THE PATRONAGE OF MEGA TORTAS DE BODEMLOZE
You don't exactly have to do any improvements - I just want to make you do your best. Also, to prevent this thread turning into a general graphics discussion I'll just point out the things you might want to change, and you can then decide if you do that or not.
You have all passed the lesson (except Kameraden).
I would like to see a less dark version of the first image, if you don't mind.
Ah, I see. You can't tell at a glance which techniques have been used. And if that was the effect you wanted, then I'm all fine with it.
I prefer the first one - this is too dark.
You can do that if you want.I'm on it prof
When you decide to improve your results, please start it from beginning - open the original image and start working on it again.
EDIT: Good work with the new one, William!
Last edited by Goofy; May 04, 2012 at 03:18 PM.
...So...Recess time?
Things I trust more than American conservatives:
Drinks from Bill Cosby, Flint Michigan tap water, Plane rides from Al Qaeda, Anything on the menu at Chipotle, Medical procedures from Mengele
Thanks.
Here is the first one redone.
Original
Old
New
Last edited by King William the Conqueror; May 04, 2012 at 02:57 PM.
I hold the blitz record for Medieval II (106 region in 7 turns) set in January 2024.
Check out my Youtube Channel: CosmicConqueror
Proud Member of TWC since 2011!
Sir, I'll stop the talking

Here we go (again): - using the orgianl images and doing the dual save thing
Photo 1
The original;
Spoiler Alert, click show to read:
My new version:
Spoiler Alert, click show to read:
No layers this time, and a gentler touch with the colour correction
Photo 2
The original:
Spoiler Alert, click show to read:
My new version:
Spoiler Alert, click show to read:
Again, overall just a gentler touch
Hope these are better sirIf there not just let me know and I'll give it another shot
Last edited by Shankbot de Bodemloze; May 04, 2012 at 03:12 PM.
THE WRITERS' STUDY | THE TRIBUNAL | THE CURIA | GUIDE FOR NEW MEMBERS
PROUD PATRON OF JUNAIDI83, VETERAAN & CAILLAGH
UNDER THE PATRONAGE OF MEGA TORTAS DE BODEMLOZE
@Gen. Chris: Yes. The next lesson will be posted on Tuesday or Wednesday.
@King William the Conqueror: I think you should reopen the original image and then do what you did, but with a softer touch.
@Shankbot12: Great work this time! Even though your touch may just be a little too gentle. And I think the image is all-fine - the exposure of the photo is the reason to the light on the left. You can't change that. And the right side is very good.
Last edited by Goofy; May 05, 2012 at 07:23 AM.
 Posting Permissions

 Reply With Quote


")
")

")