


recently posted this over at rome totalwar heaven.. so i thought id post it here as well...
__________________________
Making faction symbols in Gimp
A tutorial for
Rome: Total War
Introduction: (skip this if you want)
First of all I must say that I am not at all artistic person and so the the finished product of this tutorial may not be up to everyone's standards. But the point of this tutorial is to show the basics to people wanting to learn, who may then explore the possibilities themselves.
__________________________________________________________
IMPORTANT DOWNLOAD THIS: http://www.mediafire.com/?783l45qmlm0yiyp
OK. now to get started.
The symbol we will make in this tutorial is the following:
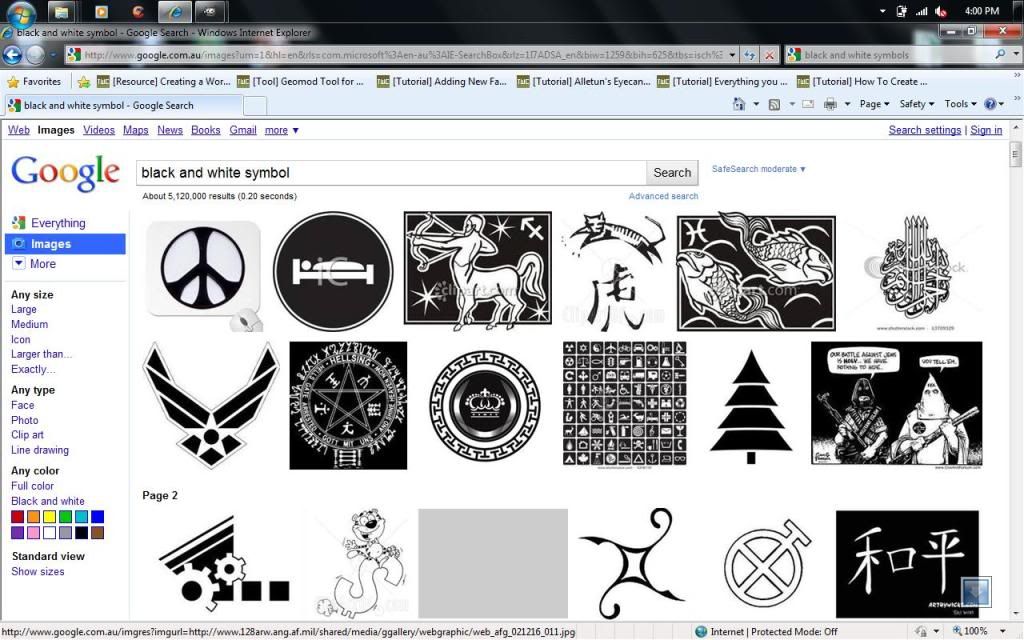
First of all find the symbol you want (I have included the one I use in the .zip file). There are basically two choices with this. You can draw and scan your own, or do the lazy thing like me and go to google.
After simply searching black and white symbol I have found what I want:
Now its time for the real start of the tutorial...
STEP 1:
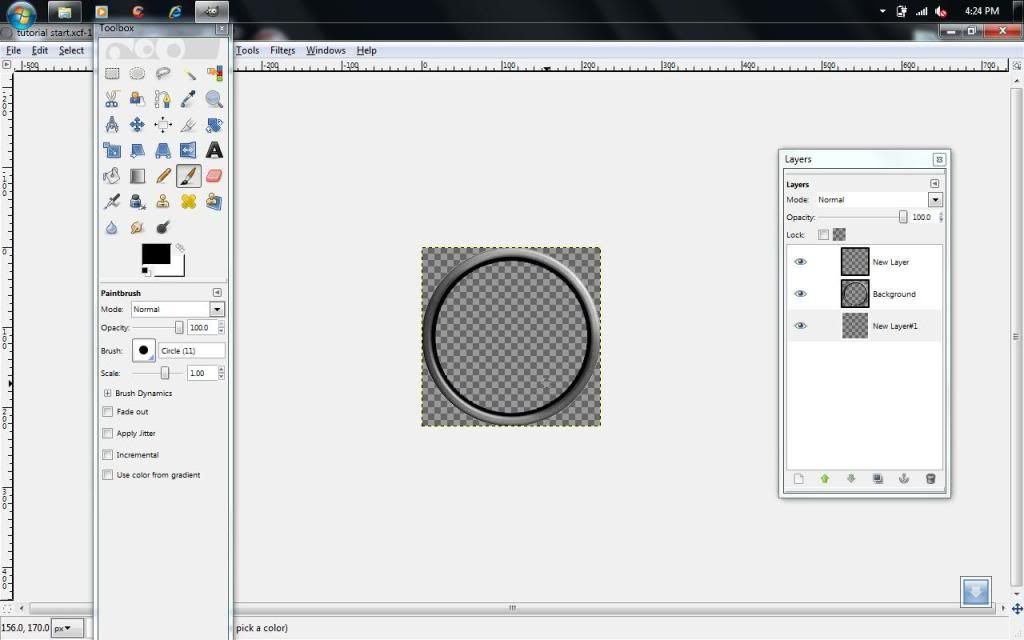
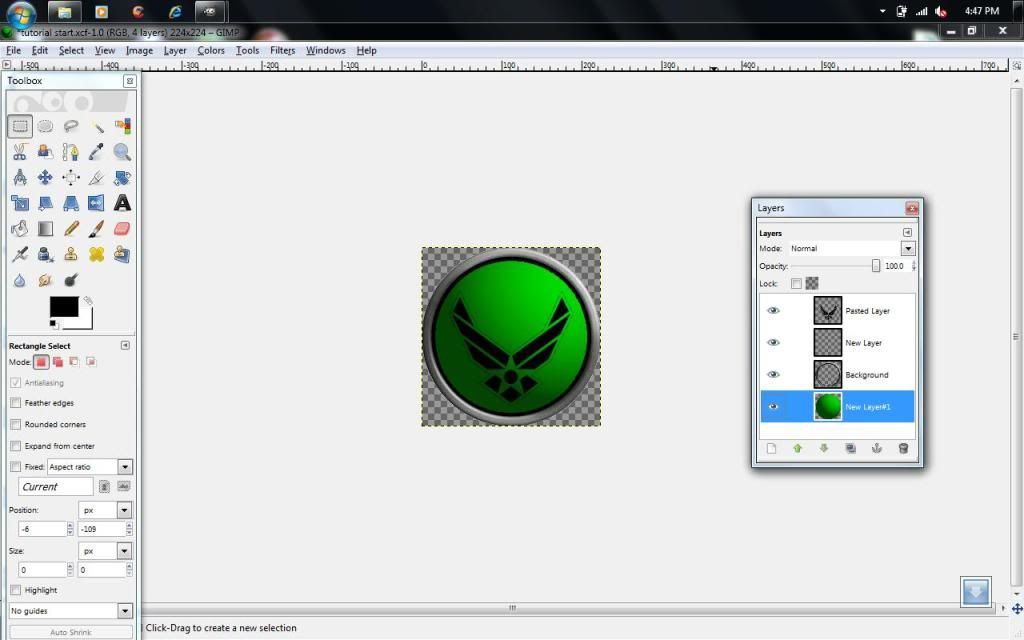
Open up the gimp file named "tutorialstart.xcf" inside the included .zip file and press Ctrl + L to open up the Layers window.
Your screen should now look something like like this.
STEP 2:
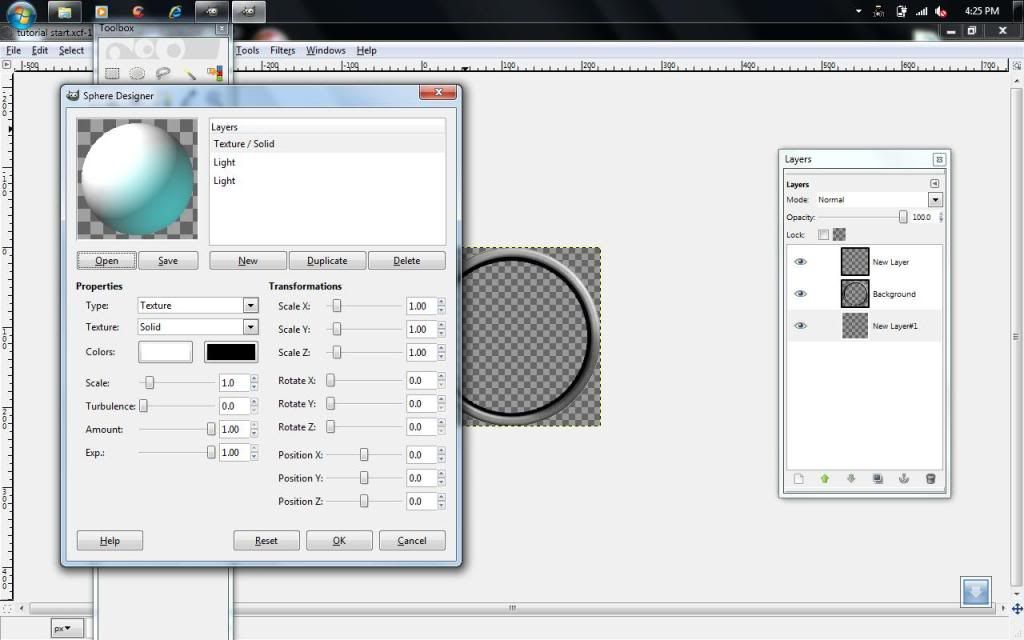
select the bottom layer in the layers window then go to Filters -> Renders -> Sphere Designer. A window like this should pop up like this:
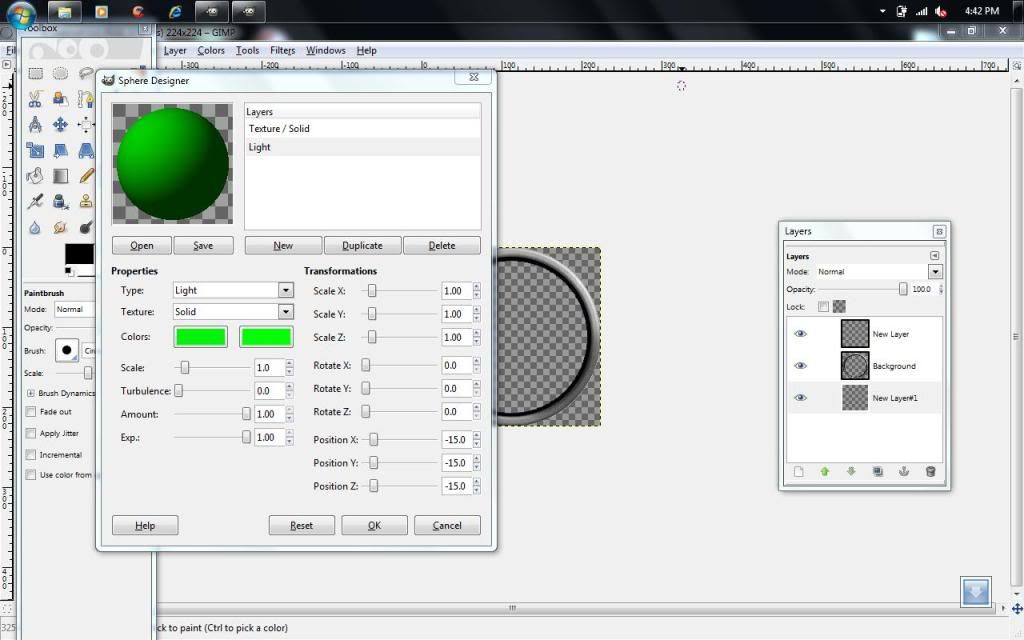
At this point I would recommend deleting the Bottom 'light' layer, after doing so, muck around with the colour setting of both layers until you get the desired look. This is what mine looks like:
Now press ok. The sphere you made should fit perfectly inside the ring. If it does not, check my settings and make sure nothing is set to different levels.
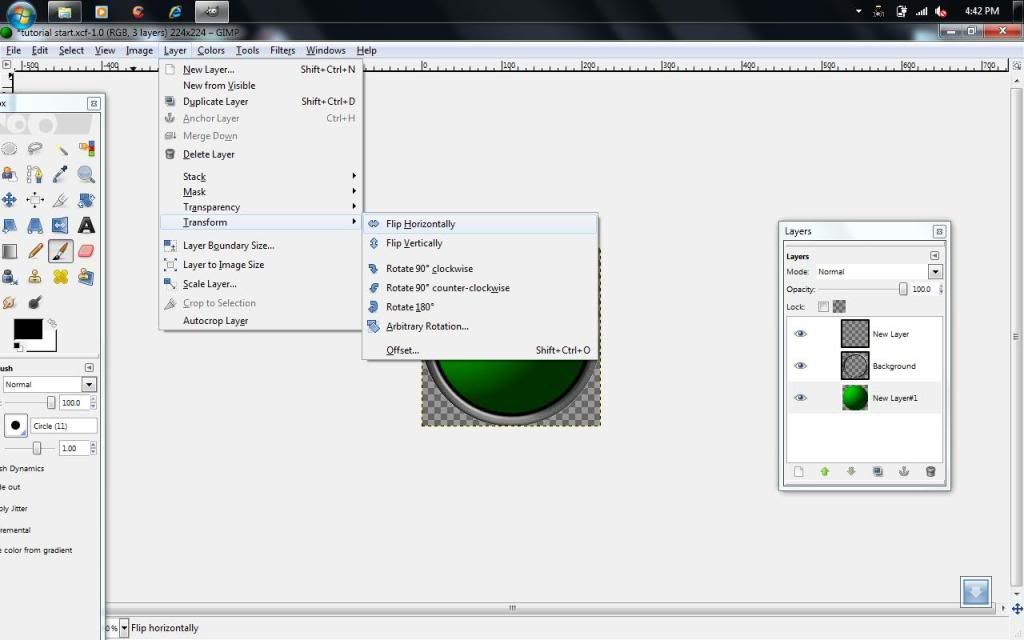
Now go to Layer ¨ Transform ¨ Flip horizontally:
The lightest part of the orb should now be in the top right corner.
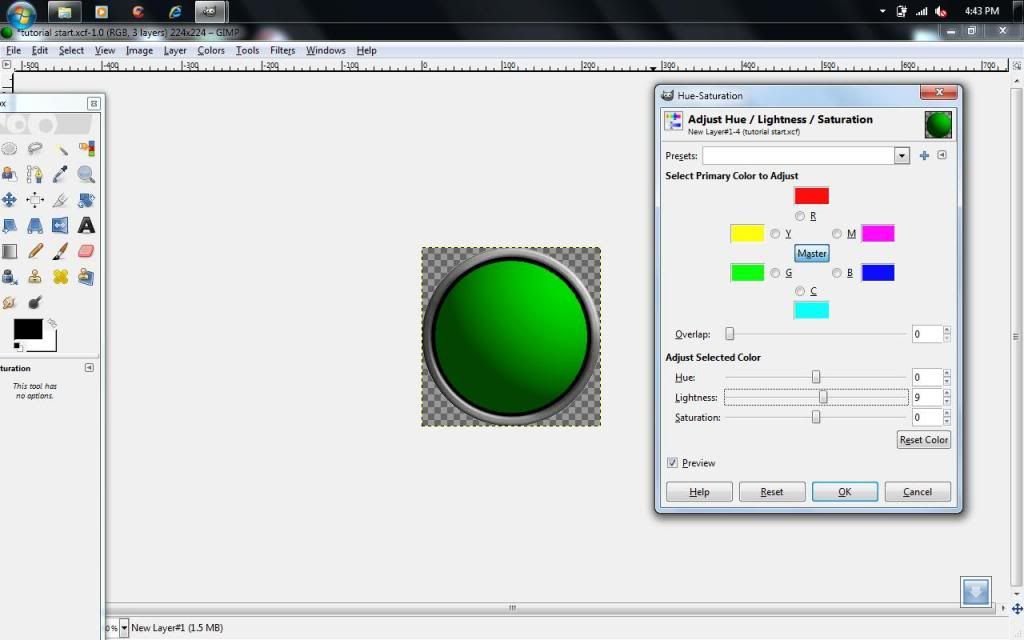
Now its time for some minute tweaking. Go to Colours ¨ Hue/Saturation and tweak the lightness levels so the bottom left of the orb is not to dark:
Great... you now have the base for your faction symbol.
STEP 3:
It is now time to place the symbol onto your base.
First of all open the symbol you found/made at the start of the tutorial.
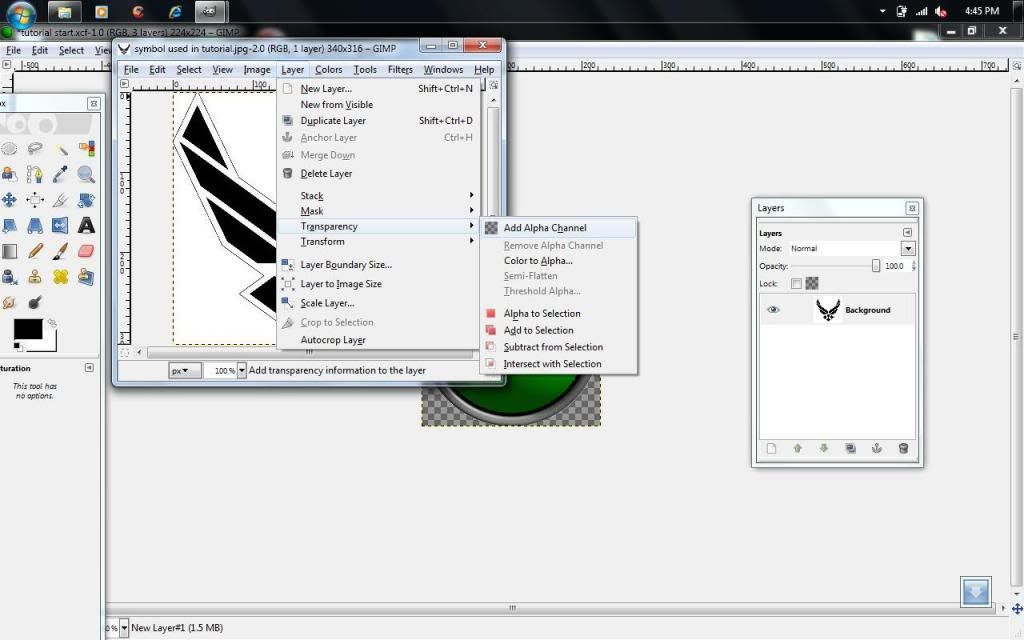
Go to Colours -> Posterize and lower the number to two. Click ok.
Next go to Layer -> Transparency -> add alpha channel. If it cannot be clicked it has already been activated:
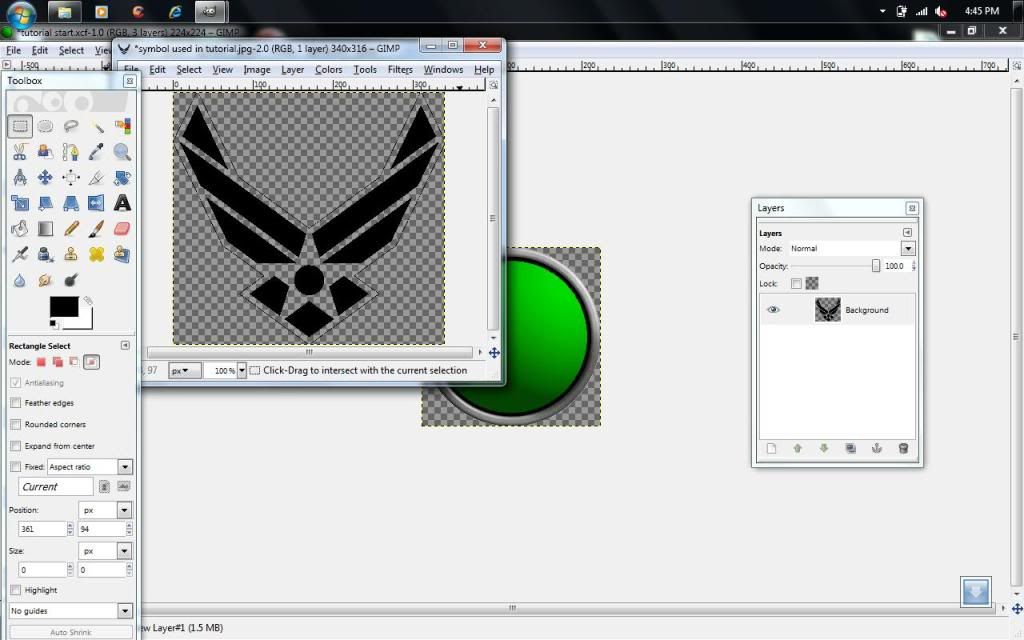
Once this is done select the fuzzy tool (the magic wand, top line, fourth from left in the toolbox) and select and delete all the white on the
picture. It should look something like this:
Select the symbol and copy it to the base. Make sure the top layer is selected and click the new layer icon. (red arrow is pointing at it)
[PNG, (654.38 KB)]
The symbol should now be its own layer. Make sure it is selected before going to Layers -> scale Layer. And slowly scale it down bit by bit until it is the correct size. Move it to the centre of the base using the "move tool" (third row from top, 2nd across from left)
and you should now have a basic symbol.
STEP 4: finishing up
This is an optional step as it is only here to add the flare of light shown in the first picture.
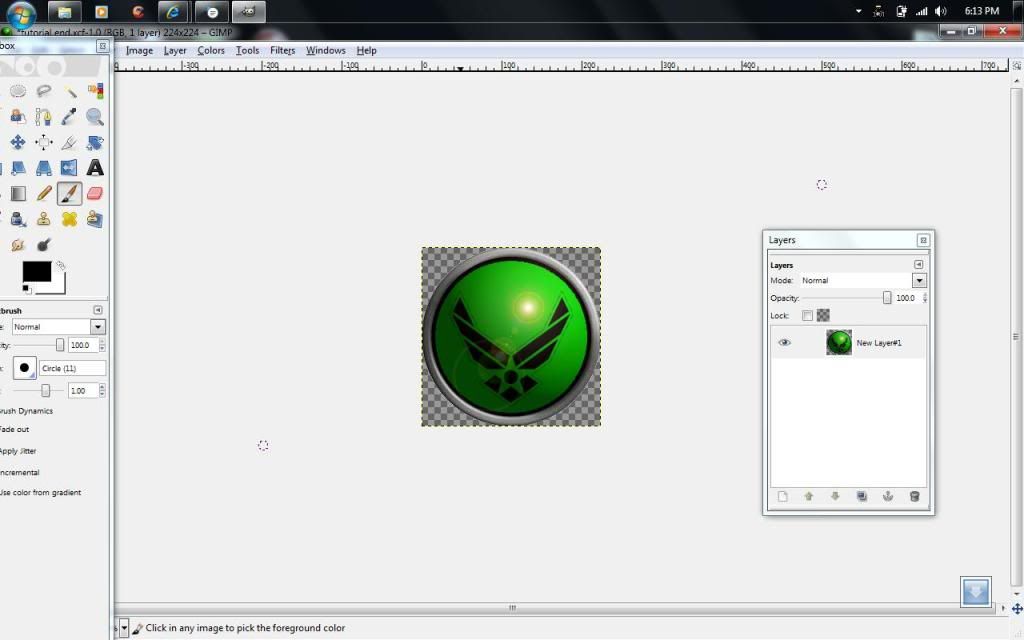
First of all merge all the layers into one:
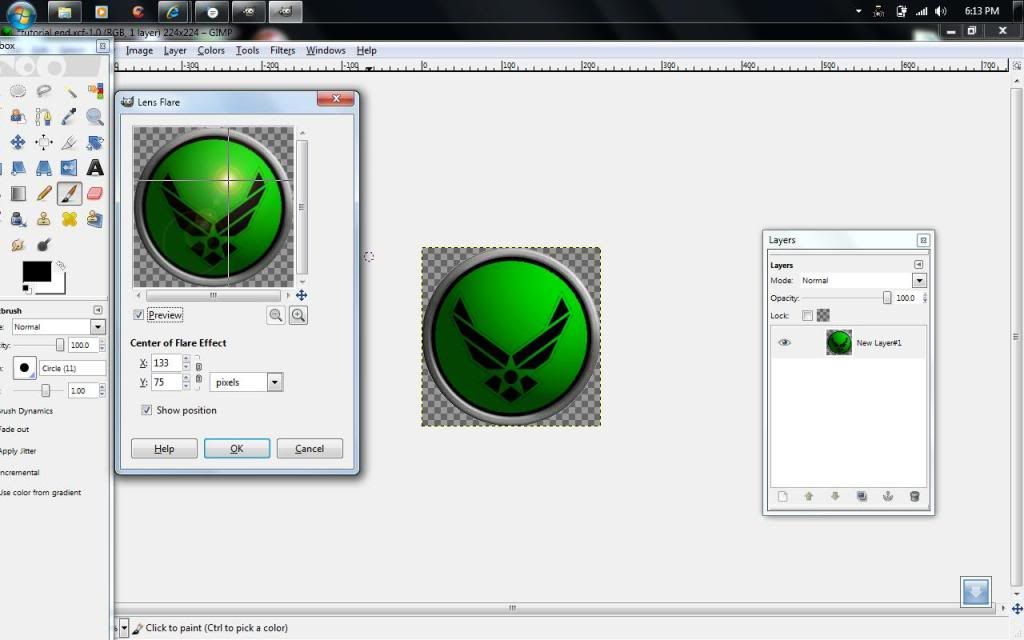
Now go to Filters -> light and shadow -> Lens Flare:
select the position and intensity of the flare and click ok.
You now have your finished product.
____________________________________________________________
Here is a pic of the icon in-game:
[JPEG, (147.72 KB)]
If anyone finds any errors (there are bound to be some) or has any suggestions please post.
EDIT: i noticed the last few pictures are blurry... i will try to correct the problem oh and excuse my bad punctuation i was in a hurry.


 Reply With Quote


")


")


")
")


")


