This tutorial has been a real life saver for me so thanks again  . I'd just like to make an addition to step 3, the "shine" part of the texture. If you want to make HQ normals (like for example in Rusichi), the colours/threshold approach is not the best way, especially if the lightness on various metal parts varies. So instead of threshold, I use colours/desaturate/luminosity and then I also lower the brightness slightly until you get something like this (and of course also paint all the non-metal parts black):
before:
after:
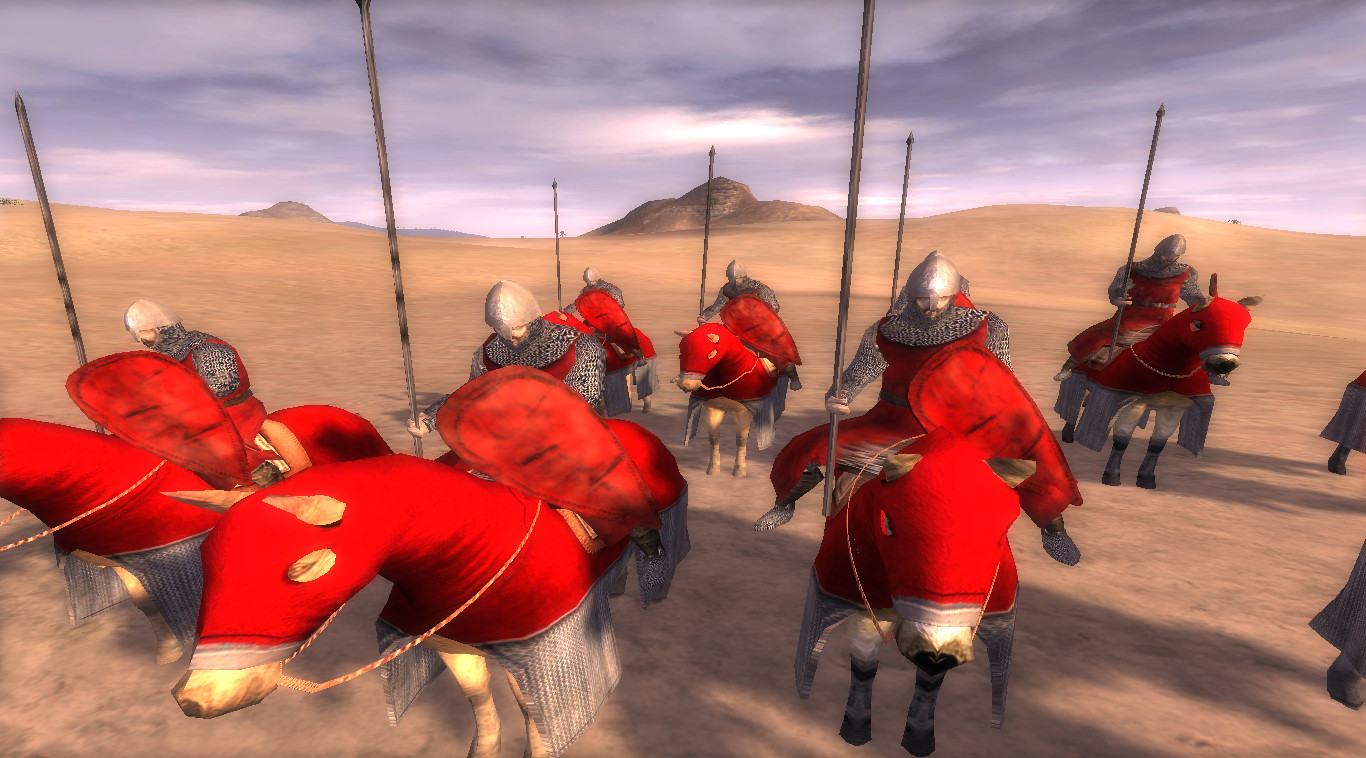
in-game result:


 Reply With Quote

")


