")
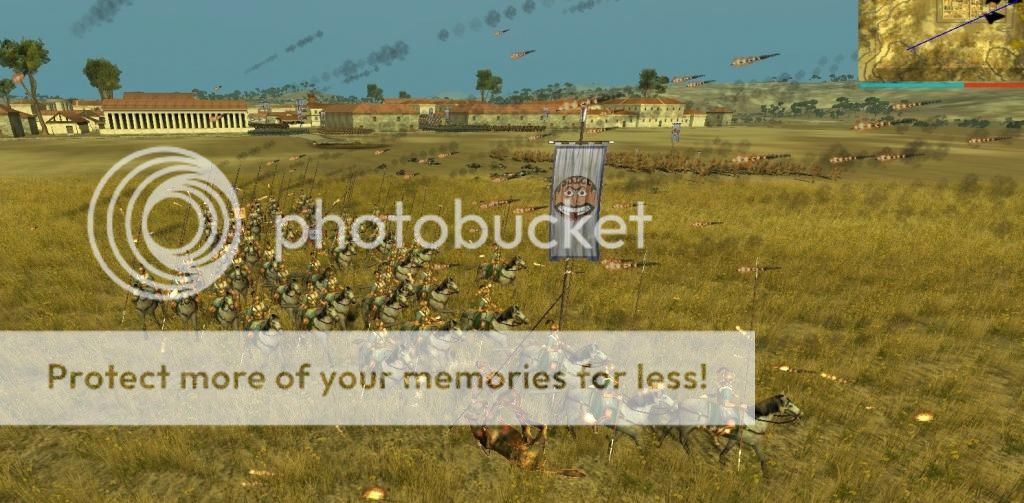
Discussion 1: Slingers.
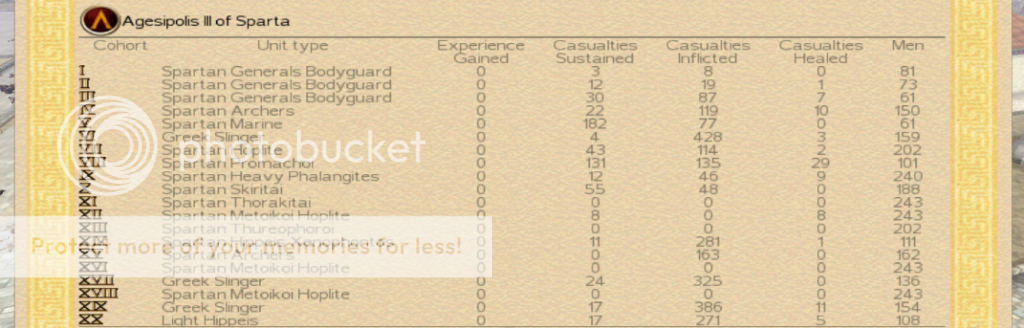
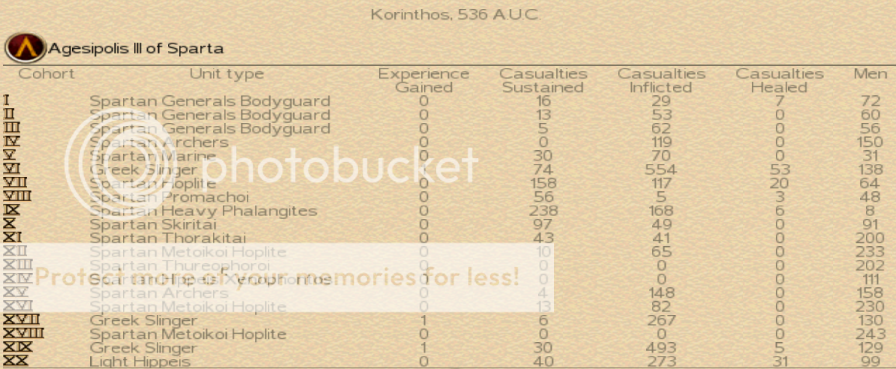
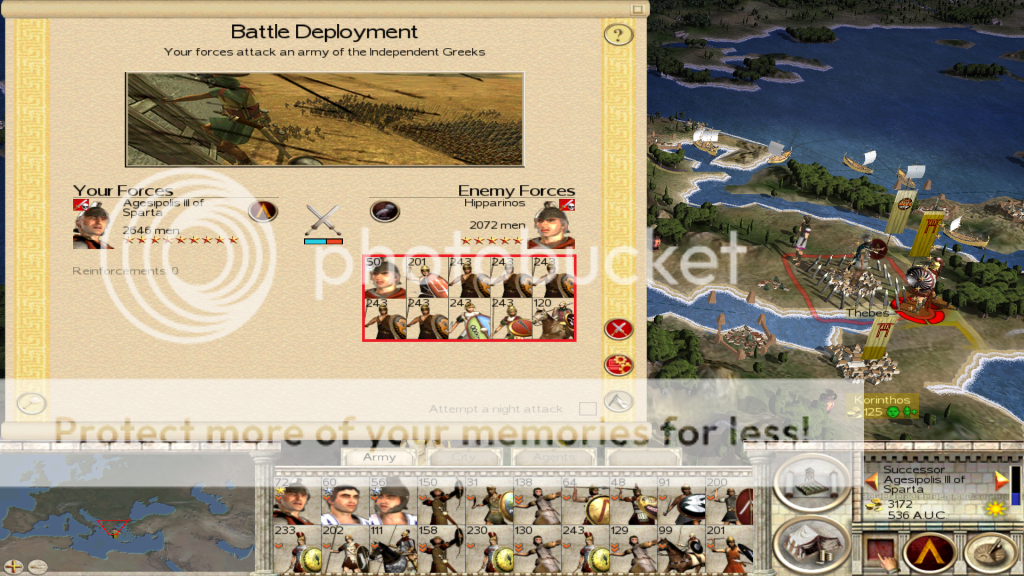
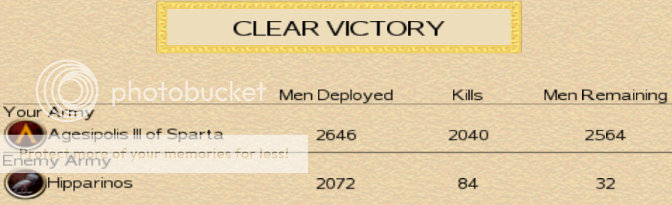
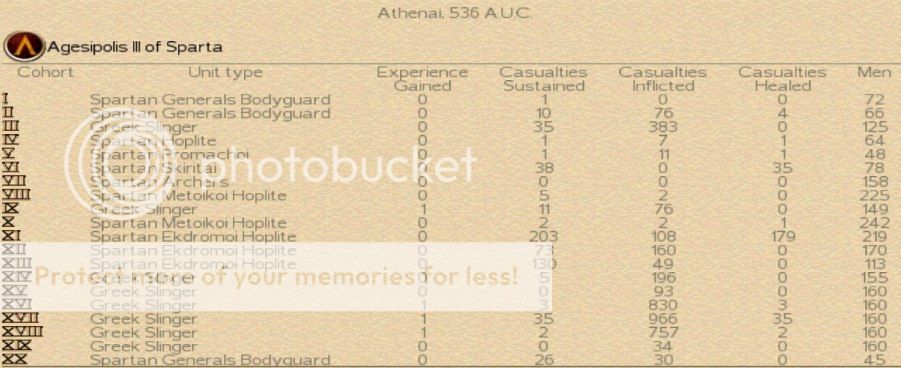
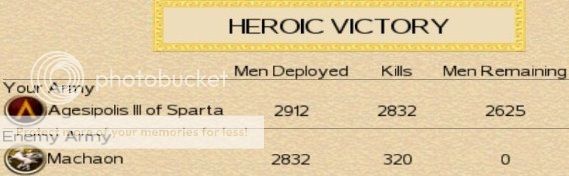
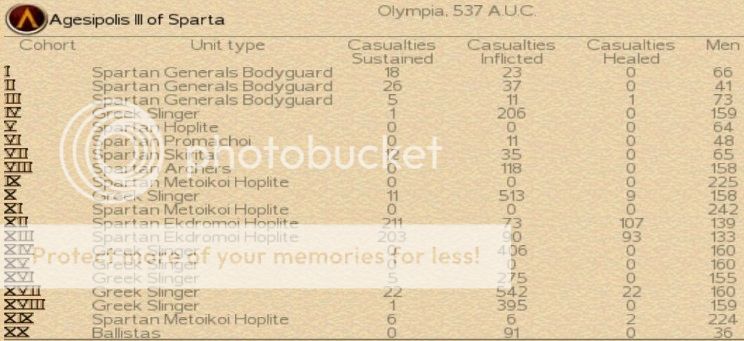
Ok, so if you took a look at the per-unit battle reports:
Spoiler for Numbers:
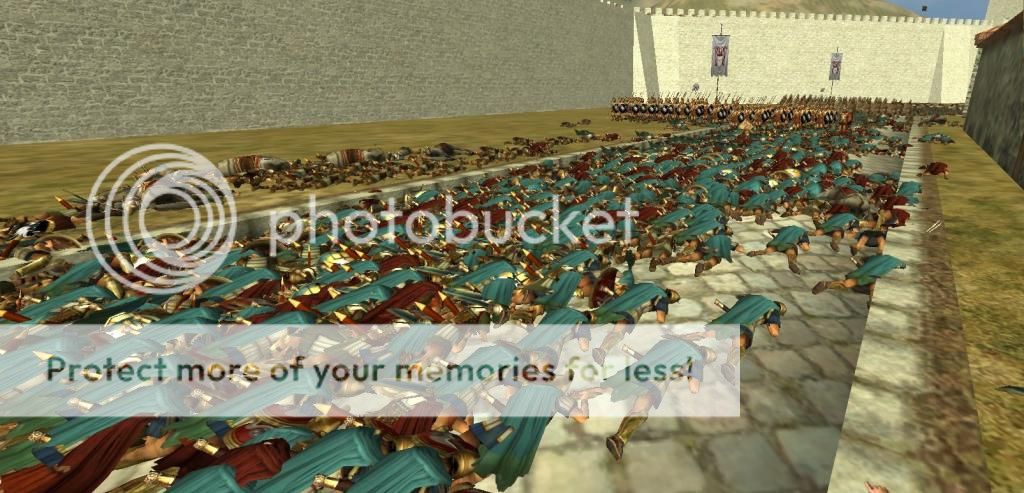
You'll quickly notice that melee units are the bulk of casualties, while slingers are the main killers. Now, this early on it's not so clear, but later battles are much more obviously slanted. Due to the fact that the starting army is not one that I put together.
There's a few reasons for this:
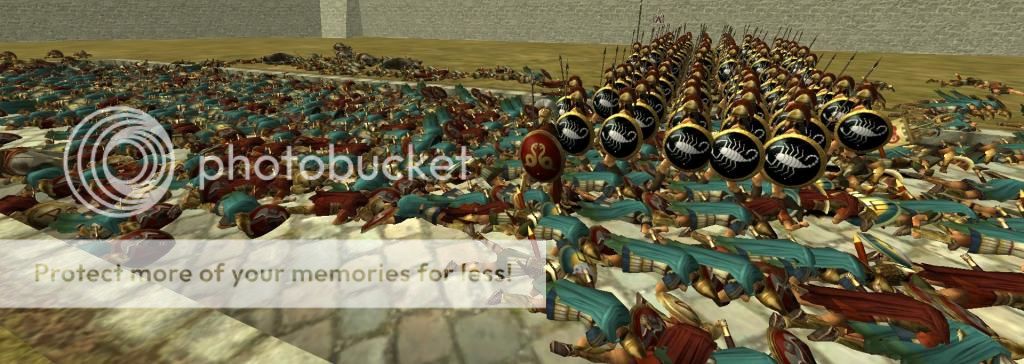
1. Melee fights in RSII take a while. Even elite infantry take a long time to kill low-tier infantry
2. On Very Hard battle difficulty, the AI has large bonuses to attack. As a result, anyone taking hits from AI units will suffer fairly serious casualties.
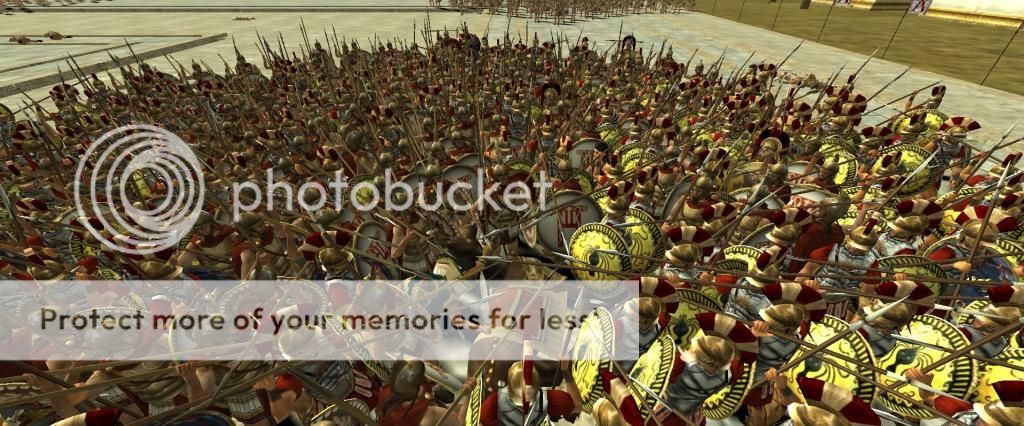
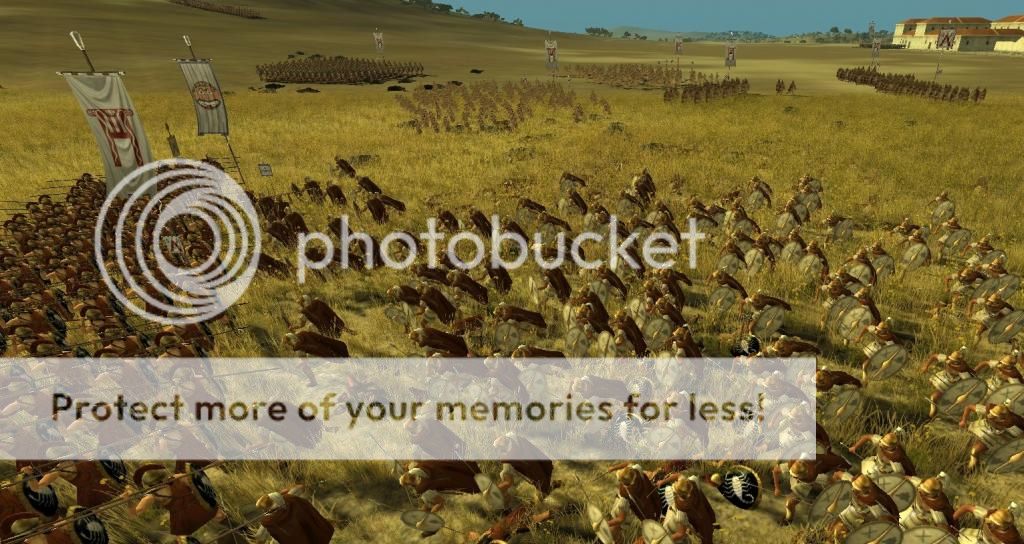
Suppose the AI and you were both fighting head-on using this middle-tier hoplite:
Well the AI's soldier has 20 attack to your 45 defense. Yeah, it takes a while. However, my hoplites will take a lot of losses and they are annoying to replace.
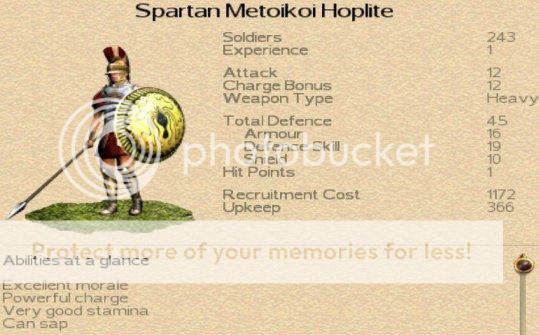
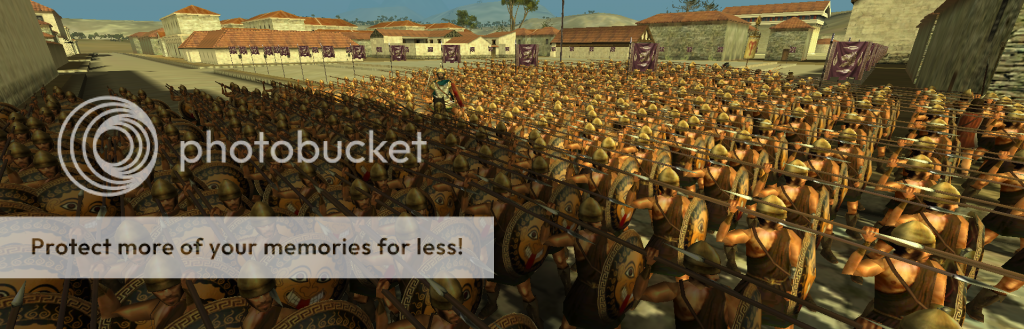
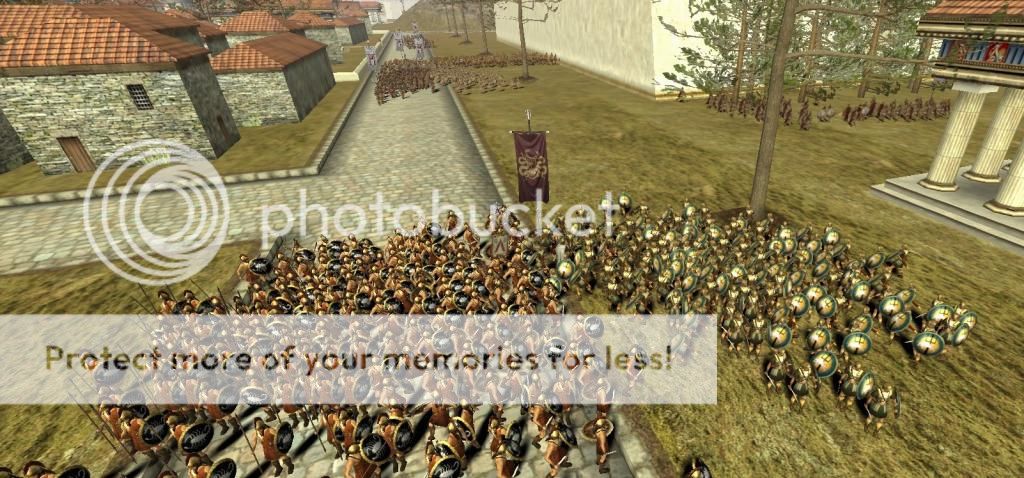
Enter Sparta's favorite hoplite, the Ekdromoi light hoplite:
Do they die faster to enemy melee? Yep. IF the AI's unit would chew though our medium hoplite, they will burn through your light hoplites. But any settlement can, in two turns, churn these out.
Because they are a tier 1 barracks unit.
Now, there's an even better way to hold enemy units (pikemen) but I'll get to that in a bit.
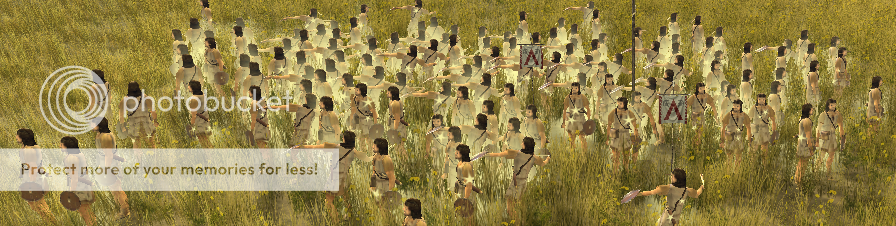
Now, the slinger:
First, the slinger is obviously ranged. Second, the slinger's ranged attack is armor piercing.
There's multiple reasons why the slinger is basically the best way to kill stuff (including your own men, opps)
1. Range means you ignore all enemy Defence skill. This is massive
2. You get all 160 soldiers attacking, without any interruption.
3. Armor piercing means you ignore half the enemy armor.
Now, these slingers aren't really SO great, at 11 attack. However, they are easy to get experience on, as they:
1. Kill armies
2. Don't die
This slinger has 10 base attack, and 1 XP => 11 attack (AP)
Rhodians have 12 base attack. You can quickly get them to 6 XP, and upgrade them for 2 more damage => 20 attack (AP)
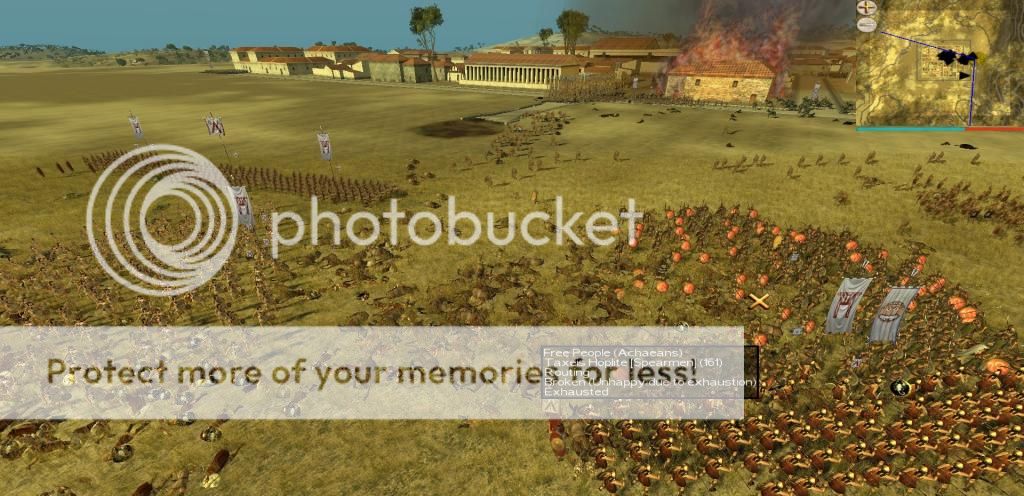
Now, one last issue. Ammo. With 4 units of high XP upgraded Rhodians, you can probably use them to dispatch the better part of 3000 heavily armored Romans.
1. On the field, routing frequently occurs by the time you've killed about half the enemy.
2. In sieges, you can bring up some reinforcements, having your empty slingers withdraw.
There's only one more ingredient to remember with slingers:
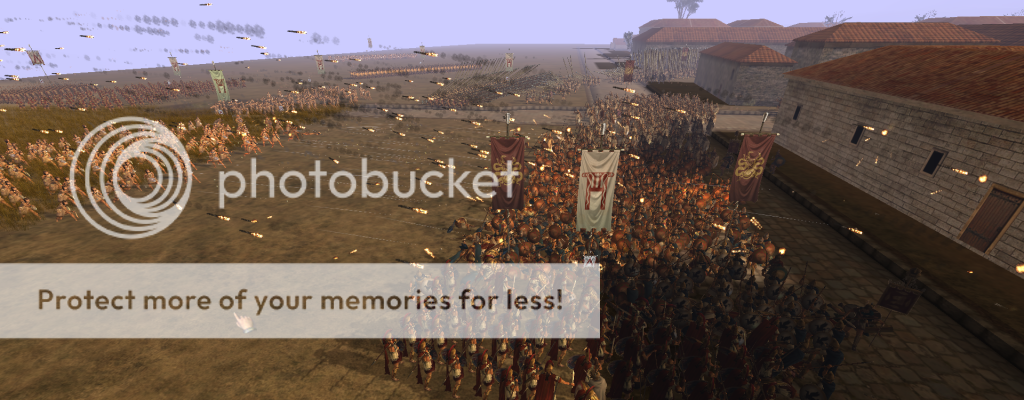
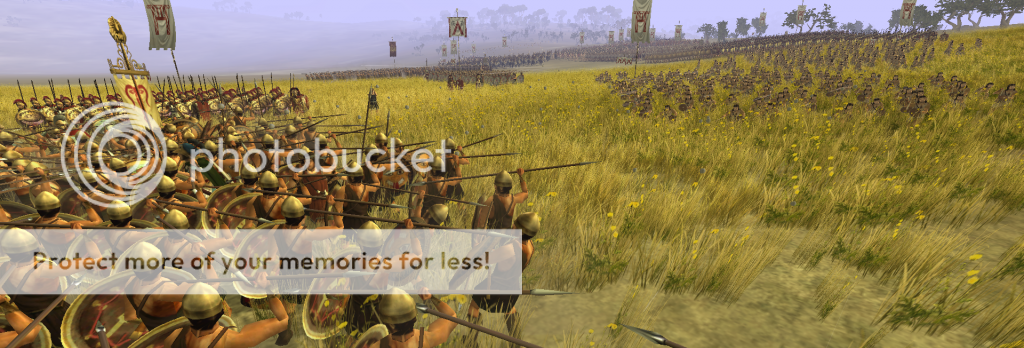
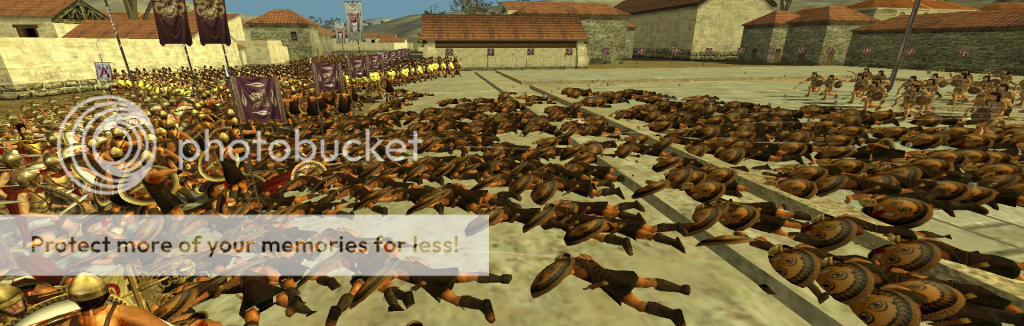
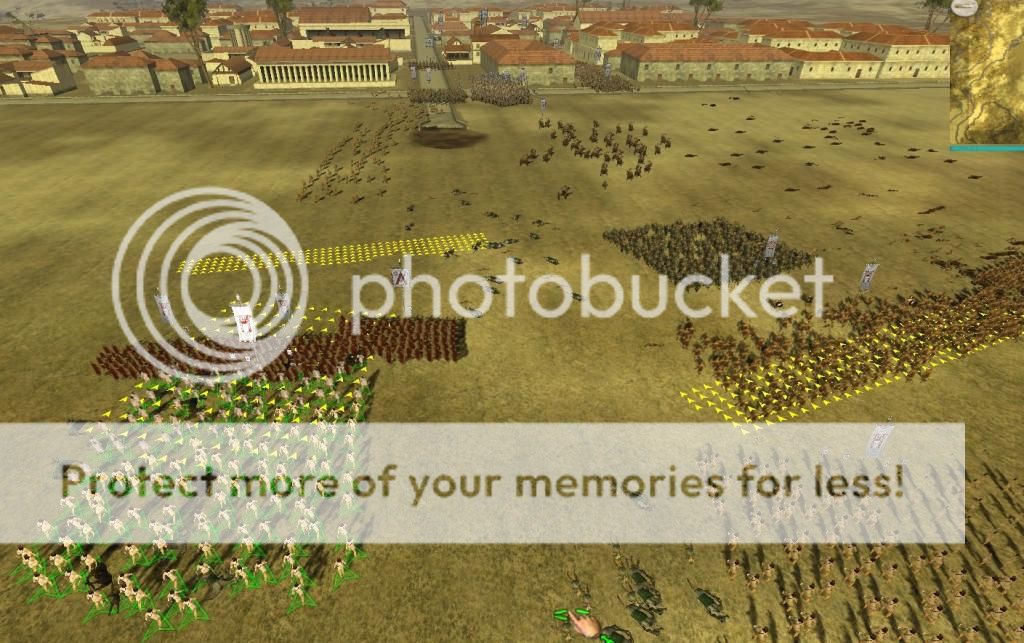
You want to flank. Or better yet get at the rear and totally ignore their shield stat. It helps to know that AI melee units generally do the following:
1. They try to face the unit they are fighting head on.
2. They don't try to move away or engage anyone else unless they have been attacked in melee.
#2 is important. Once you have pinned units (look for the status: Fighting) you can get really close to them and murder them.
#1 is a bit more subtle. If the AI is fighting your infantry in a bad spot, you can have your men move. The AI unit will follow, trying to face your men. This can be used to make the AI turn its men so that they essentially flank themselves. This helps keep your slingers safe.
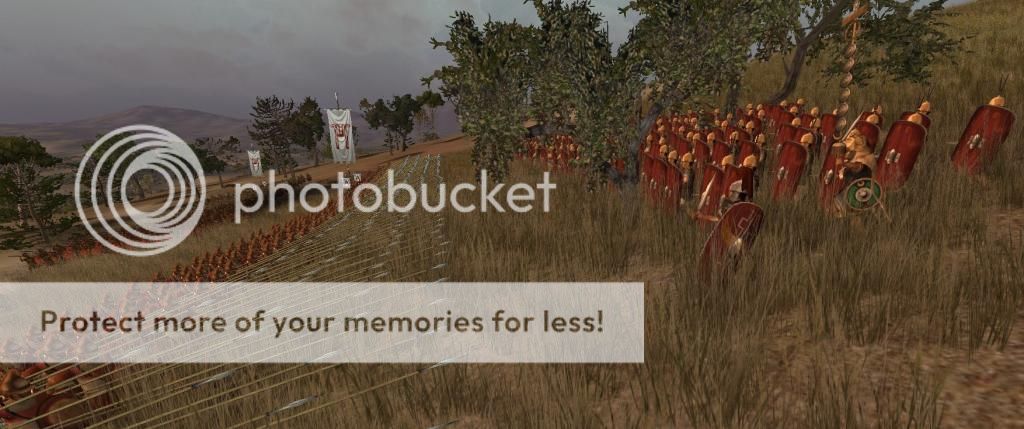
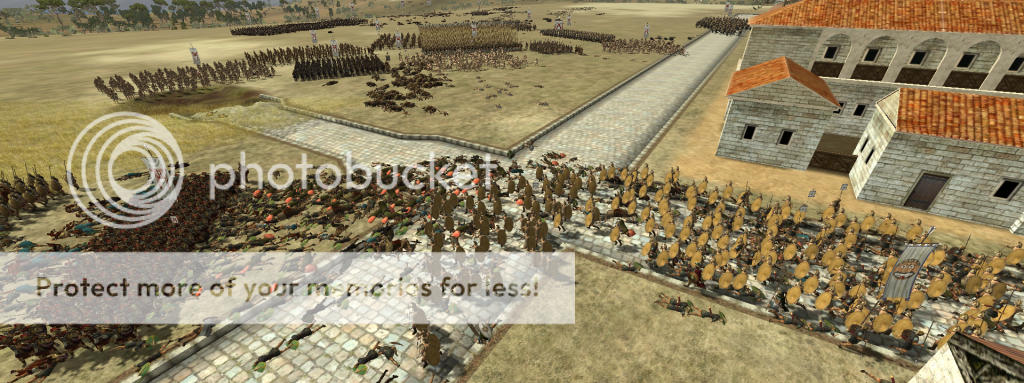
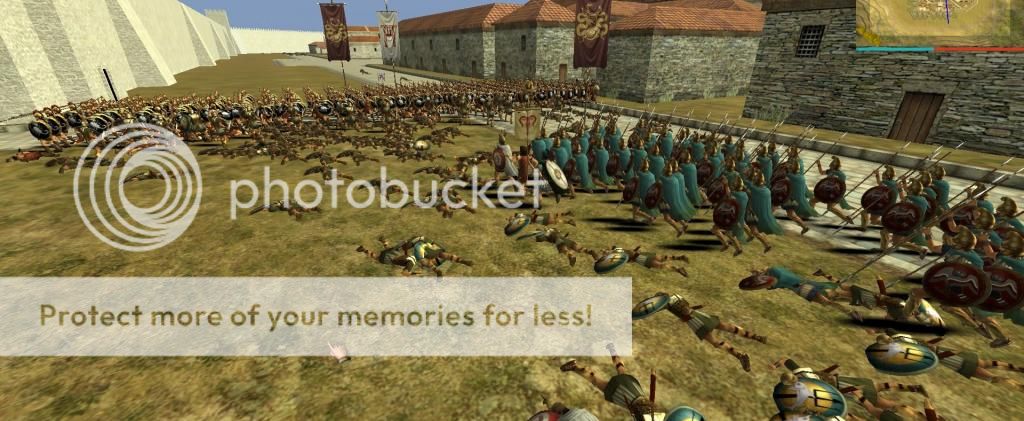
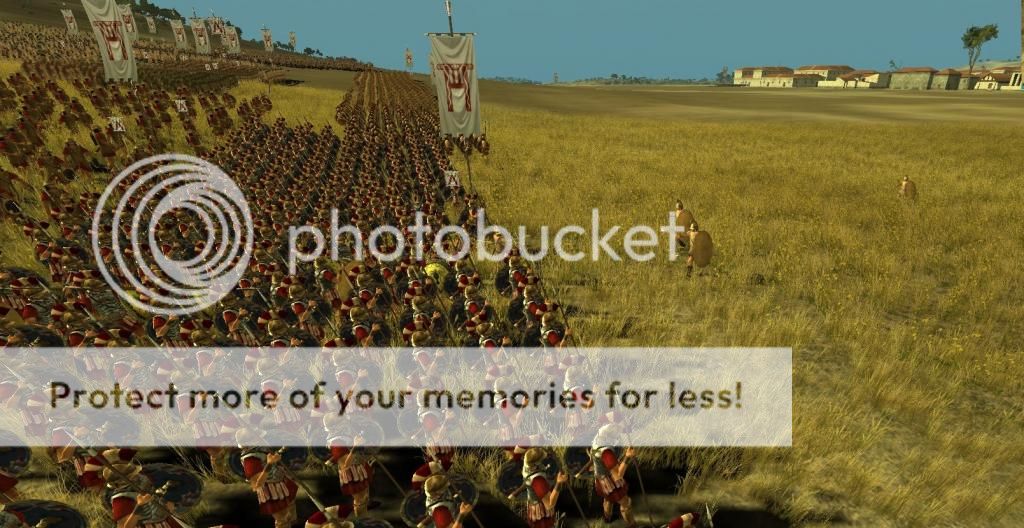
Here, you can see the promachoi are angled so that if you faced them head on, one unit of slingers can shoot your right side, and the other one (further away) can shoot your back.
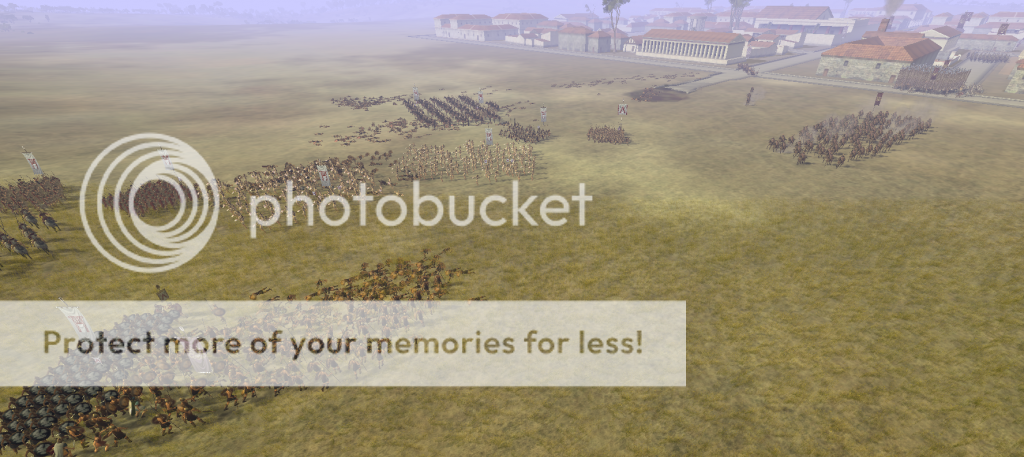
Generally speaking you may want to attack with your hoplites, then order them to run back and reform at an appropriate angle. This makes the enemy infantry face the way you want in a location that is good for you. I sometimes call it microflanking, as you aren't flanking the enemy's battle line, you're just twisting one of their units about to get flank shots in an easy way.
It is easy to get used to microflanking, the most common one is the AI has a unit sent to attack my flank. I intercept it and the units start fighting. I now turn my men so that the AI turns its men, such that slingers behind the end of my battle line can shoot over the battle line into the AI's flanking unit's side.
Alternatively, turn the AI's units the OTHER way (I frequently don't have extra slinger behind my line). As a result, now my flanking slingers have an easy shot at the unit that was trying to attack them, without having to move forward too much. You always want to have at least one unengaged unit of hoplites before trying to move your slingers forward on a flank - the AI will see and try to intercept. You need to intercept that, and kill them. Thus I use two units of slingers and two units of hoplites on each flank. They operate in slinger-hoplite pairs.
I often have a fifth unit behind the center so that I can shoot the enemy general or any heavy horse.


 Reply With Quote


 Cheers mate!