Note: this tutorial is quite image heavy, but the images aren't in spoilers to make viewing faster! If this causes problems, tell me and I'll add the spoilers there.
In this step-by-step tutorial we'll create a 3D text, with a nice texture and all that stuff, in GIMP.
Step 1
Create a new image - make the size about 800 x 250. Make sure the background is transparent (see the advanced options while in the create a new image window).
Step 2
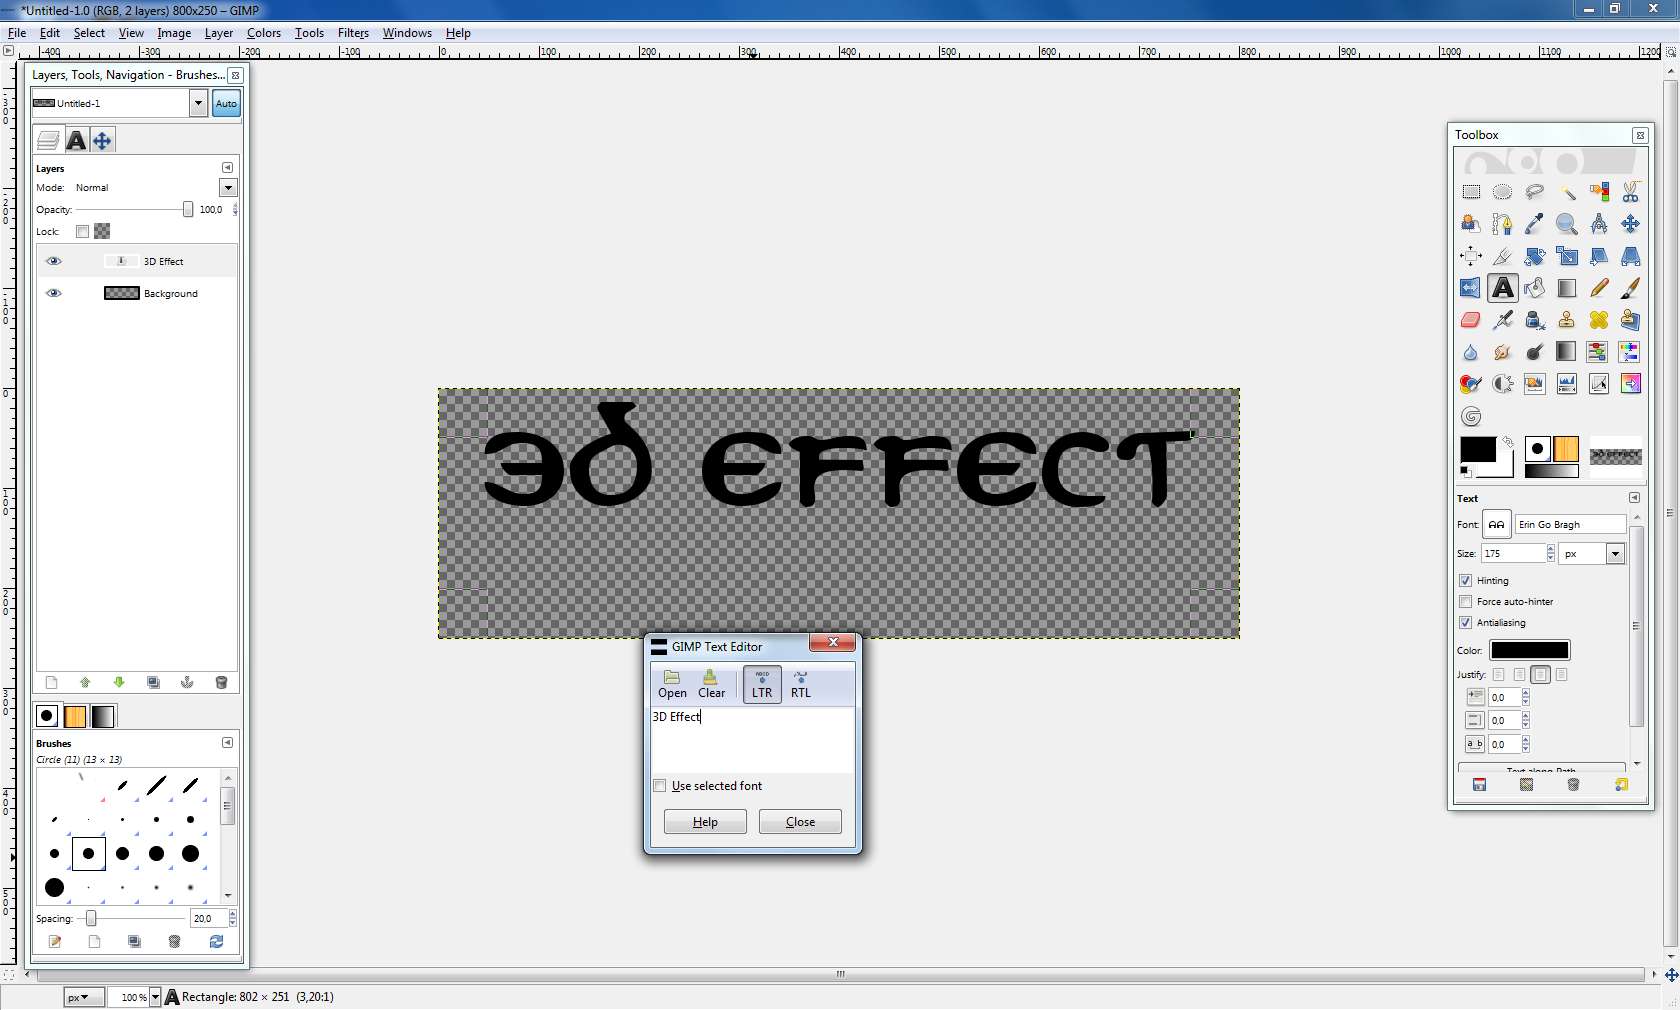
Select the text tool and type in whatever you want. I use the words "3D effect" here.
Adjust the size and all the other specifications of the letters as you wish.
Step 3
Create a new layer. Then right-click the text layer and left-click "Text to selection". Now reactivate the upper layer draw borders to the letters by clicking "Edit > Stroke selection" (adjust the border width to 2,0).
Run the Gaussian Blur filter by clicking "Filters > Blur > Gaussian Blur". Set the blur radius to 3,0.
Step 4
I recommend to colourize the 3D effect text to white via "Colors > Colorize", because the borders of the letters are, at this stage, of the same colour as the letters themselves. This is just to separate them properly.
Step 5
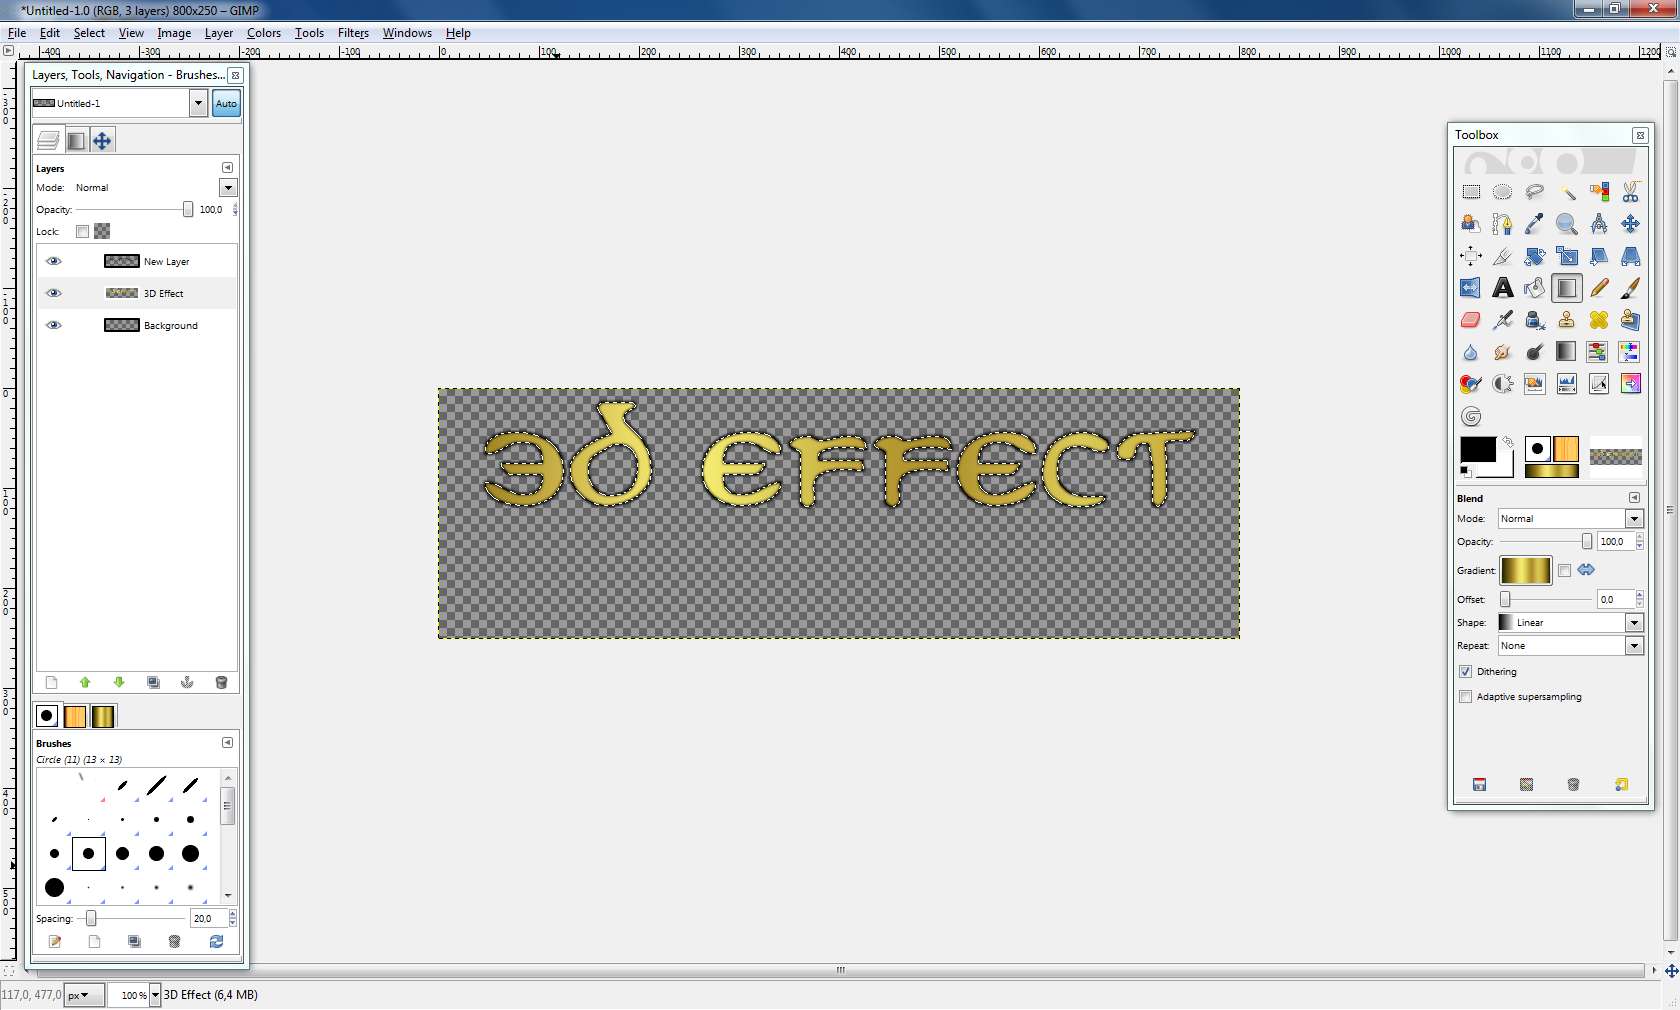
Now select alpha on the text layer again and select the Blend Tool. I used a gradient called "Golden". Fill the selection with the gradient in this way:
Now the result should be something like this:
Step 6
Duplicate the text layer by right-clicking the layer and selecting "Duplicate layer". Turn the new layer invisible for now. I usually make backups of the most important layers just because something may go wrong. This step isn't actually needed in a tutorial but well, here it is.
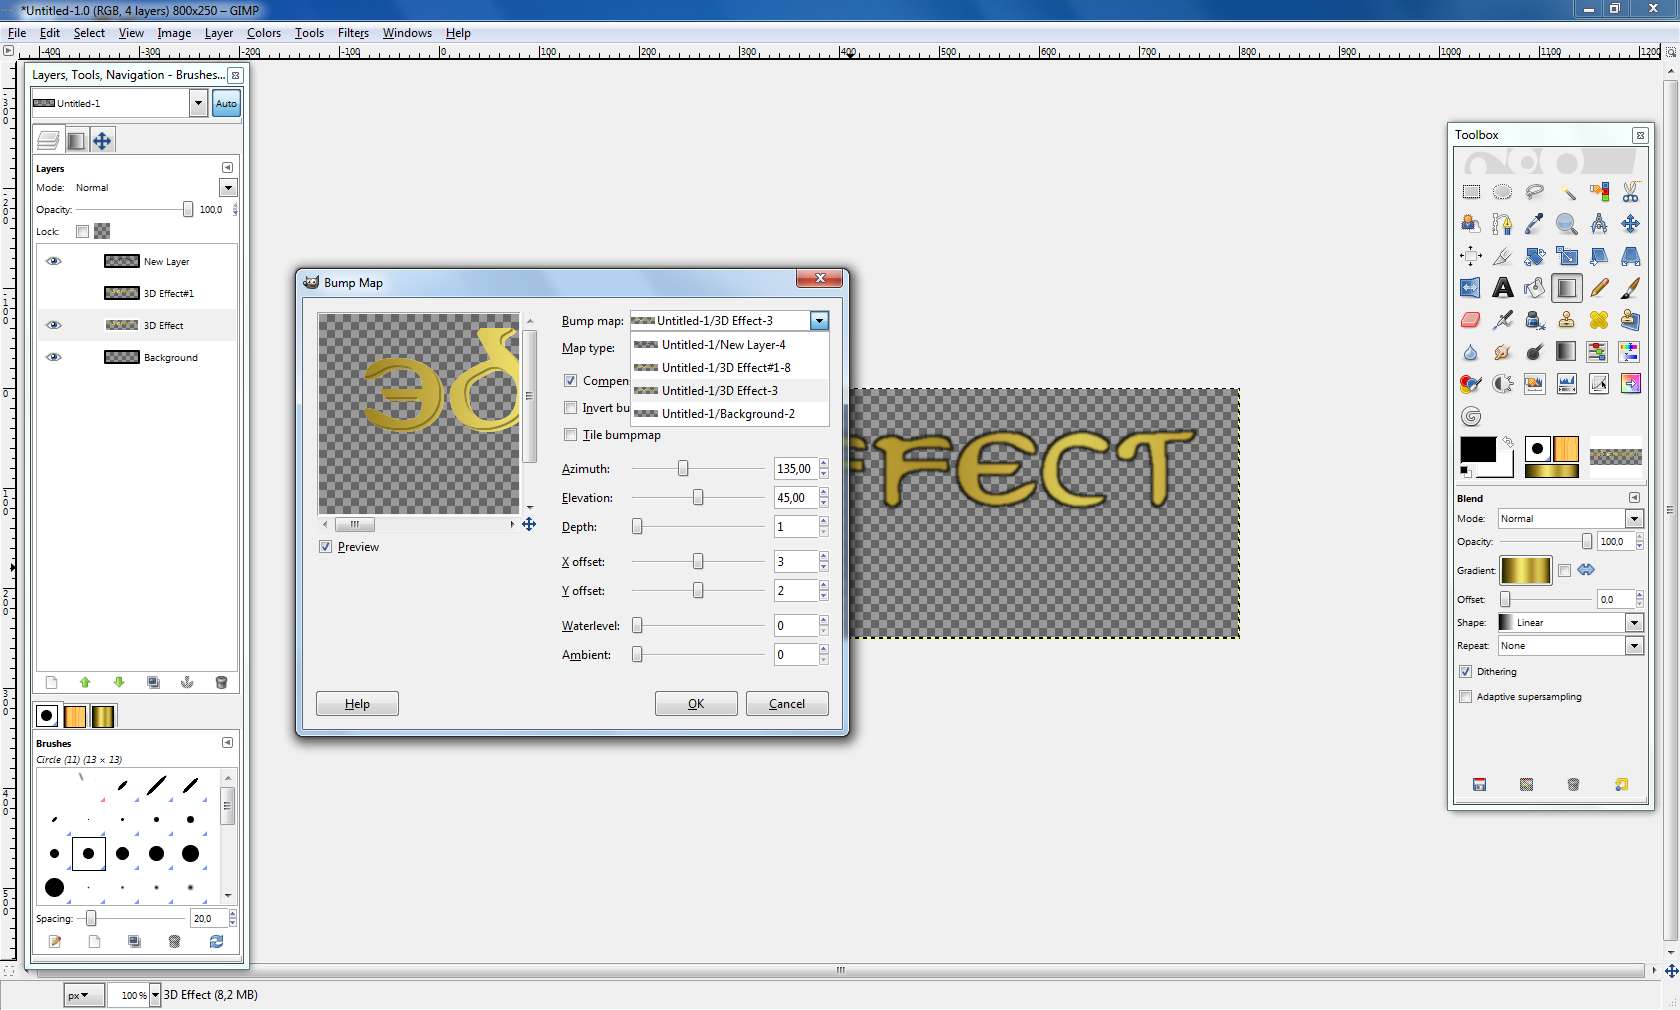
Step 7
Select the original text layer and select "Filters > Map > Bump Map". Make sure to select the right layer in the Bump Map tab! Also set the X and Y offset correctly:
Make the newly added effect smoother by blurring it with Gaussian blur, radius being set to 1,0.
This is about what your text should look like:
Step 8
Now search a good texture (stone, wood, wall, actually anything) and copy-paste it to the image on its own layer.
I used this one (well it's the only stone texture I've saved on my PC so that's why - I don't fancy searching a new one for a tutorial):
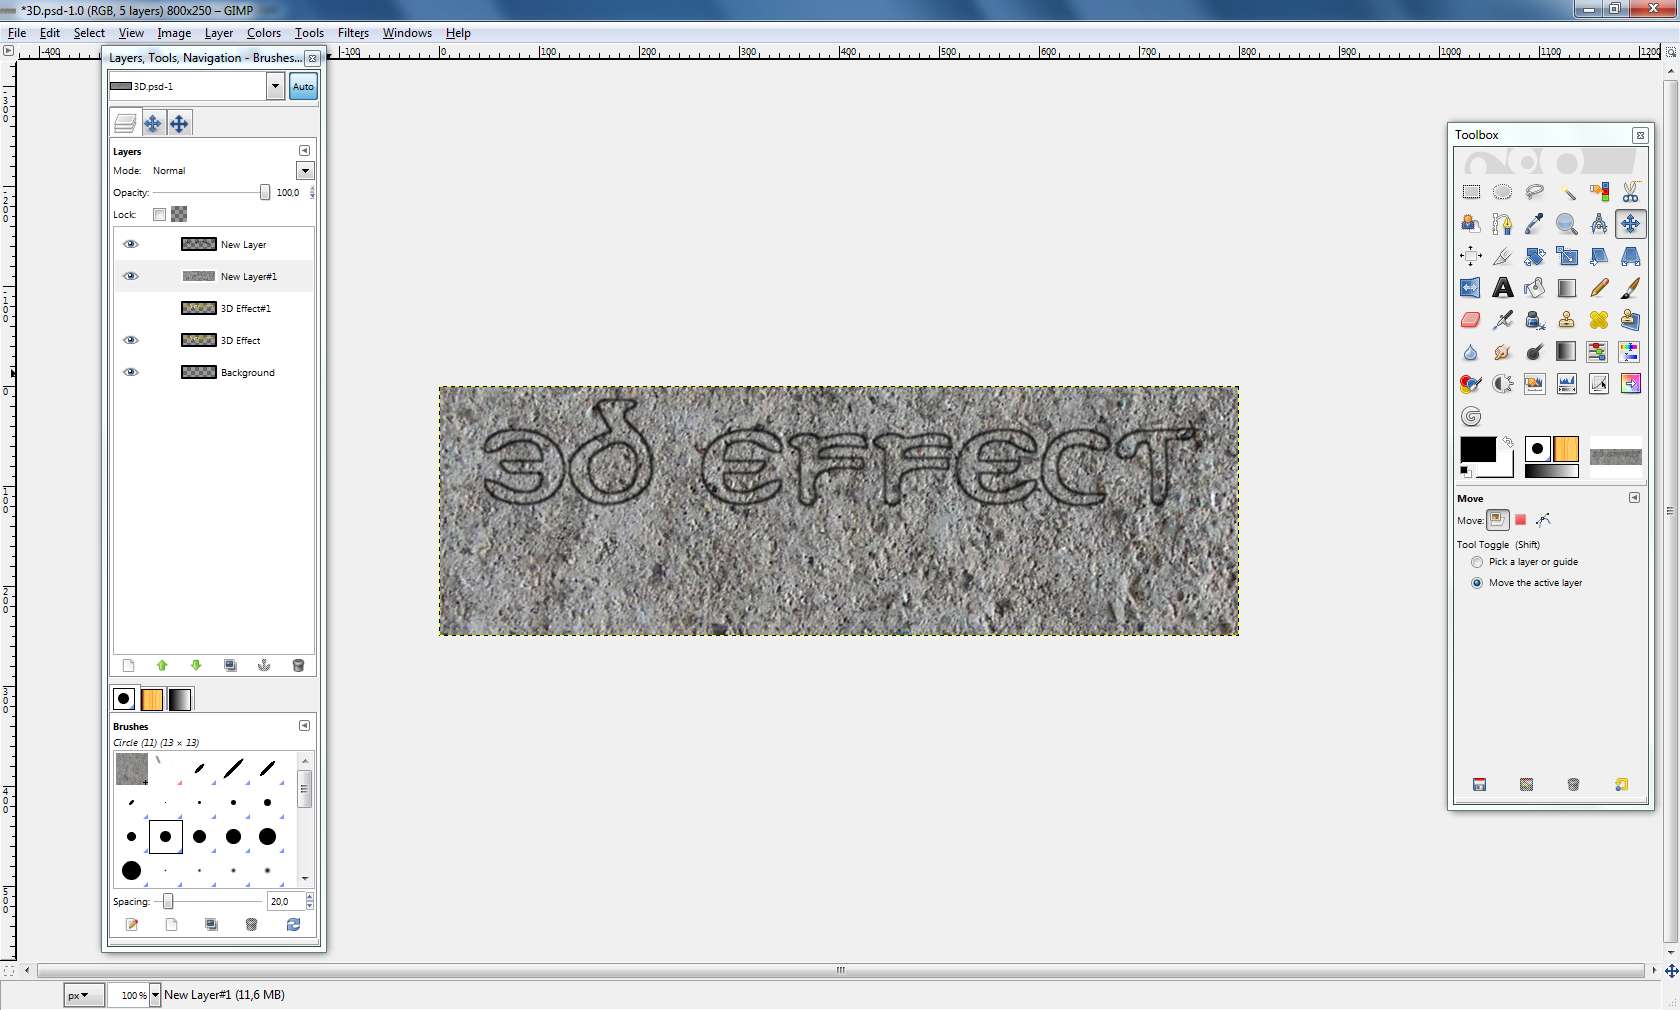
Step 9
Select the text layer once again and run the Bump Map filter. Set the depth of the bumpmap to 1-2. Also put X and Y offset back to 0. Make sure to select your texture layer in the Bump Map window.
Step 10
Select alpha on the text layer (again by using the "Alpha to selection" feature) and click "Filters > Light and Shadow > Drop Shadow":

Step 11
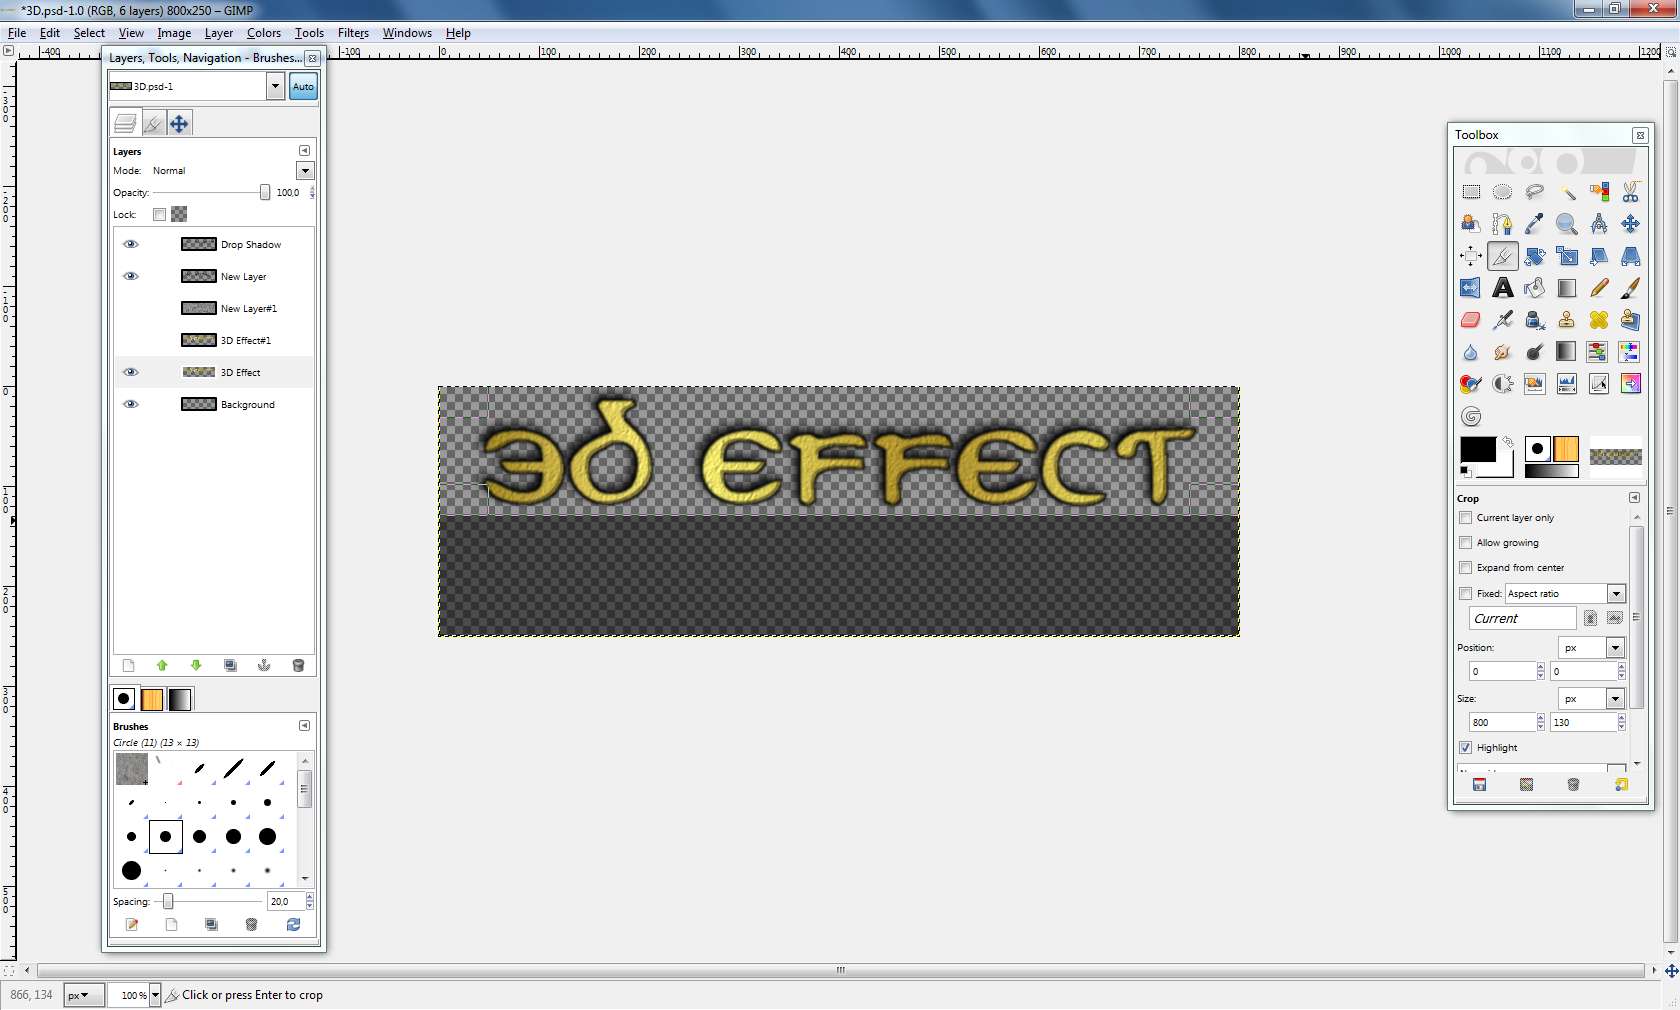
Select the Crop Tool and crop unnecessary parts of the picture away (press Enter to crop):
Step 12
You can still recolour the letters if you want:
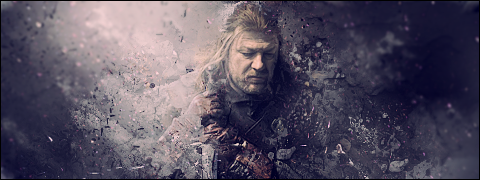
Now here's the final result:
This was it all basically - you can make changes to the steps and do different things when you grow in skill, to create something your very own.
If you notice any faults or factual errors please report them.
Thank you for viewing!
~Goofy


 Reply With Quote


")

 nice one. +rep to you.


")


")


")