


")
Ok, so as the title says I am going to teach you how to make realistic animated snow in Photoshop. Im going to take it step by step with pictures so it should be very easy to follow.
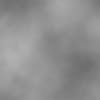
I am going to be using this image as my base:
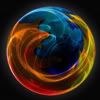
And will eventually turn it into this:
Step 1:
First we are going to make a new layer ( shift+ctrl+n) so your layers will look like this now:
Step 2:
Now we are going to fill the layer with black, press D to make sure that your default colors are active then press alt+delete. Your picture should now look like this:
Step 3:
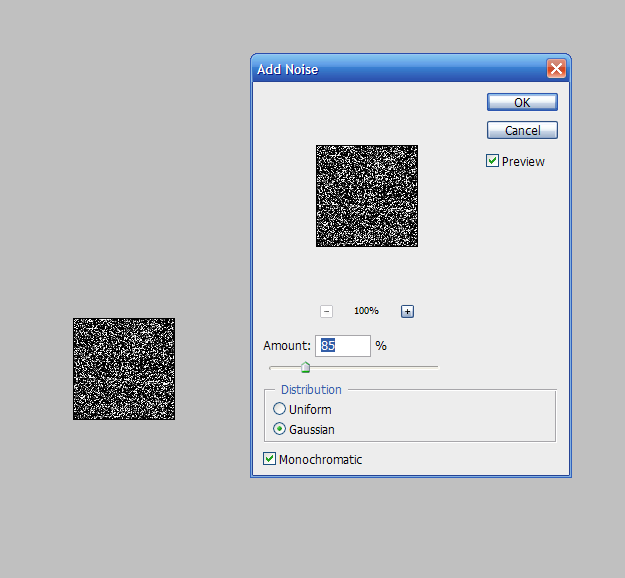
Next we are going to add noise to the layer; go to your filter tab, find the noise bar, then select the modifier add noise. Now make sure monochromatic and Gaussian are selected, you can move the slider to any amount you want. For the sake of this tutorial I will be using 85%. Your noise panel and image should look like this:
Make sure you press ok
Step 4:
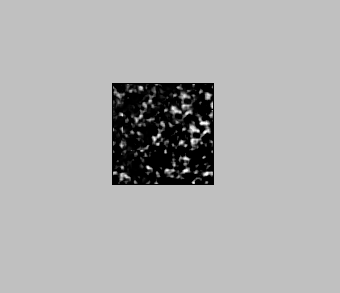
For this step we will be applying a blur filter onto the layer. Go to your filter tab, find the blur bar, and select Gaussian Blur. For avatars I recommend you put the slider at anywhere from 1 to 2.5, for bigger pictures I suggest 2 to 3.5. For this tutorial I will be using 1.5 Your image should now look like this:
Step 5:
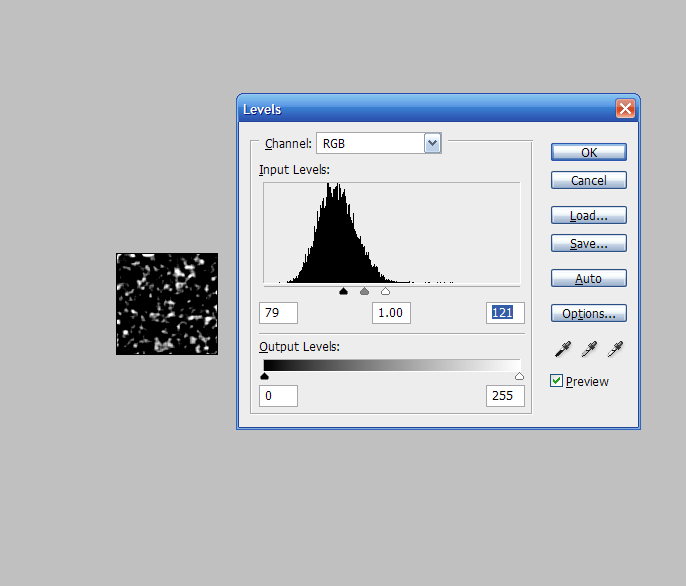
Now comes the part where we make it look like snow. Press ctrl+L to open the levels adjustment. Slide the black slider on the input levels towards the center, then likewise move the whit bar. You should keep playing with it until it looks like snow. Here is my example:
Step 6:
In order to have a seamless animation we are going to need to offset the image. To do this go to the filter tab, go to the other bar and select offset. Select wrap around and then move the sliders so that you can see the side and top seem. Yours should look something like this:

Step 7:
So to remove the seams we are going to select the clone stamp tool (shortcut: S). In order to use it press alt and click on an area where there is no seam. Then you simply draw over the seams to remove them. You may have to do this a few times to get rid of them completely. When your done it should look like this:
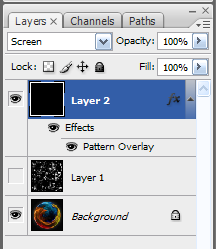
Step 8:
Now we are going to save this layer as a pattern to make it easier to use in the next step. Go to the edit tab, then select define Pattern. Name it Snow_1 or whatever you like and press ok. Next you are going to turn off the layer we were working on by pressing the visibility toggle on the layer. Now make a new layer and put the mode on screen. Now fill the layer with black, it should look like this:
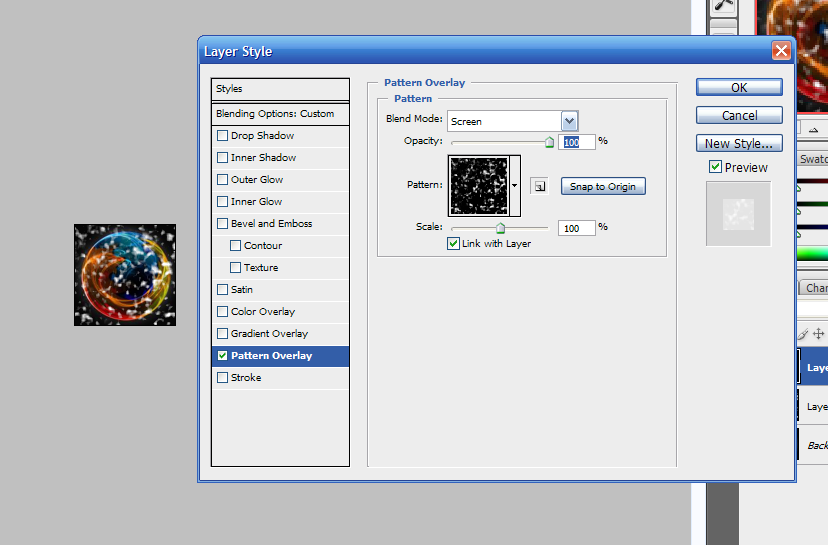
Step 9:
Double click on the layer to get into the style menu. Go to pattern overlay, set the blend mode to screen then change the pattern to the snow one we just created. Your image should look like this:
Step 10:
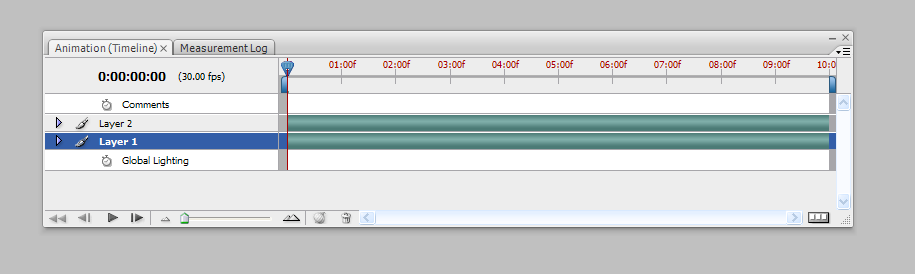
Now we are going to work on animation. Select the window tab and the select animation, this panel should show up:
Step 11:
In order to get it to the correct setup we need to select the animation menu:
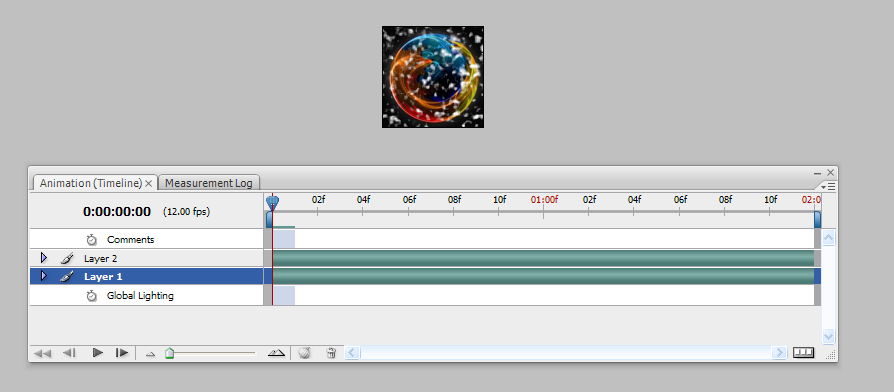
And select document settings, we are going to change the duration to 0:00:02:00 for this tutorial, as well as changing the fps to 12. (Note you can make the fps whatever you want however I have found that 10-15 all look good and dont take up nearly as much size as anything higher) Your picture should now look like this:
Step 12:
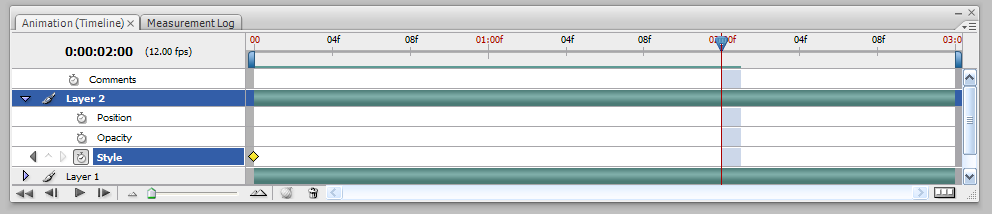
Select layer 2 in the animation panel and drop it down. Select style, it should create an animation key at the beginning of the timeline.
Now slide the current time indicator to the 2 second mark (if you cant do so go back into the document settings and set the animation duration to a higher number)
Step 13:
Inorder to make the snow move we need to double click on the pattern overlay in layer 2s area:
This will bring up the layer style menu, if you notice when you mouse over the image it will show the move cursor. In order to animate it we will need to click and drag on the image to bring it around in a circle. I recommend memorizing where a spot was on the image and trying to put it back in the exact spot it was before. You can also do this to either side as well. Play the animation a few times and if you see it skip move repeat the above steps until you get it perfect.
Step 14:
Now We are going to make a displacement map in order to make it move like falling snow instead of blankets. Go the image tab, and hit duplicate press ok. Now go to the layers and right click, select flatten image and press ok. Now go to the filter tab, go to the render bar and select clouds. You want to repeat rendering clouds until you get one with some nice highlights and shadows across it. (shortcut to reapply a filter is: ctrl+F) Mine looks like this:
Now you need to save the copy as a .psd and put it in a place you can easily access (such as the desktop) I also suggest putting displacement in the file name.
Step 15:
Go back to the image we have been working on. Now right click on layer 2, and select convert to smart object. Now go to the filter tab, the distort bar, and select displace. You can play around with the scale, the higher the number the more the displacement map will affect the animation. For this tutorial I will be using 7 (which is good for avatars, however bigger numbers are better for bigger images). Make sure that stretch to fit and wrap around are selected then press ok, it will now guide you to select a displacement map. Navigate to the one you just saved, select it and press open. Run the animation and you will see the difference.
Step 16:
Almost done, first off save a copy of your image as a .psd Now go to file, save for web and devices (alt+shift+ctrl+s). It will bring you to the save for web and devices menu. There are plenty of presets to choose from. What you want to pay attention to is the image size in the bottom left corner (for avatars the limit is 80k), fiddle around with the presets and the colors inorder to get it as close to or under 80k as possible. Keep in mind dither is bigger than no dither etc. You can also go back and edit it to have less fps in order to get a lower file size. When you are done make sure to select forever in the looping options than save your image.
Congratulations you have finished the tutorial


 Reply With Quote
")
 +rep
+rep


")


")


 sorry should have clarified. It should be in the upper right corner of the animation tool bar


