TATW: Fellowship of the Ring Campaign Guide (Part2btwieatpeople)
Due to a lot of people having trouble with the Fellowship Campaign for 2.0 and my lack of rep lately, I have taken it upon myself to create a complete guide to follow for the Campaign.
It will be both picture and text heavy, and I will try to cover as many things as possible throughout the campaign. I will be attempting to complete every quest or at least as many as I can complete in an attempt to help players complete any part of the Campaign they are stuck on.
The guide will be most likely split into 1-4 parts, depending how much I can get done p/day. The Fellowship Campaign is long and sometimes difficult to comprehend, or difficult to cover every single part of that. Not only will I be trying to show every advantage you can get throughout the campaign, I will be explaining other outcomes and chained events leading to them.
Enjoy, rep if it helped or you simply enjoyed reading. I am hungry for rep, feed me!!!!!!!
Part 1 - The Fellowship of the Ring
Spoiler Alert, click show to read:
Ok, first thing is first.
To access the Fellowship Campaign, you simply start TATW 2.0 normally, go into Single Player/Fellowship Campaigns (Or sometimes called, Custom or Other Campaigns)/Fellowship Campaign (double click on it or click and press next). Now you'll come into the Campaign Menu, with the difficulties etc... The victory conditions are to hold at least 1 settlement (has to be Hobbiton to win) and Isengard + Mordor must be destroyed (scripted!)
To start the campaign, you must have it on VH/VH, otherwise the campaign will crash. Once you have done that, enjoy a cutscene specially edited by the TATW Team, probably MasterBigAb, I'm not sure. After that is completed, your quest to save Middle Earth will begin.
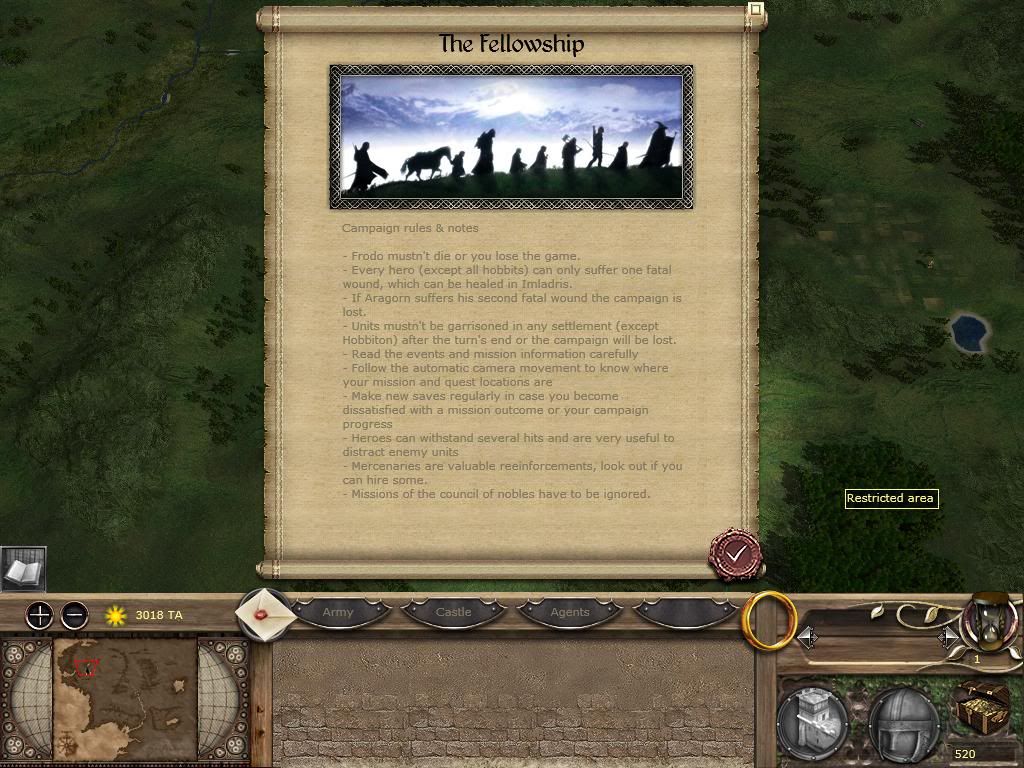
As soon as the campaign begins, you will be greeted by a pop up which will explain the details and basics of the campaign.
Obviously, if Frodo dies, the campaign is lost, but there are also some other interesting guidelines.
If you cannot read the script, click the spoiler -
Spoiler Alert, click show to read:
- Frodo musn't die or you lose the campaign.
- Every hero, except the Hobbits, can be killed once, and will respawn in Imladris after a turn.
- If Aragorn is killed a second time, you lose the campaign.
- Do not garrison cities for longer than a turn (Other than Hobbiton) or the campaign will be terminated (you lose, idiot).
- Read the events and information, or you will most likely not know what to do next.
- If an event pops up, the camera will guide you to the location.
- Save regularly, lest you become frustrated with your progress and wish to reload certain events.
- Heroes have a lot of hitpoints, so don't be afraid to use them in combat.
- Recruit mercenaries whenever you can, they have 0 upkeep and are useful when fighting enemy armies.
- Ignore missions the Council of Nobles set for you...they don't care about Middle Earth.
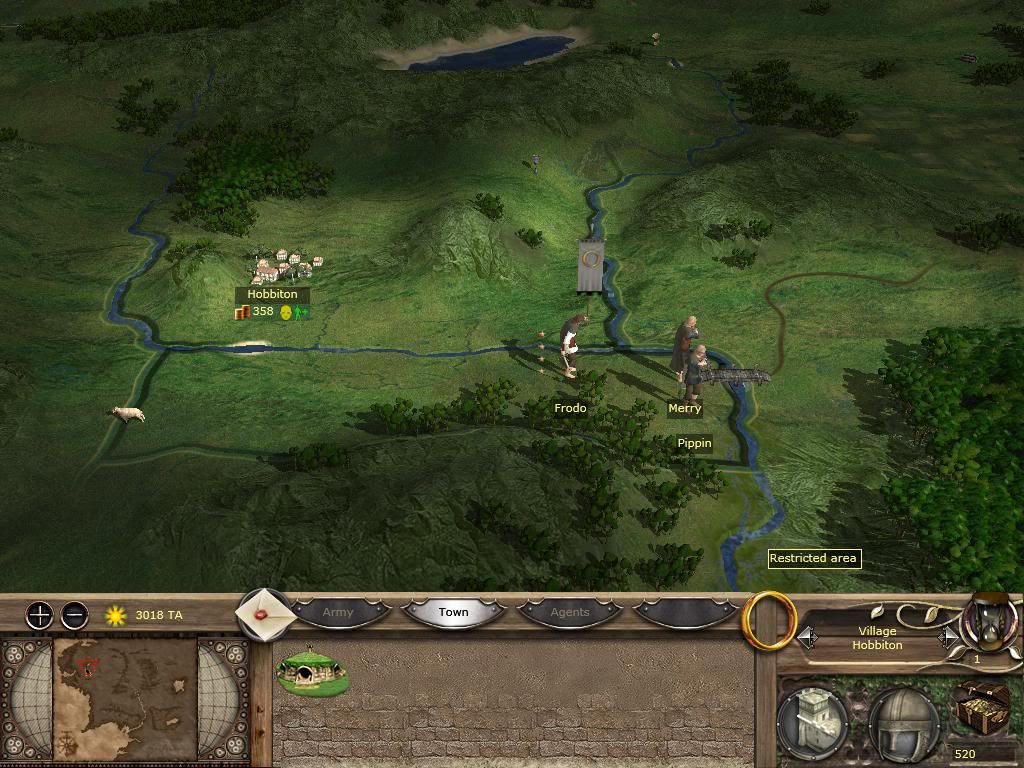
Ok, so anyway, you will start looking at Hobbiton. Sam, Merry and Pippin will usually be spawned right next to the village, whilst Frodo will be inside the village. You cannot initially move from Hobbiton, but speed should be valued.
Merge Frodo and Sam, while putting Merry and Pippin near the Brandywine Bridge. Once removing Frodo, Hobbiton's public order will be "potential for riots", to prevent any possible riots, change the Tax Rate to Normal. The public order will now be Content.
At Turn 1, you cannot move from the Hobbiton region so don't bother. You also cannot build or recruit in Hobbiton, so don't bother trying!
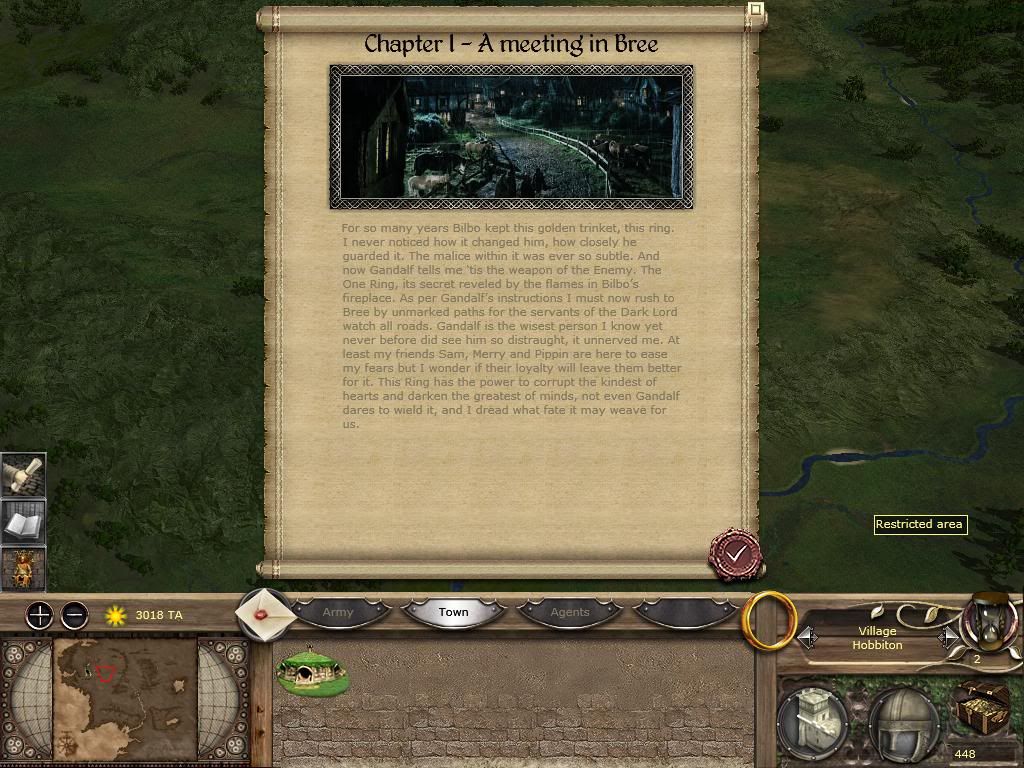
At Turn 2, an event pop up will appear, basically telling the player to move to Bree, which is actually the region right next to Hobbiton. Read the Chapter Pop Up: A Meeting in Bree, as I'm certain they were all specifally written by the TATW Team, so enjoy their work!
This is the first objective in the game, and you will come across plenty of these as the campaign progresses. You cannot move further in the game until you complete Chapters such as these...
Notice the treasury, that will continue to drop p/turn, but you will sometimes earn money for finishing quests or recieving rewards.
Ok, now, some people have been messed around with stuff like this.
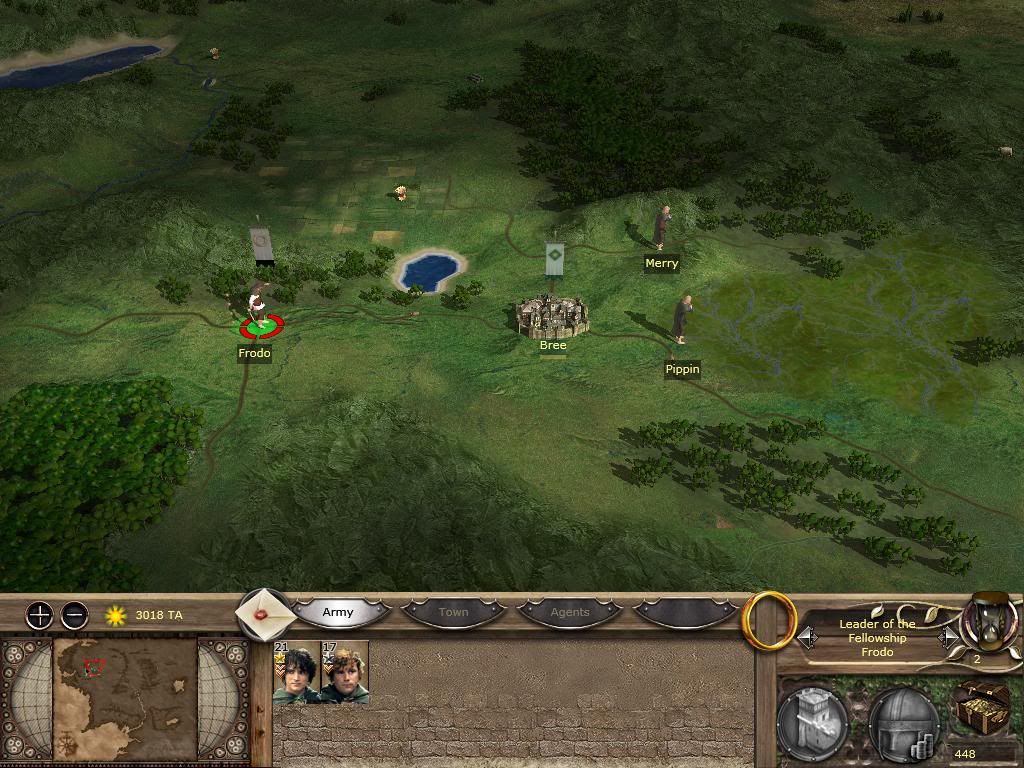
Once you enter the Bree region, the Event will not be triggered immediately and some players hang around regions for turns before realising what you have to do.
What you have to do?'Not this.
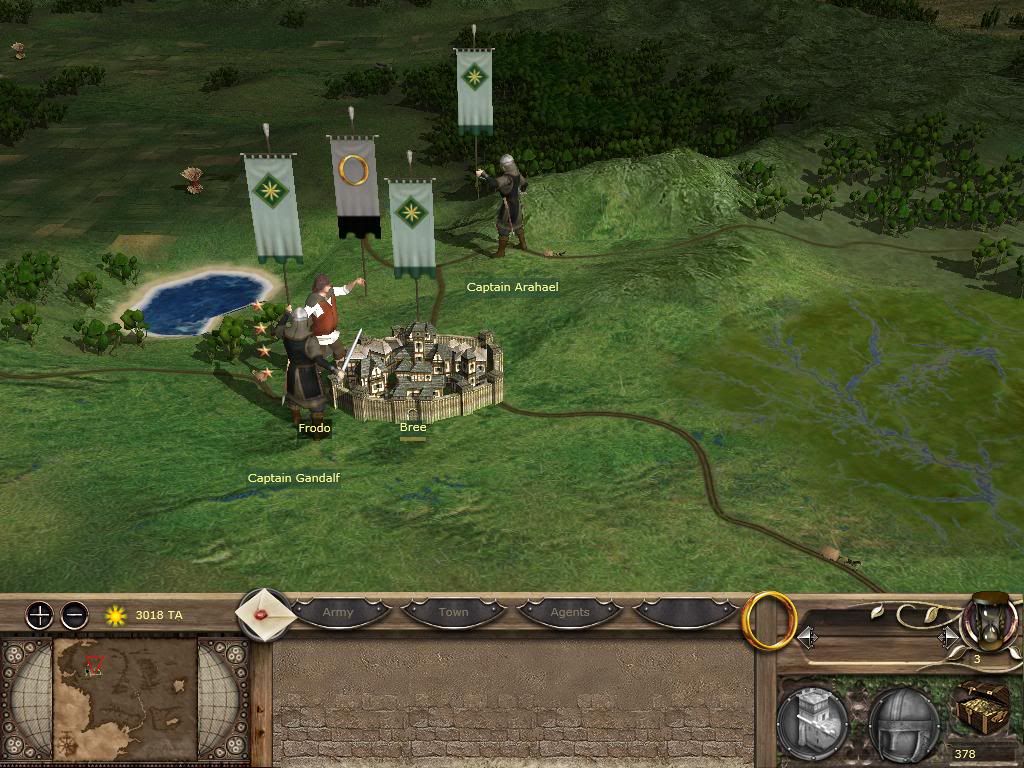
As you can see, Frodo is still a fair bit away from Bree and the event will not trigger if they are this far from the settlement. And, Frodo is the only one who can trigger the completion of this chapter.
To trigger the chapter, Frodo has to be right next to the Settlement, and the Chapter completion will be triggered the next turn. Keep that in mind...
Note the Eriador armies, the name list has been altered the Sindarin language names.
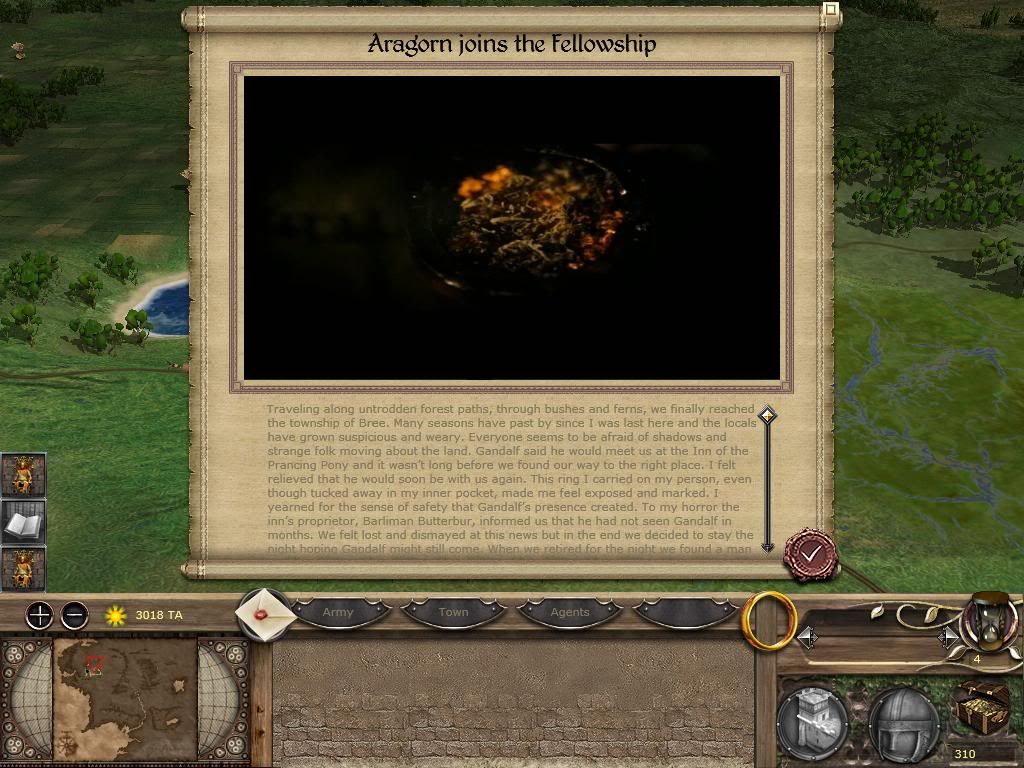
By turn 3, Frodo should be outside Bree and by turn 4, an important event and cutscene will be triggered.
Aragorn has now joined the Fellowship and has been spawned just outside Bree where he can be easily merged with Frodo and Sam. Once again, watch the awesome cutscene and read the information provided by the TATW Team.
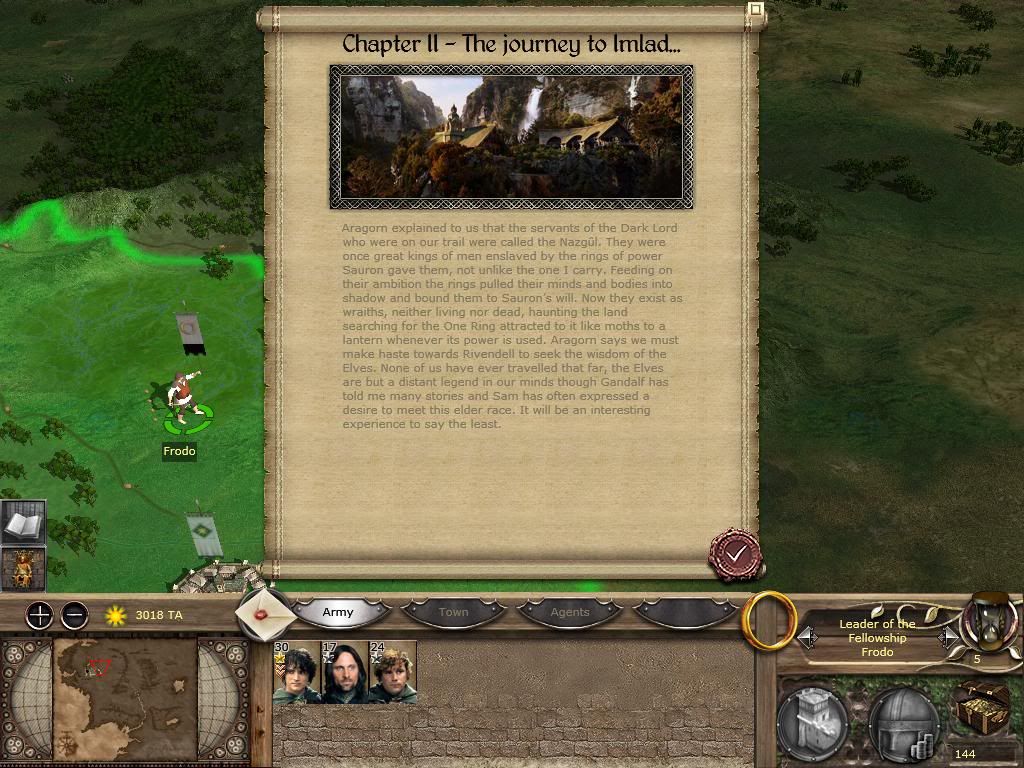
Ok, after Aragorn has joined the Fellowship and the turn has been ended, a new Chapter II: The Journey to Imladris, will appear on your screen. Obviously, the Chapter Title pretty much tells you what to do next. Once again, read the text and experience some more freedom in the campaign. The Regions of Amon Sul, Barrow Downs (I think), Hoarwell and Imladris, will now be open to the player. But, the region of Hobbiton will not become a restricted area for the player.
If a Council of Noble Mission has popped up regarding military units in Hobbiton, 4 units of Hobbitry in Arms will appear and garrison the village the next turn. Also, in my experience, Frodo adopted some guy called Andy who also managed Hobbiton.
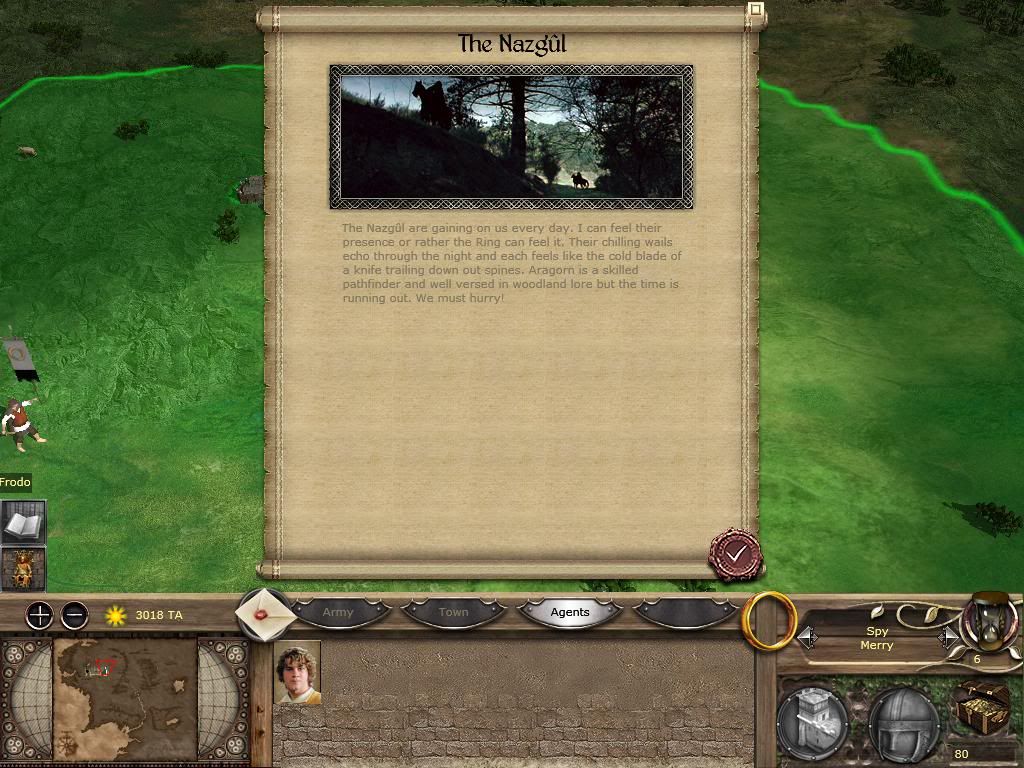
Congratulations, you have completed the easiest part of the campaign, now for some long awaited hero action! In line with Lore, you are now being stalked by Nazgul. Now is the perfect time to use Merry and Pippin to your advantage.
Khamul the Easterling hangs around the region of Amon Sul, ready to ambush you. If Merry or Pippin can uncover him before he attacks you, you may be able to completely avoid him. However, the region of Amon Sul is large and he will most likely spot you before you spot him.
Anyway, make haste to Rivendell lest he catches you!
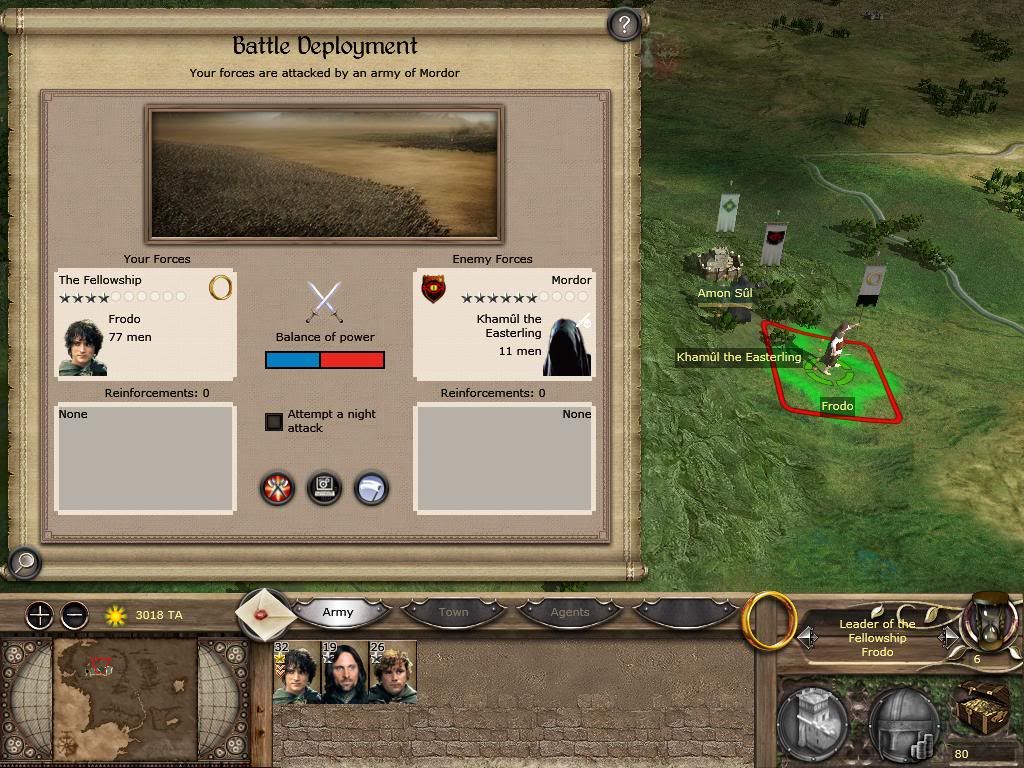
Sadly, I have been caught just outside Amon Sul itself by Khamul the Easterling.
Right now your thinking, "Oh your f'd", as everyone knows, Nazgul have a lot of hitpoints and are hard to kill. But, thankfully, I'm pretty sure the stats on your heroes and their bodyguards has been upgraded also. So, anyway, Sam and Frodo both have bodyguards of super-hobbit Hobbitry-in-Arms (32 for Frodo and 26 for Sam) while Aragorn has 19 Dunedain Rangers. Note, my numbers include the Hero himself.
Khamul on the other hand, has himself and 10 other high hitpoint Nazgul.
Ok, as you know, Nazgul have a lot of hitpoints and also deal a large amount of damage themselves. Although your heroes and their bodyguards have been upgraded, the Nazgul are still superior but have a huge numerical disadvantage.
In both my playthroughs, I have moved both Sam and Frodo to either sides of Aragorn, whom I have left in the middle. He will shoot at the Nazgul until they are near, however, don't rely on his arrows as they barely hurt the Nazgul, but do delay them.
When the Nazgul near, order Sam and Frodo to charge the Nazgul, while also ordering Aragorn to counter-charge the Nazgul by using the ALT key. This is an affective hammer and anvil like attack and works to your advantage by surrounding the Nazgul with superior numbers and limiting their ability to attack freely.
In my Guide Playthrough, the Nazgul have the protection of a tree which lowers my mens ability to isolate each Nazgul.
Aragorn, Sam and Frodo act like Bodyguard Units and if taken casualties, they will simply regenerate over the turns.
Do not worry if your bodyguards take casualties as they will respawn and you will not have to fight any battles within the next dozen or so turns.
But! Remember, if Frodo is killed, your campaign comes to an instant end so if he is about to die or is somehow surrounded, get him out of there. Also, it is best not to let Aragorn or Sam die either. Remember, if a Hero dies twice, they are forever eliminated from the campaign I think, and in Aragorn's case, the campaign is lost. Khamul has a strange habit of being the first one to die but either way, the Nazgul will not route and you'll have to slay them to the last man/wraith/super-evil-ghostdude.
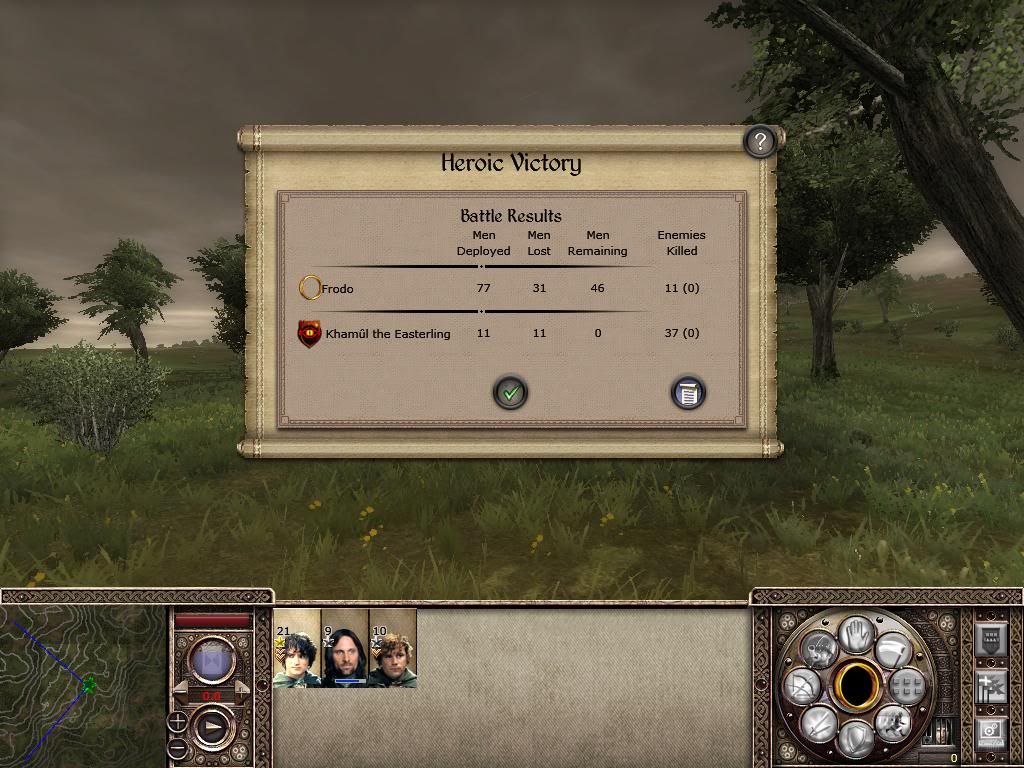
As you can see, I have won this battle with the cost of 31 of my own men. Thankfully, all my heroes survived. Also, don't be afraid to use Aragorn and his Dunedain Rangers in melee, they are just as good.
Also, note that if you hover your cursor over the Nazgul, it will say there are winning etc...don't listen to that crap as you pretty much cannot lose using this tactic. For some reason, it considers it as a Heroic Victory.
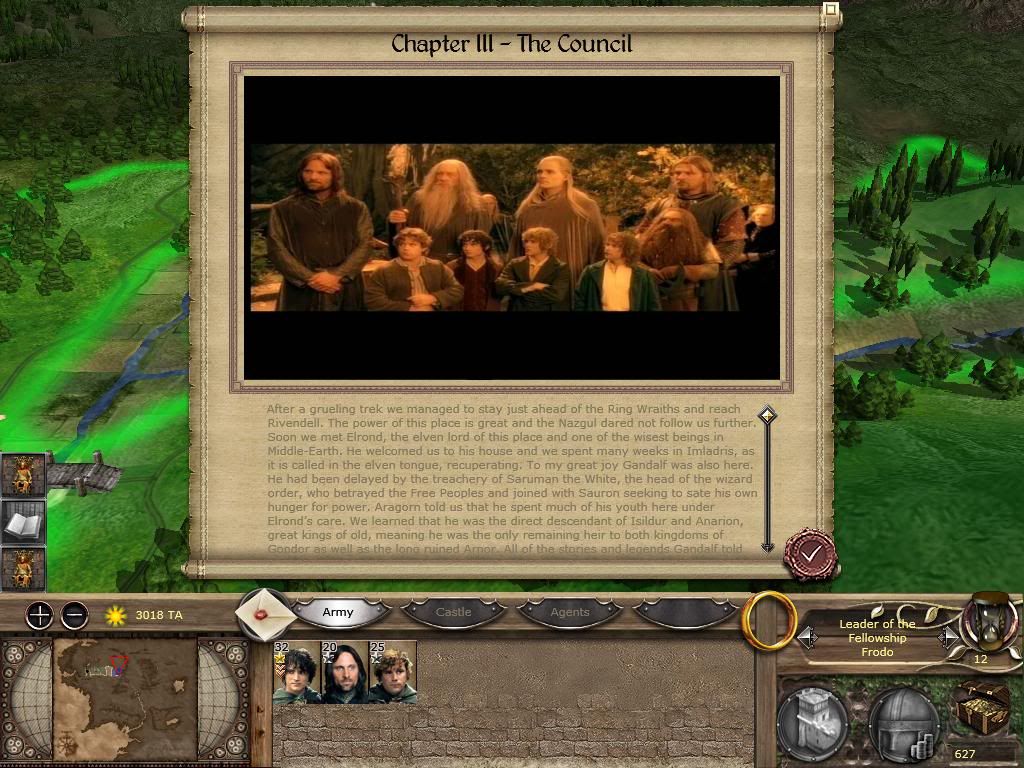
Ok, so after trekking from Amon Sul to Imladris, Chapter III: The Council, has begun. It took me 6 turns and to travel from Amon Sul to Imladris, however, these turns are uneventful. Nevertheless, always keep either Merry/Pippin in front of your Fellowship, while putting the other behind to scout out or guard your rear, it never hurts to be cautious.
Anyway, watch the chapter cutscene, read the writing and begin your quest as the Fellowship of the Ring!
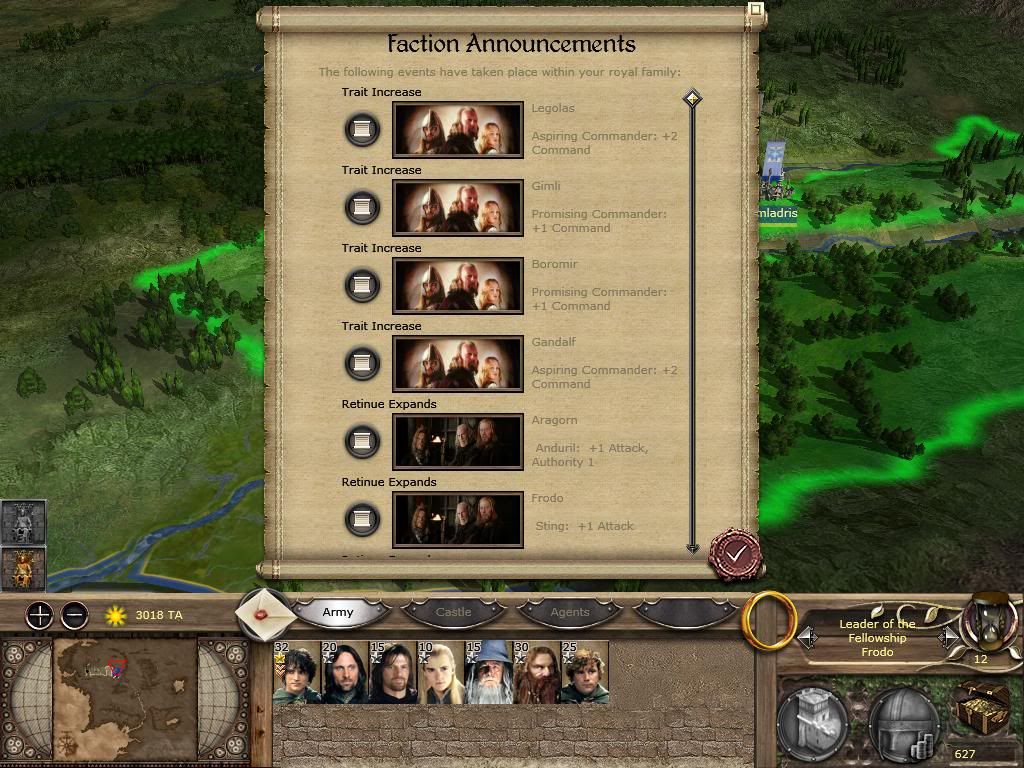
As you can see, Gandalf, Boromir, Legolas and Gimli have been spawned around Rivendell and your trait/ancillary list will be quite large. Frodo will also recieve the ancillaries, Sting and Mithril Vest, which add to his hitpoints and attack. Aragorn will also recieve Anduril, Gandalf will recieve Glamdring and his staff, whilst the other members, except Merry, Pippin and Sam, will recieve set ancillaries seen in the normal campaign.
Also, nearly all the members of your fellowship have a biography which hugely increases their hitpoints. Legolas has 8!
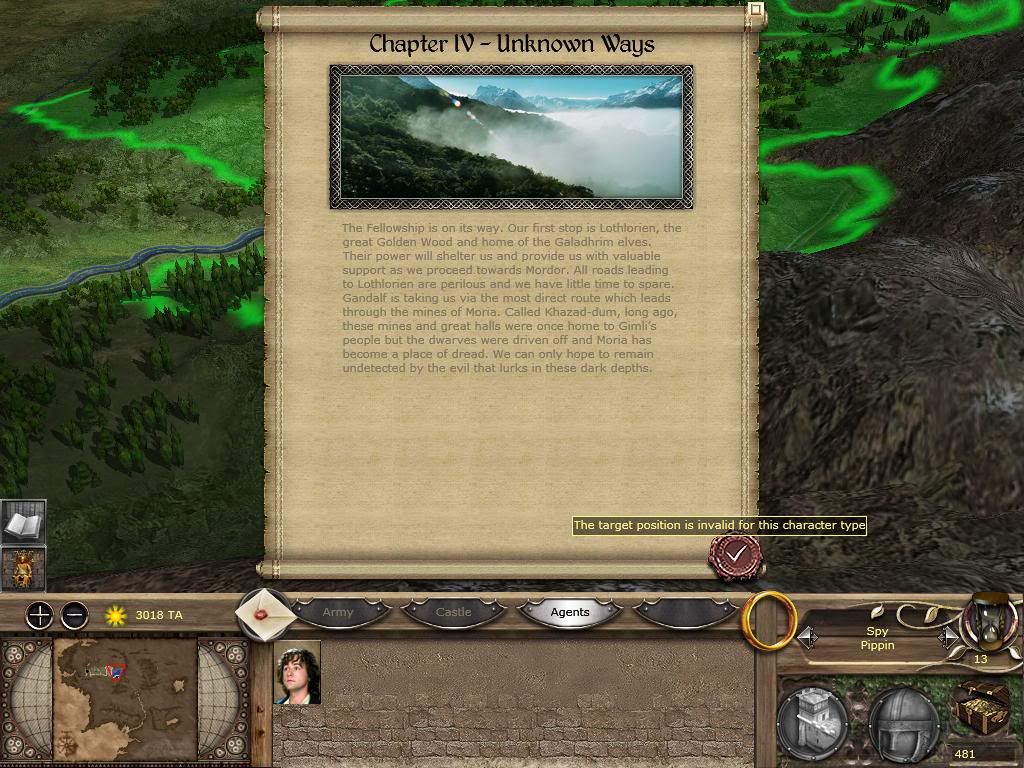
Now you have reached Chapter 4: Unknown Ways. Read the text for information and if you've read the books and movies, you should know where to next.
If you don't know, head south into Eregion where the next Event thingy should trigger. Like I mentioned earlier, keep Merry and Pippin around to scout out the area.
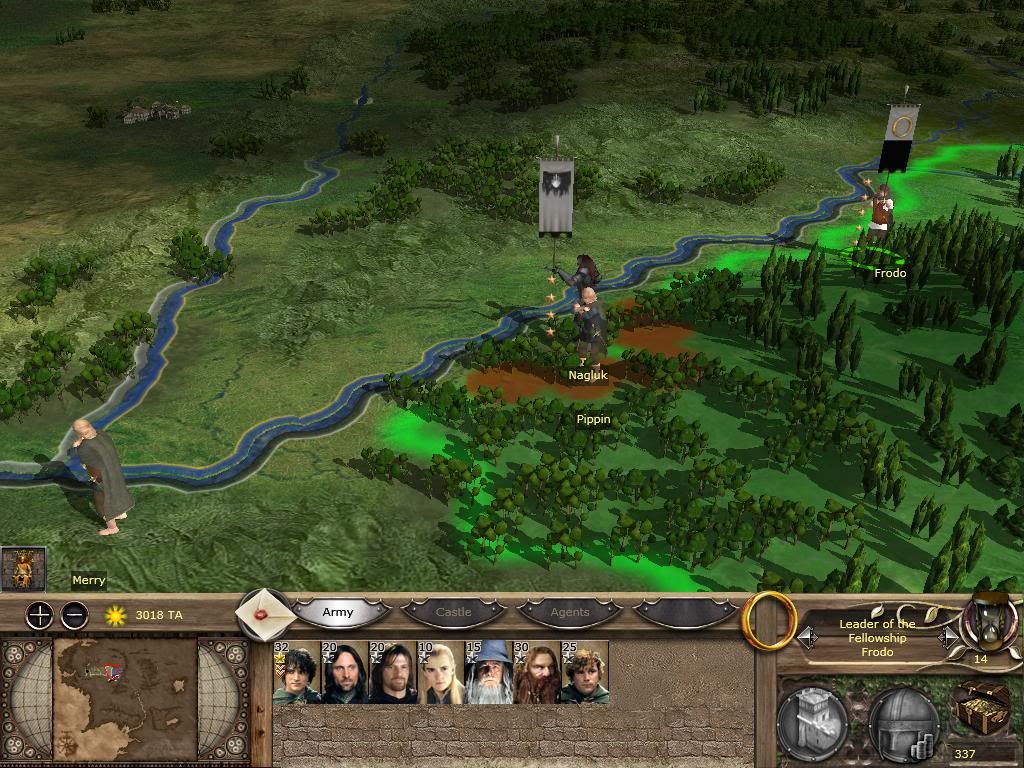
Now if your wondering why I am so fanatical about keeping Merry and Pippin around to scout the area, this is the reason why. Faithful Pippin has uncovered an Isengard blocking force which can now be avoided because of his vigilence. If you move the Fellowship blindly, they will be ambushed by the force. However, if you choose to attack or are attacked, the force should be no problems to defeat as it only consists of a General's Bodyguard and a unit of Snaga Archers and destroy. If you pass the force, it will not follow you.
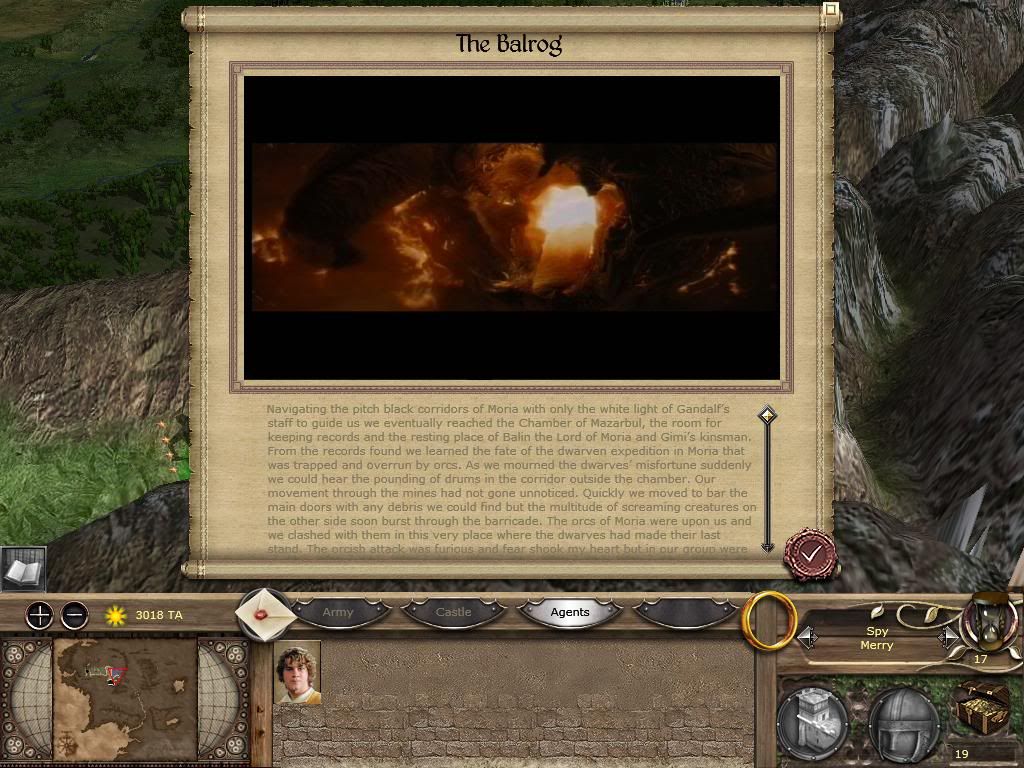
Ok, when you enter the Moria region, whether the Fellowship or Merry/Pippin, another awesome cutscene will be triggered featuring the Balrog which you inevitably have to face.
As you can see, I am on Turn 19, and honestly, you can take your time in the first part of the Fellowship Campaign. Only later in the game do you have to hurry to complete quests/missions etc...
Ok! Now for some more action with your entire Fellowship!
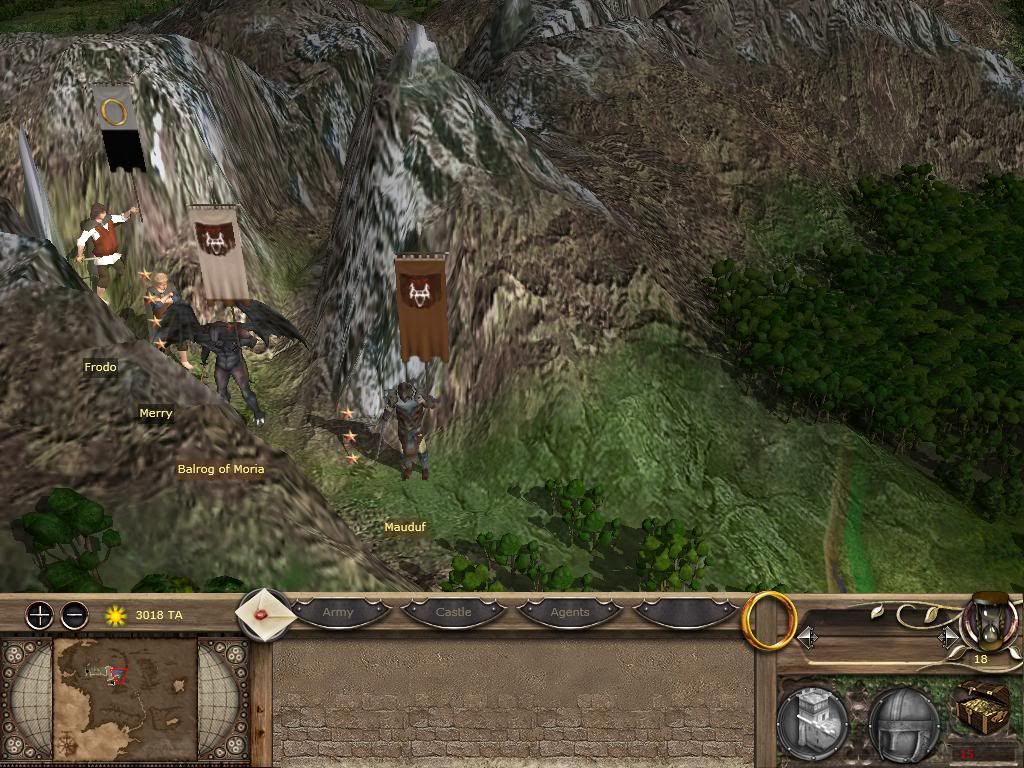
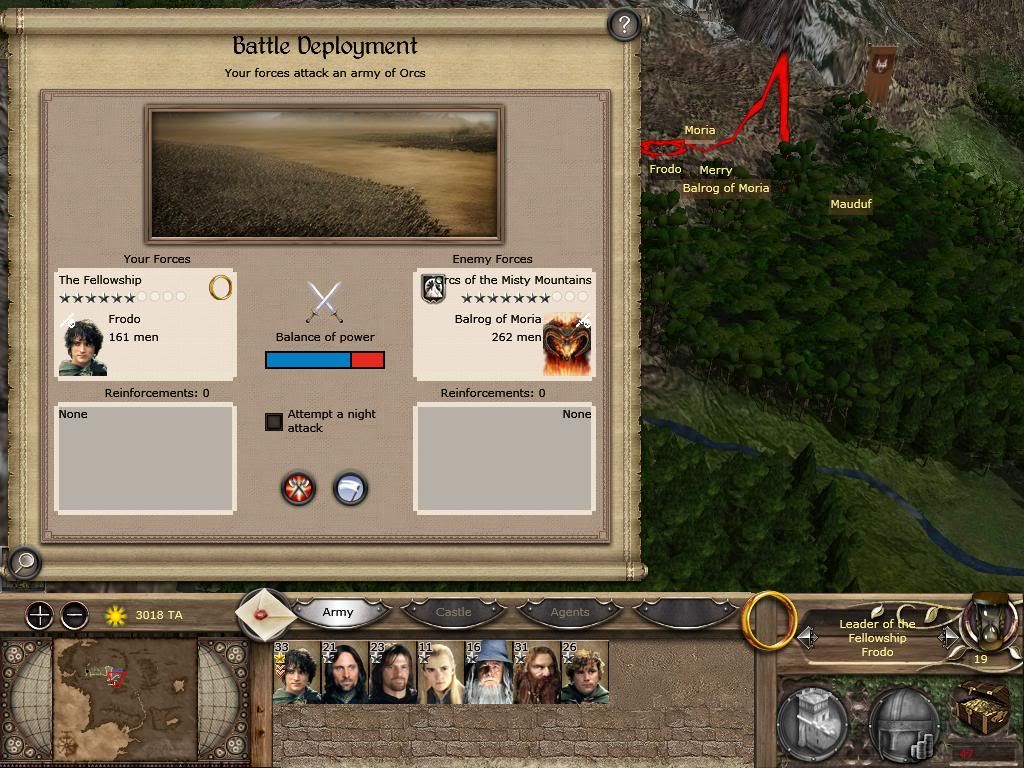
As you can see, the Moria settlement has been slightly moved so your Fellowship can go straight to the Balrog.
You'll notice next to the Balrog is a stack of Orcs, consisting entirely of Heavy Goblin Infantry. I'm not exactly sure of its purpose yet.
Now, to continue the campaign, you have to attack and defeat the Balrog. The Balrog of Moria is actually a Generel, but funnily enough, the General isn't the Balrog, but is a small Orc. However, this guy is also extremely tough to take down.
Accompanying the Balrog is a unit Goblin Infantry.
You should have Boromir, Frodo, Gandalf, Aragorn, Gimli, Legolas and Sam. (Note: If a character other than Frodo has been killed so far, he will respawn in Imladris with a unit of Eldar Archers to accompany him. Though at this point, any unit north of Eregion is now in a restricted area and cannot be moved, so make sure you are constantly moving your spies).
Ok, now your thinking this will be tough, well it isn't really. Thankfully, my game does not crash at this point and I've experienced the battle with the Balrog a few times.
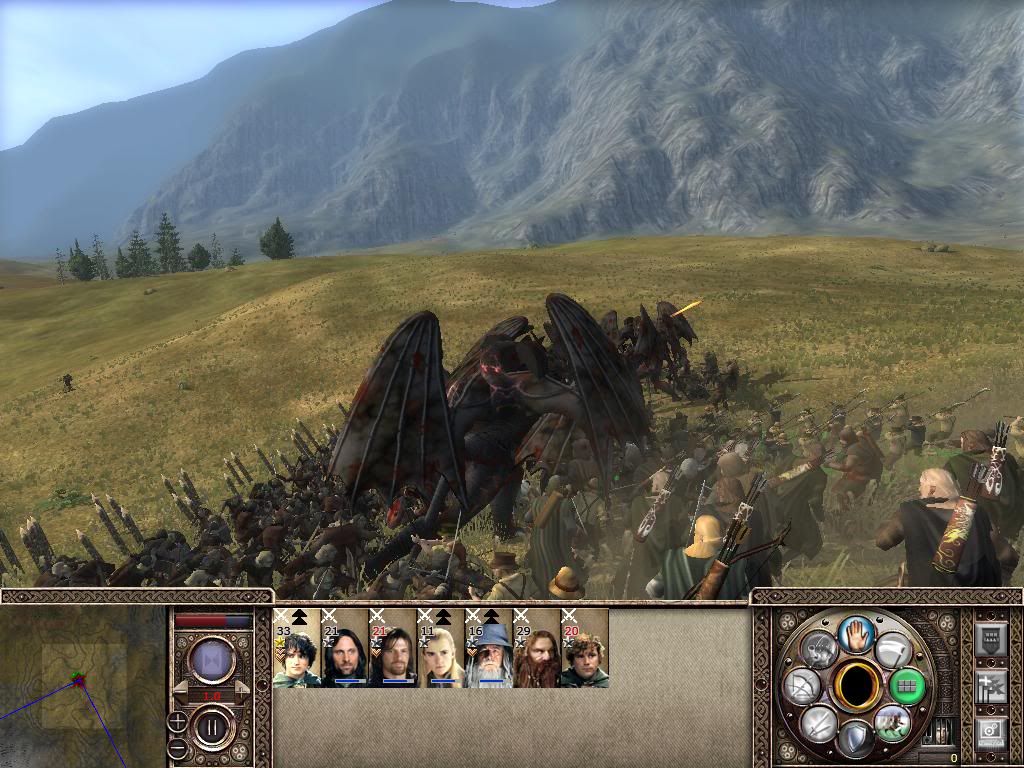
Now, you'll notice your fighting on a grassy plain surrounded by mountains so no custom maps yet, but it looks pretty cool nevertheless.
Your Fellowship still consists of Aragorn, Sam and Frodo, with their bodyguards, but now has additional members and advantages. Boromir is accompanied by 22 other Ithillien Rangers, Legolas is accompanied by 10 other Silvan Elves Faction Archers (I'm not sure whether they are Heavy Silvan Archers, Sindar Archers or those other Archer Forest Warden guys), Gimli is accompanied by 32 other heavily armed Dwarves (I'm pretty sure they are Dwarven Noblemen) and Gandalf is accompanied by 15 other Dunedain Rangers.
Boromir and Legolas can deploy stakes.
Now, I'd recommend ordering all your archers to fire at the Balrogs, who will often be in front of the Goblins. Not only will you be hitting the Balrogs, but you'll also be dealing casualties to the Goblins as well. Eventually, the Balrogs will charge, along with the Goblins. Order Gimli and Sam to counter-charge (possibly Frodo if your feeling confident), while moving your ranged fighters back.
Then order the rest of your men to attack the Balrogs with melee, and watch as the Balrogs are surrounded and chopped to pieces by your men. The Goblins are little more than a nuisance and are dealt with quite easily.
Eventually, the Balrogs will be isolated and you'll be able to eliminate them one by one. After a while, your numbers will prevail and the Balrogs will be killed.
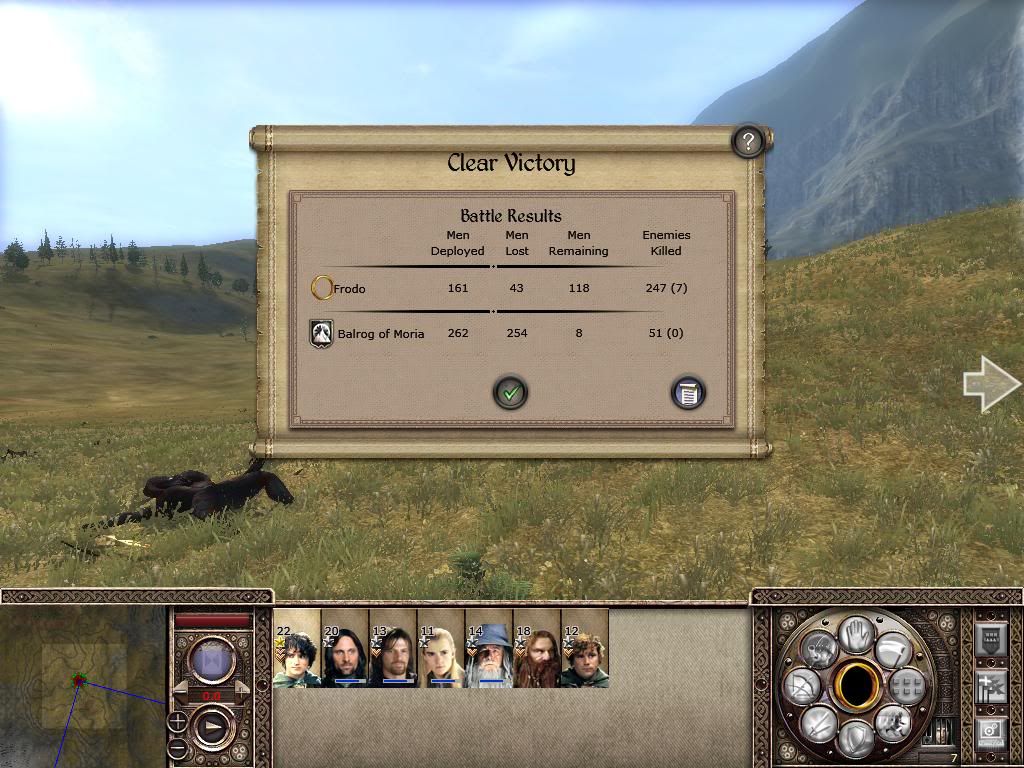
The Goblins would've probably routed by this time. Remember, to shatter the Goblin's moral, the enemy captain is part of the Balrog unit, but looks like a normal Goblin. Killing him will cause the Goblin Infantry to flee, but the Balrogs will fight to the last man.
Once again, you probably shouldn't lose any heroes in this fight, although in my first playthrough, Aragorn was killed for the first time.
As you can see, I've dealt with the enemy with minimal losses. It really isn't that hard, your Heroes can do physical wonders.
Once you defeat the Balrog, the huge stack next to him will mysteriously disappear so do not worry about having to leap from the frying pan into fire.
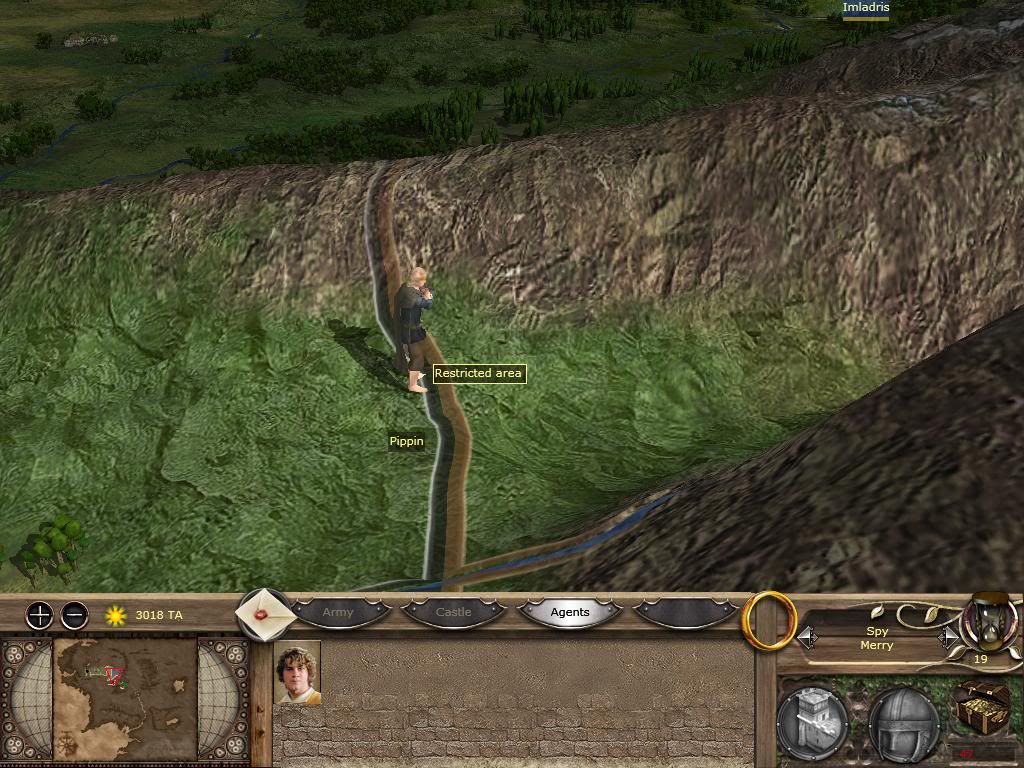
Now, you should get into the Cerin Amroth region, which is your goal, by the end of that turn. Doing so will restrict every region behind you.
Now what I have done is purposely left Pippin behind to demonstrate this problem faced by many players. As you can see, Pippin cannot move and you'd probably think he would be stuck there for the rest of the game, which is not true as you'll see later.
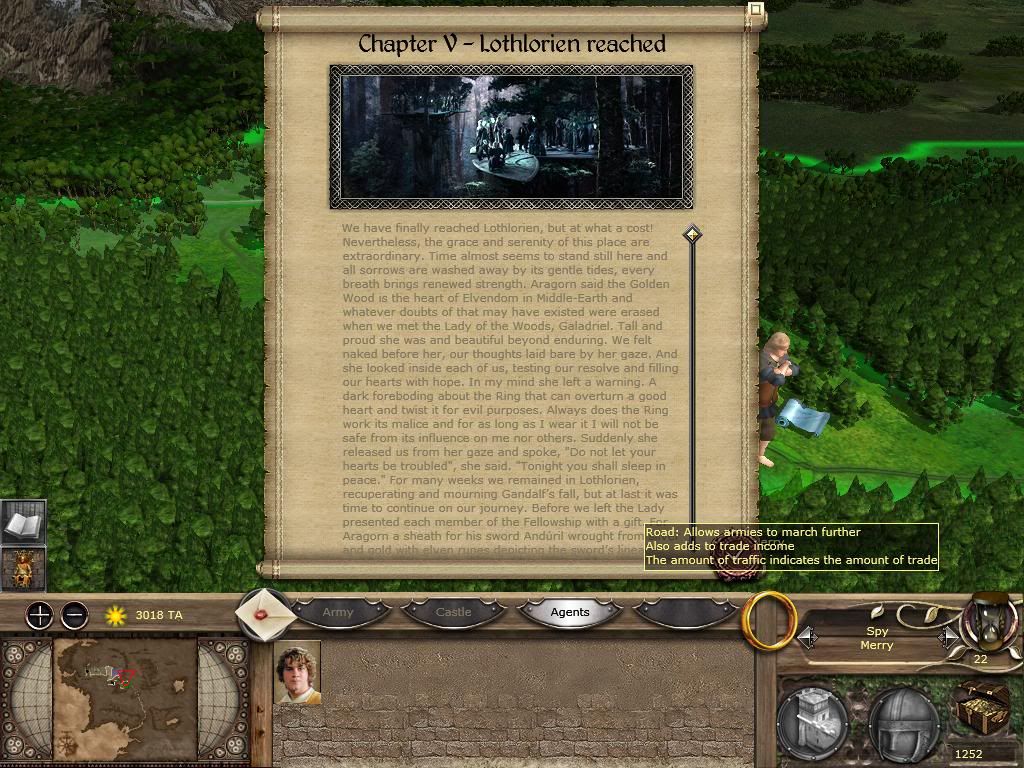
Now that we have reached Cerin Amroth, Chapter V: Lothlorien Reached, has begun. Your nearing the breaking of the Fellowship so beware the pain and suffering . Read the text, gain some info, oh, and also I forgot the mention, Gandalf has actually been removed from the campaign.
So if you look, he is no longer there.
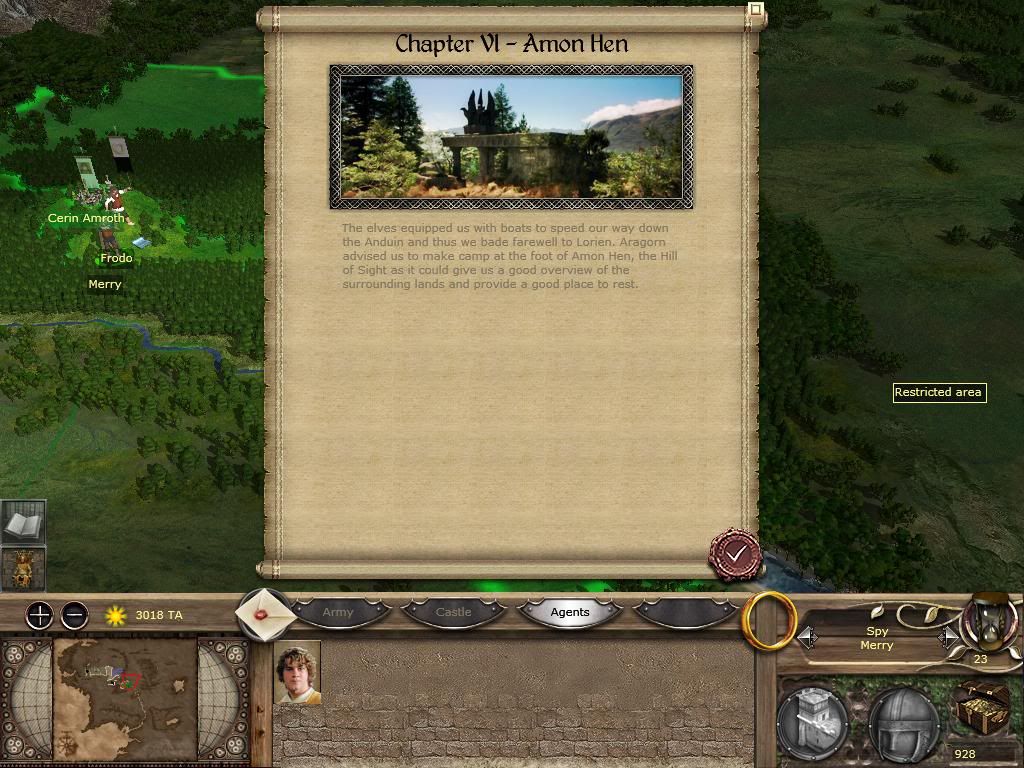
Chapter V is probably the easiest Chapter in the game and involves doing nothing. Thus you begin Chapter VI: Amon Hen, the infamous event in LOTR. Once again, read the text, and then get along with your campaign. You'll also notice it is Turn 23...
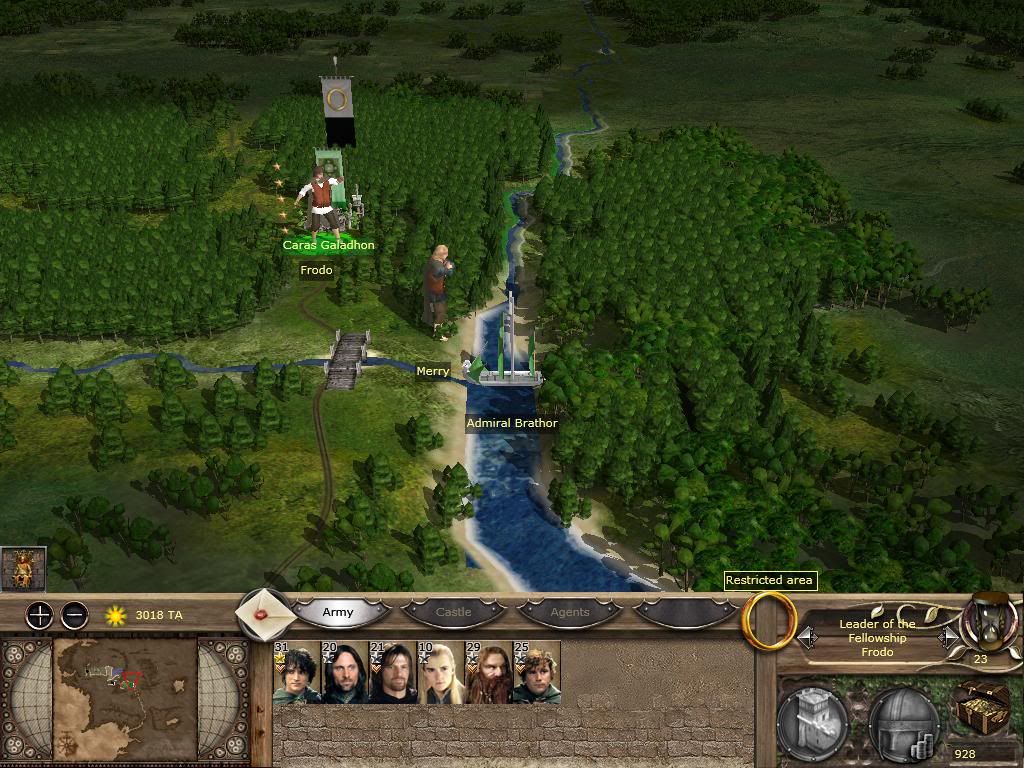
Now, on the same turn, you'll notice a navy laying in wait on the Anduin in the Eaves of Lorien. Obviously, you board the ship with your Fellowship, you can also get Merry/Pippin to board but they can also travel by land. Either way, the game is about to be heavily scripted so you won't have too much freedom with him.
So, get your Navy, and begin your boat trip down the Anduin, don't go up...Also, your navy will not be attacked so do not worry about some Corsairs appearing and sinking your ship, drowning the entire Fellowship.
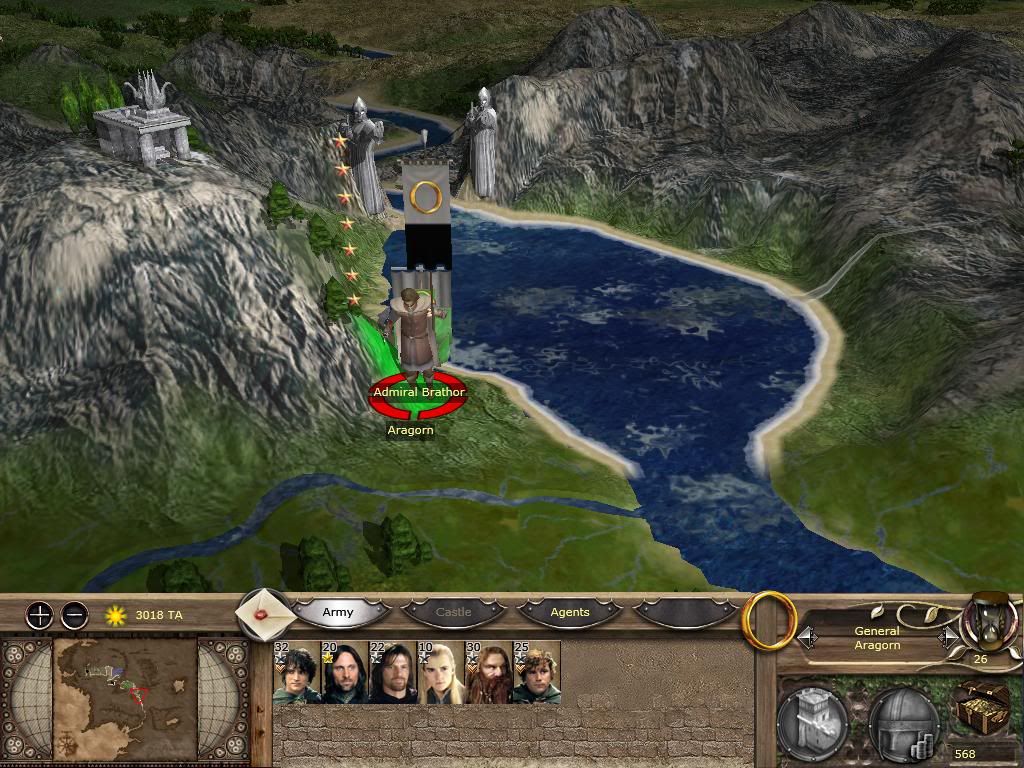
By Turn 26, you should be at the Falls of Rauros and I'm certain your navy can't continue past here. Anyway, order the Fellowship to disembark on either bank, I chose the west to be historically correct, you'll probably be out of movement points by this time, but just in case you aren't, don't move anywhere, you have to stay on the banks to trigger the next event!
And, as you can see, on my campaign, Aragorn has somehow come into command of the Fellowship, probably because of his Command.
If you've done the exact same thing as me, Turn 26 will be your last turn as a Fellowship.
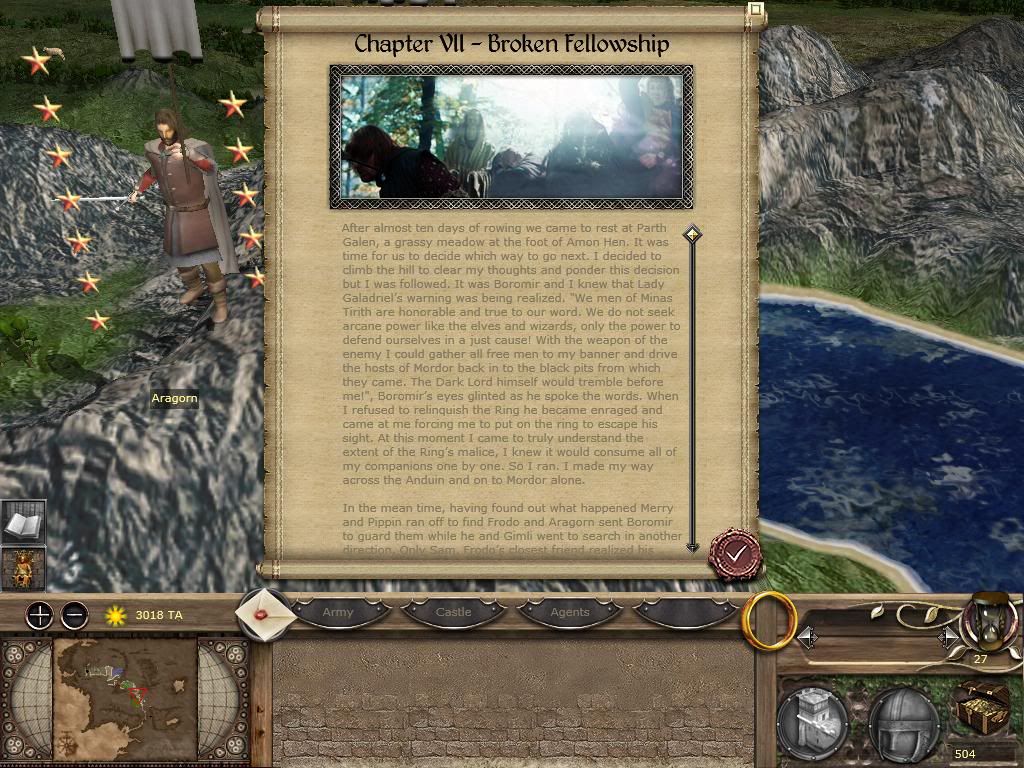
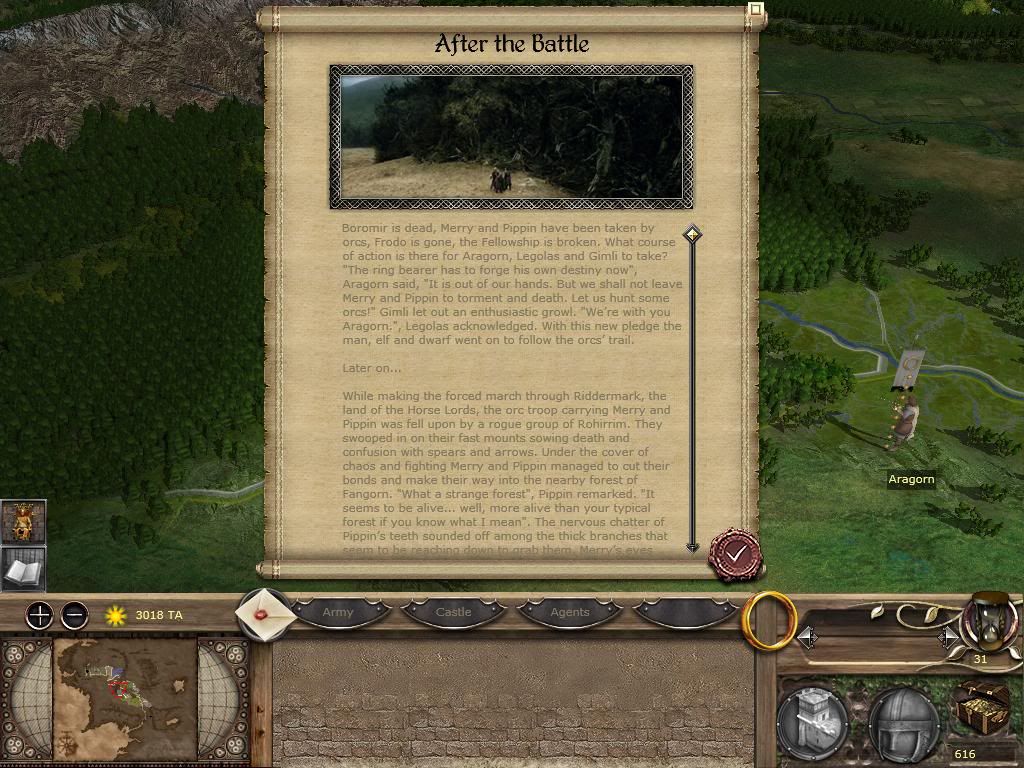
Turn 27, Chapter VII: The Fellowship is broken, you have followed my idiot advice, everyone is dead, campaign is lost...
I joke of course, but sadly, Boromir is dead and Merry and Pippin have been taken captive. Read the awesome text as well.
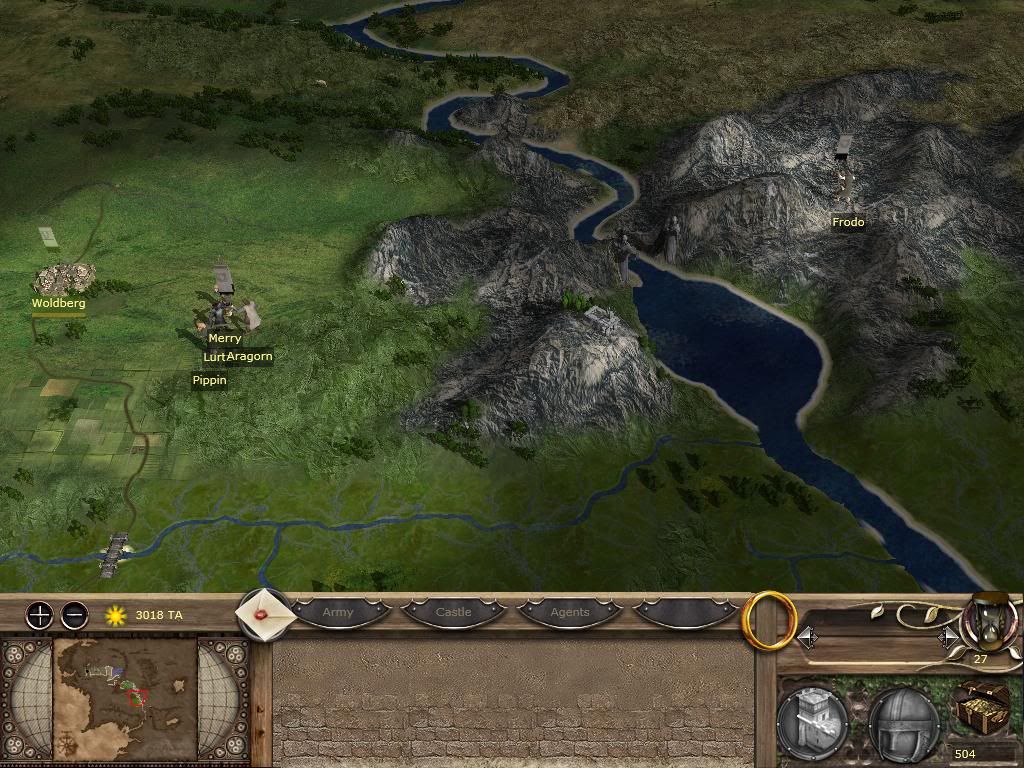
Ok, so to confirm and clear things up, Boromir is dead and has been removed from the game. Frodo and Sam are now in Emyn Muil, on the eastern bank whilst Aragorn, Gimli and Legolas are on the Western Bank.
Now, Merry and Pippin have been taken captive by a small Uruk Force under Lurtz. It has been cleverly scripted so that whenever Lurtz moves, Merry and Pippin will actually follow him. Now begins a new phase of the Fellowship, or rather, the broken Fellowship.
Now, you'll start recieving missions from now on, although the actual Mission Part of the Campaign hasn't actually been triggered yet.
For Frodo and Sam, you must find a way into Mordor, and can also complete an Ithillien mini-quest. Read the event pop-up for more information or cleverly written role-playing.
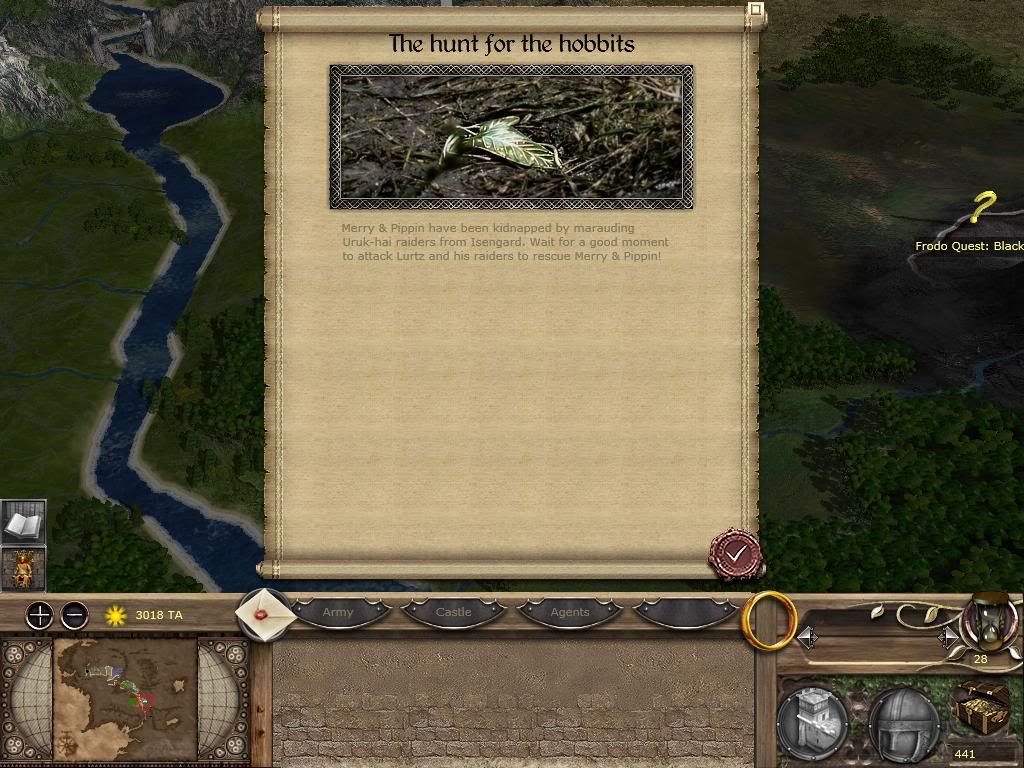
For Aragorn, Gimli and Legolas, you must Hunt for the Hobbits and take on the role of the Three Hunters. As the Hobbits continue to follow, or rather, are led further by Lurtz, you want to get as close as you can to pursue them.
Now, remember, Lurtz's force consists of a bodyguard, three units of Uruk Raiders and two of unit Archers, which is sufficient to defeat your force consisting of Aragorn, Gimli and Legolas. If you read the text carefully, you can pick up a clue which can save you frustration as you try to take on Lurtz by yourself.
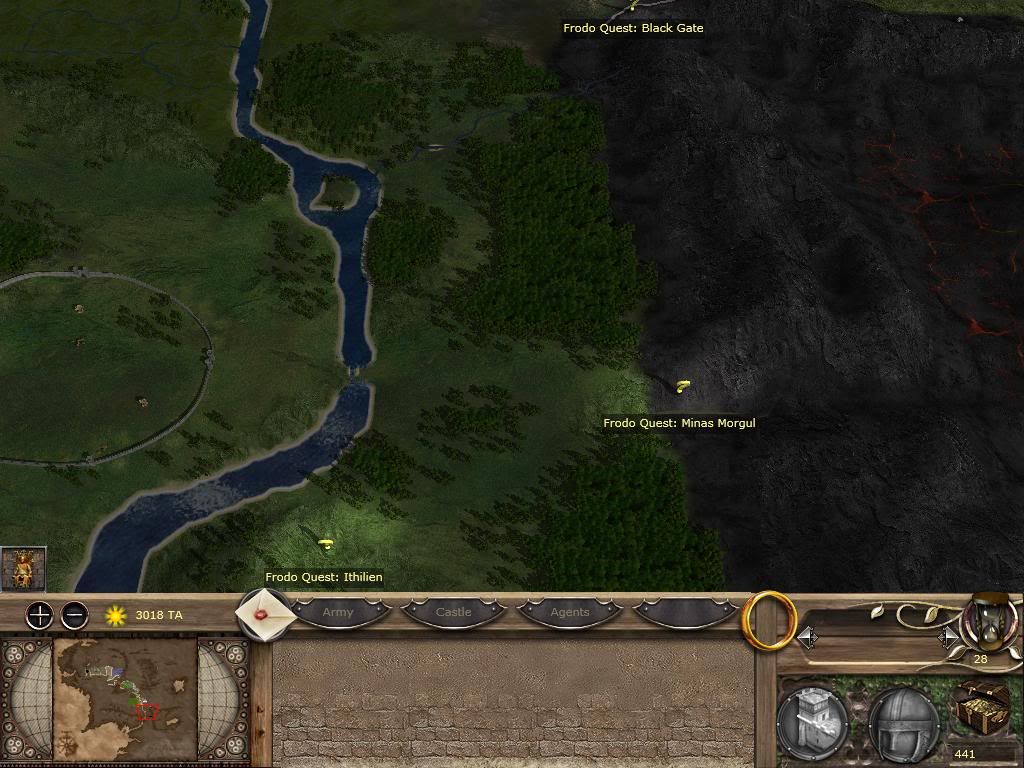
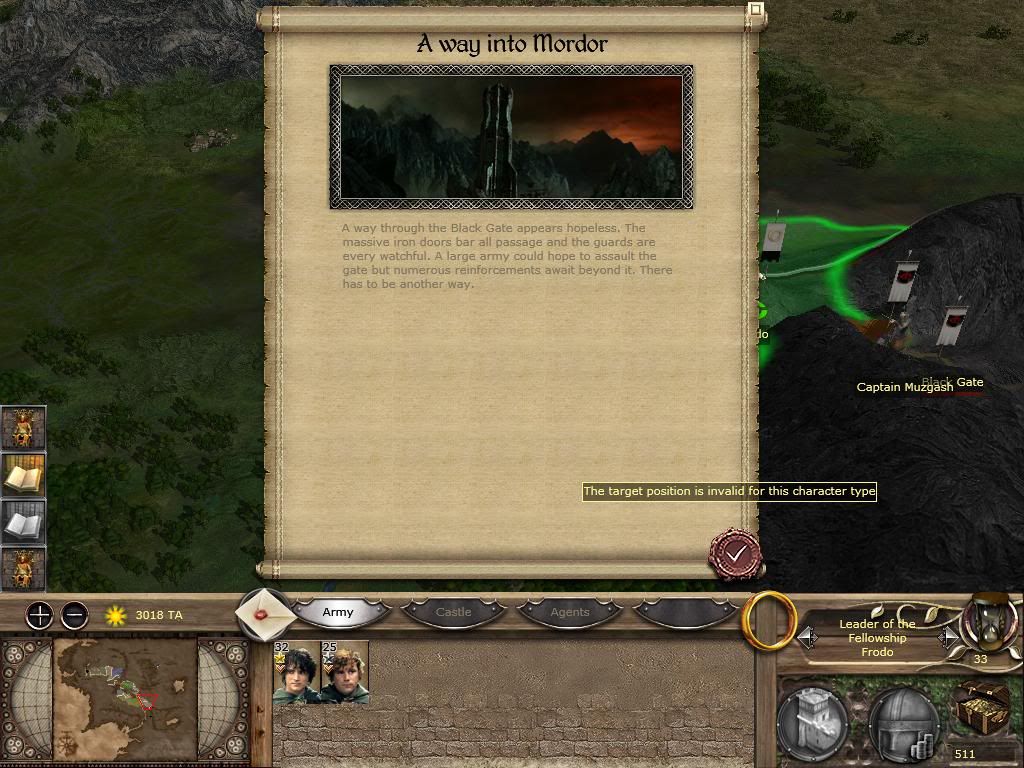
Anyway, back to Frodo and Sam, after reading the Way Into Mordor Event, you will probably notice 3 Question Mark symbols marked near the Black Gate, Emyn Arnen and Minas Morgul. These are Frodo's quest targets.
I'd advise going to the Black Gate first, as it is obviously the closest. The Ithillien Marker is a side-quest involving the Ambush in Ithillien, where you'll encounter Faramir. Taking the Minas Morgul route will automatically teleport Frodo and Sam near Cirith Ungol where they will not be able to move, basically missing all their oppoturnities to help Gondor.
To activate the quests, simply stand next to the marker for a turn as if it was a settlement...
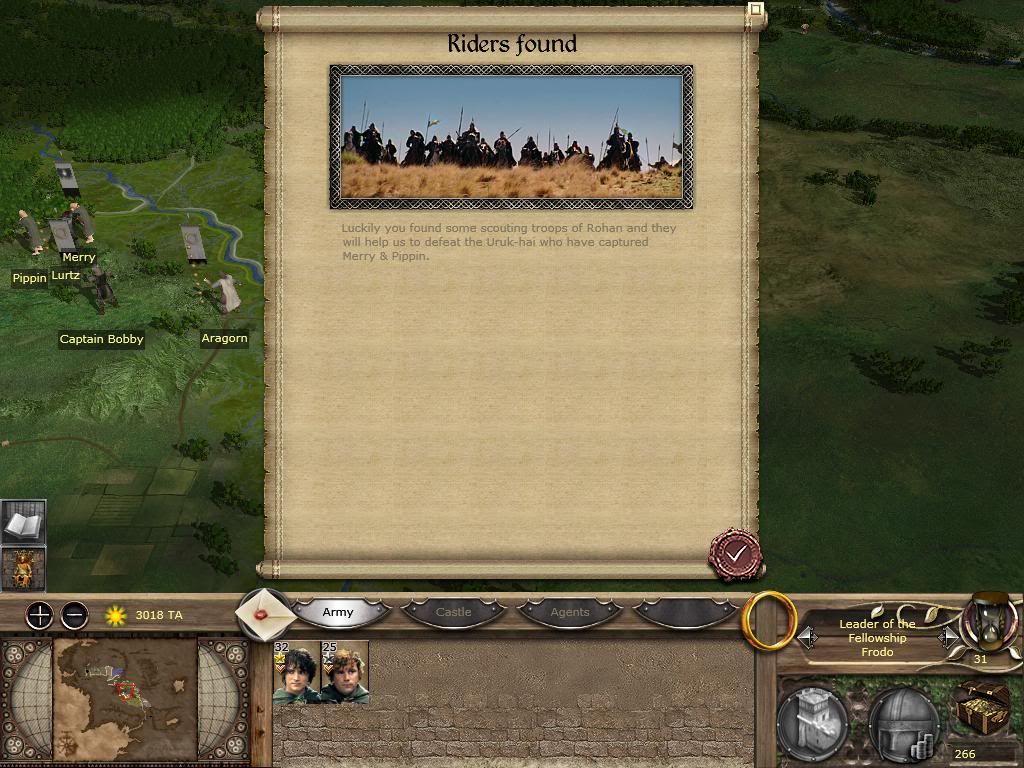
Anyway, its Turn 31, and do you remember me telling you about a clue in the text? Well, if you read it carefully, it said, Wait for a good moment to attack Lurtz. Obviously, attacking 1000 Uruks with 70 men is not a good time and if you were patient enough, and kept on Lurtz's tail, you'll encounter a reward which will highly increase your chances of saving the Hobbits.
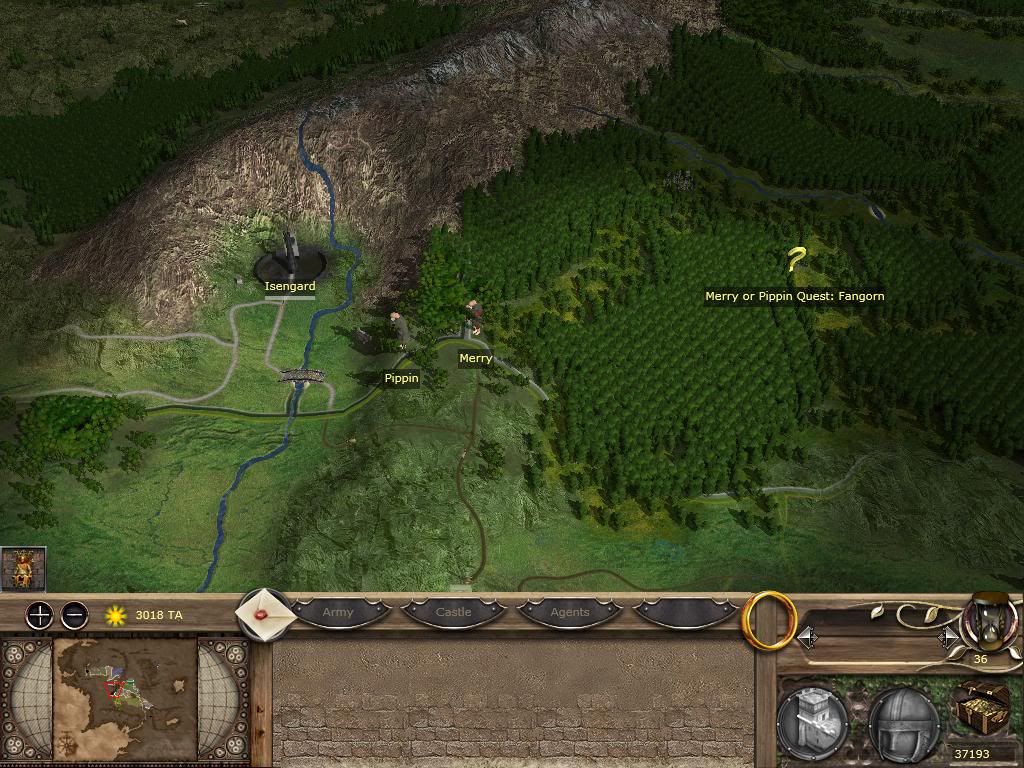
An event pop-up will appear when you are near the Fangorn forest, indicating that you have found a band of Rohirrim who have agreed to help you save the Hobbits. The Rohirrim consist of 4 units, Eored Heavy Lancers, Rohan Riders, Riddermark Skirmishers and the Rohirrim Horse Archer unit thing (forgot name). Merge them with Aragorn and proceed to attack Lurtz, as he won't move after he has reached the Eaves of Fangorn.
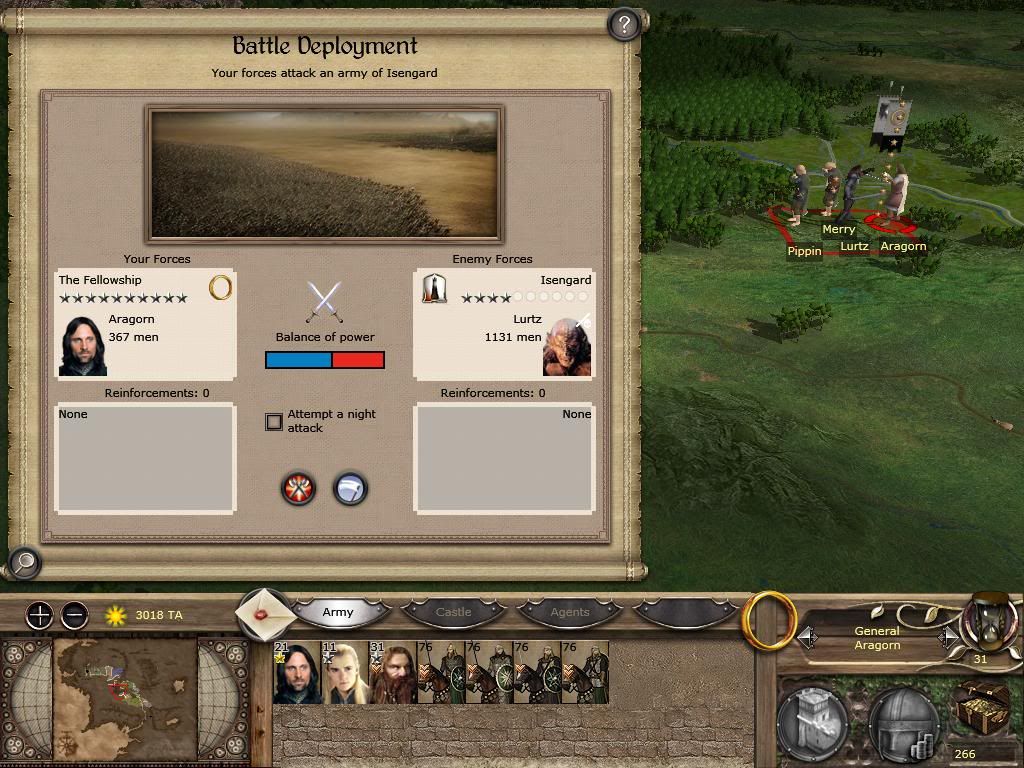
Anyway, you'll notice that despite gaining reinforcements, Lurtz still outnumbers you by a lot of men. Now remember that these are low tier Uruk units and they possess no Cavalry.
Also, if everything has went according to plan, Aragorn will have 10 Command Stars, giving your soldiers bonuses over the enemy.
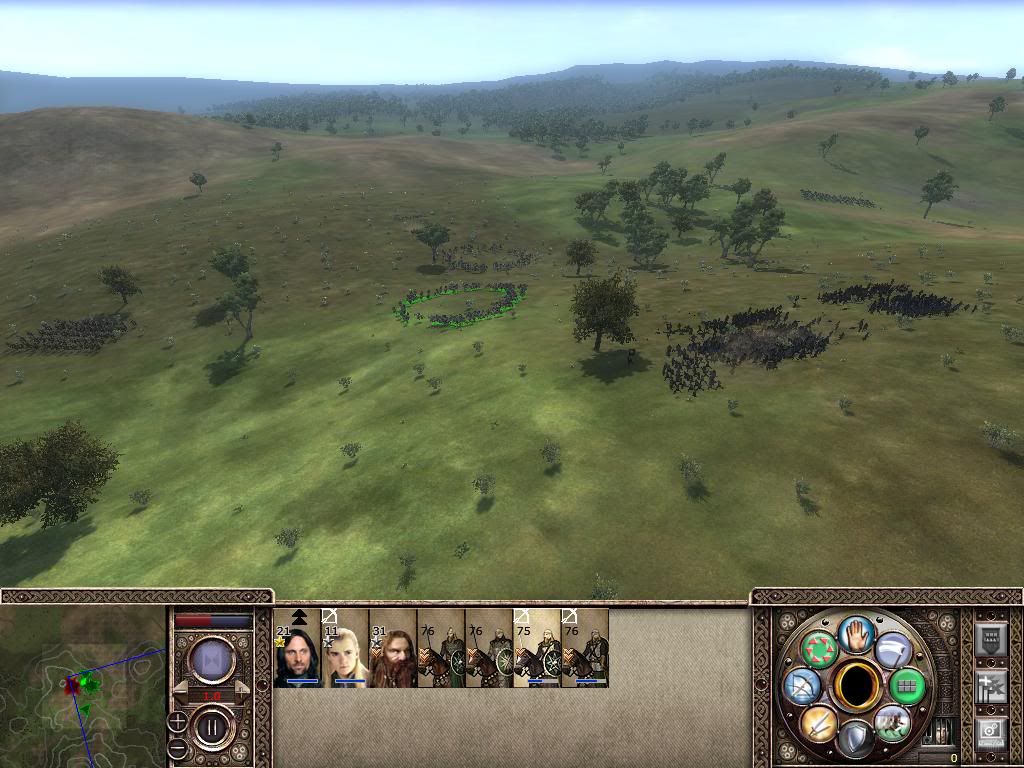
As you can see, I use similar tactics with infantry and cavalry when I'm facing an enemy army on a 180/360 degree angle. I've used my Skirmishers and Horse Archers into circle formation to avoid the Uruk Archers and I'm peppering their left flank, weakening it. I've also moved my Cavalry units to either side to flank the enemy on either side. I've also moved Legolas and Aragorn up to fire their own accurate projectiles.
When my Mounted Range Attackers ran out of ammo, I sent them to either flank to support my other cavalry. Then I moved Gimli up to their line and ordered all my men to attack.
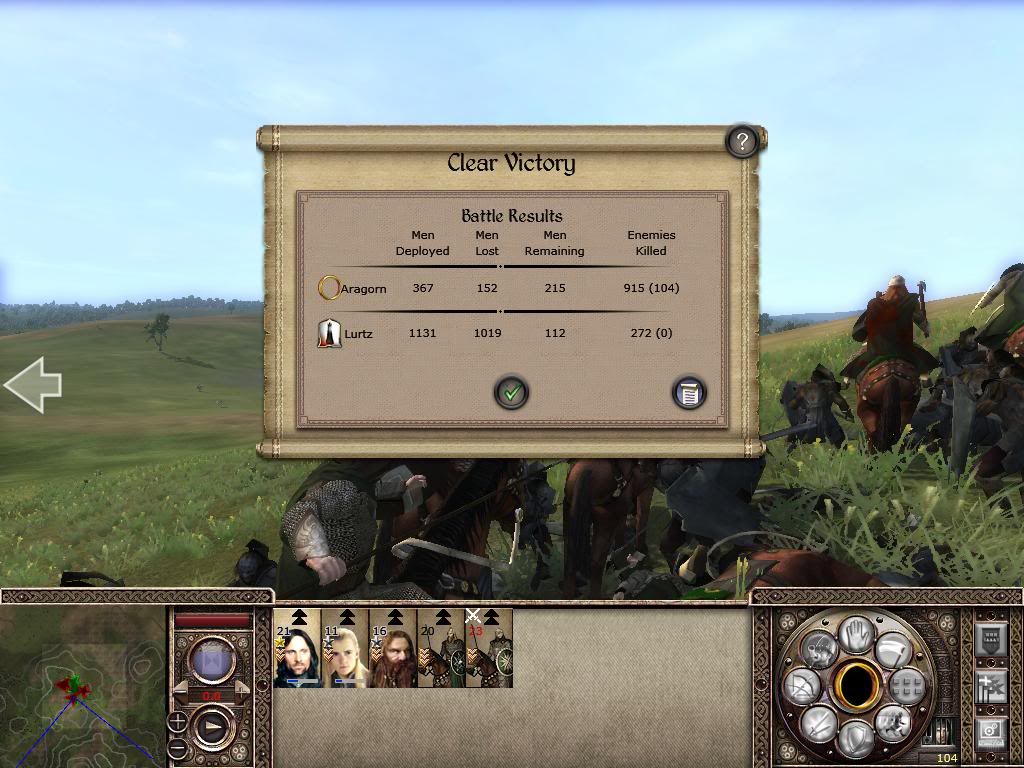
Sadly, I sort of botched the attack and ended up taking far more casualties than I liked, but the Rohirrim Reinforcements will actually disappear after you win the battle so it matters little how many of them died.
I'd advise to move your Cav to the rear and kill Lurtz first. Orcs have mediocre morale and will often flee instantly after you kill their General.
In that case, I killed Lurtz after my victory was already assured. Anyway, main goals, keep your Three Hunters alive and well.
I am now on Turn 31, Merry and Pippin have been rescued as you can see from the Screenie but as per book and movies, they have fled into Fangorn Forest.
So, your Rohirrim have vanished and your back to just your three heroes. You can't see it in the screenie below as you have to scroll down but you now have to now move Aragorn, Legolas and Gimli into Fangorn Forest as if you are following them.
Like all Quest Markers etc, you have to be basically right next to them and you have to be there for a turn.
Also, I finished my first Frodo Quest Target at the Black Gate.
Obviously, you have to stand right next to the Quest Marker and also, as per movies and books, you cannot go through the Black Gate. You basically get nothing out of doing it but I think its a requirement that you go there first before Minas Morgul.
Anyway, now that your done there, head south, avoid any stray Mordor or Haradrim armies lest the poor Hobbits get swarmed.
And finally, phase 1 of the Fellowship Campaign is complete.
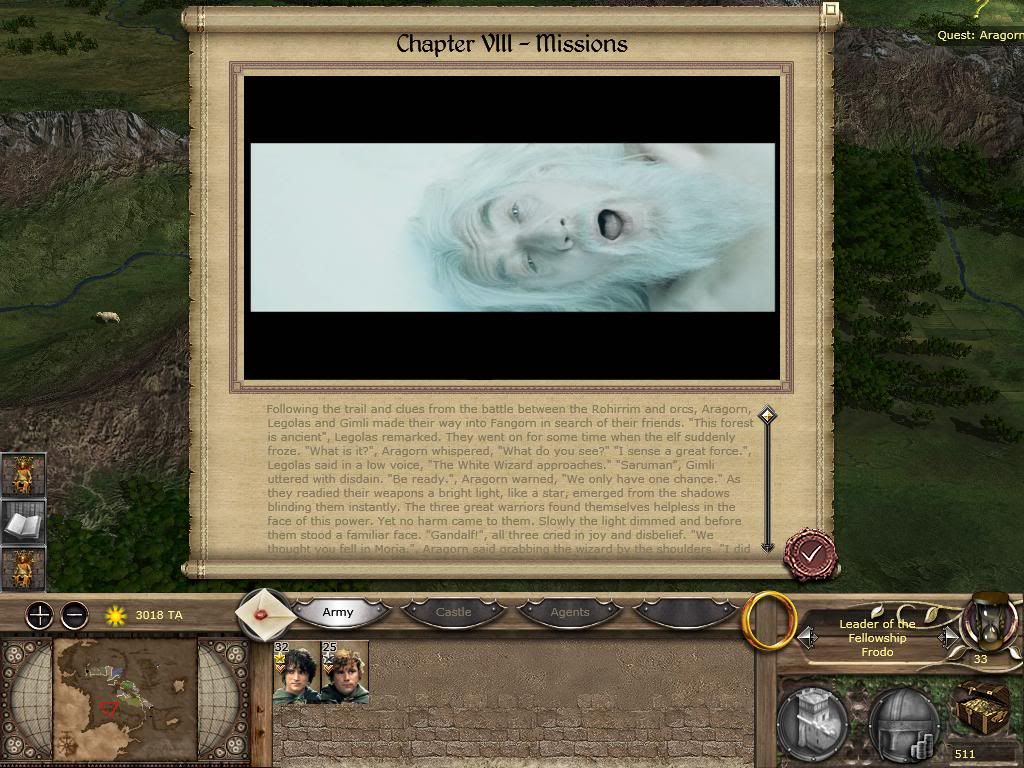
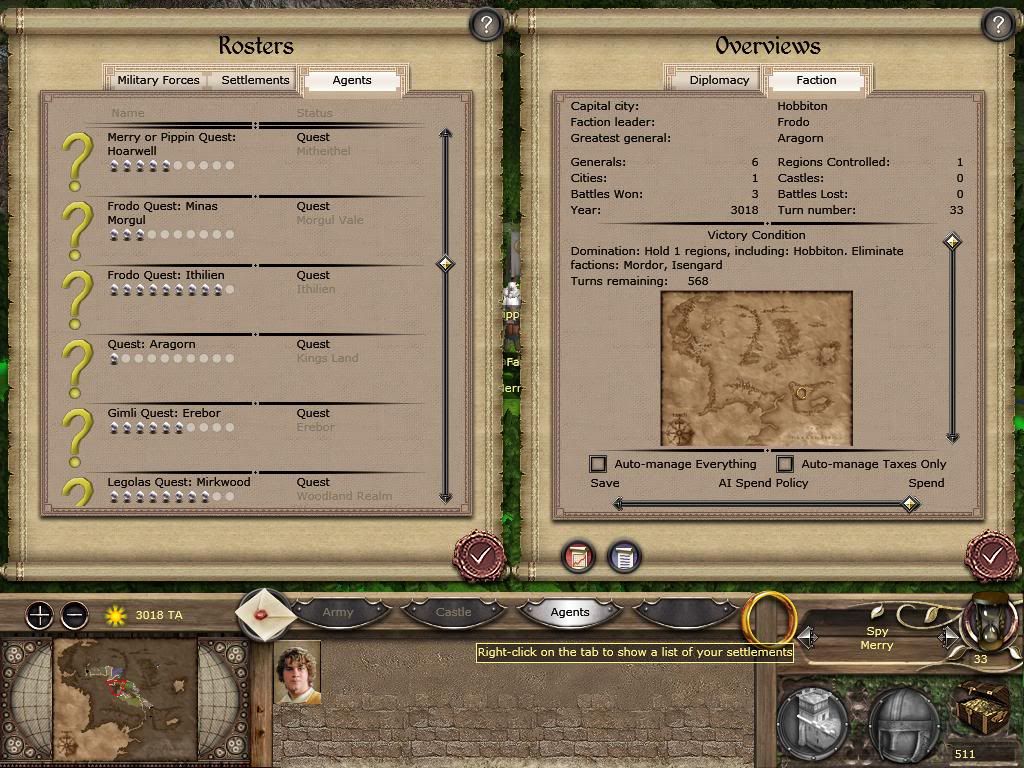
Now you get tp actively do the Agent Missions that were displayed in the Preview. Once your Three Hunters have hung around the two Hobbits for a turn, Chapter VII is complete and Chapter VIII: Missions, begins in earnest.
You will notice a few Quest Markers dotting the map, and you'll notice that in the Agents Scroll, there are the Agent Quests you can complete, their difficulty and who can do them.
That, however, is for Part II, I hoped I've helped you and I hope you've enjoyed reading.
Remember to Rep, comment and rage at Jean A Luc. Don't come and complain that I've spoiled the campaign for you or something, its optional to look at.
Also big thanks to Amon Amarth, Jean, Ced, El Cid, Germanicu, MBA and Louis Lux for making this wonderful and unique campaign.
Part 2 - Calm Before the Storm
Spoiler Alert, click show to read:
I was planning to make this update larger, but sadly, some in-game problems such as Bad AI and overpowered Uruk-Hai caused me to rage quit.
Ok, so we left off last time at the begginning of the "Missions" part of the Campaign, where each Character gets his own missions which all contribute to the War of the Ring in some way.
Now, as many of you should know, Legolas must go to Thranduil's Halls, Gimli must go to Erebor and Dale, Gandalf must go to Edoras and Aragorn just has to hang around the Westfold. Merry and Pippin should stay put in Fangorn whilst Frodo and Sam should continue their journey through Gondor.
The remaining Fellowship Members should probably disperse like this, oh, and btw, Gandalf the White has returned!
Now, this update will mainly just show the mission event pop-ups and doesn't have a battle, although I was trying to do Helm's Deep.
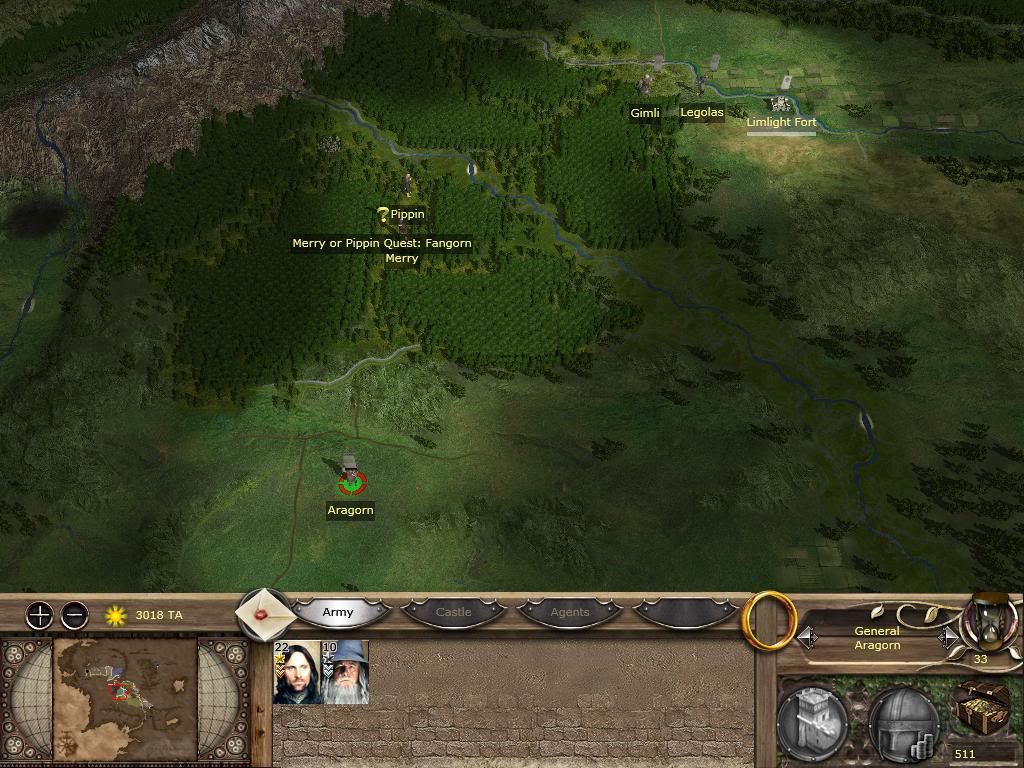
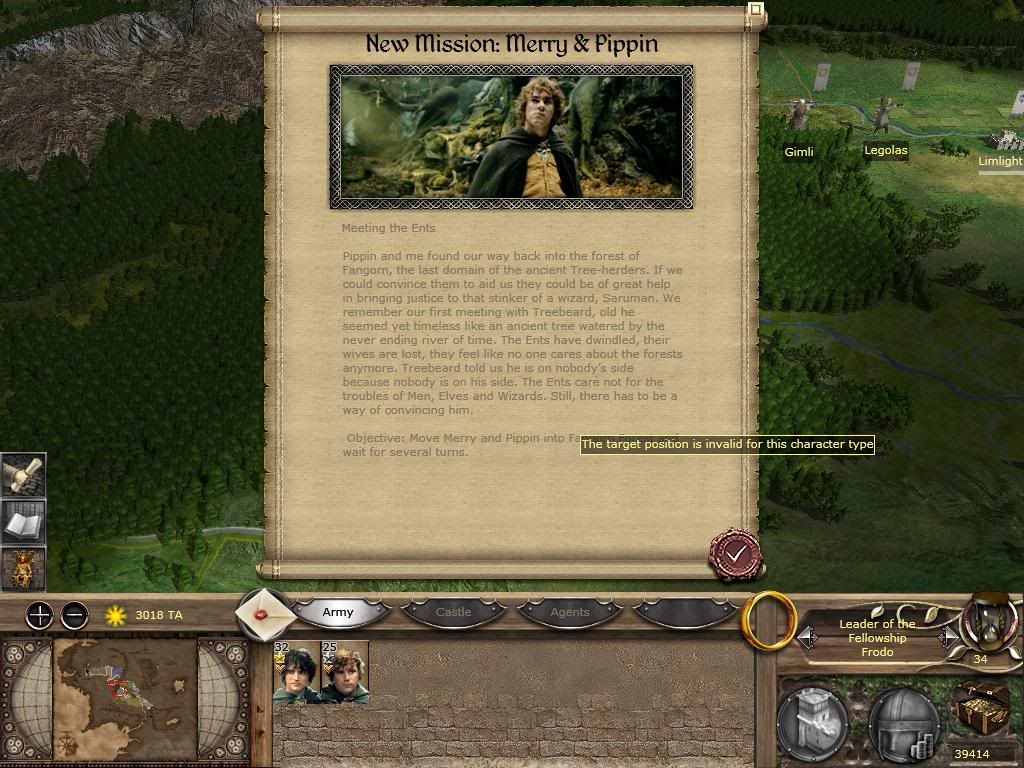
The next Turn (34), if all has gone according to plan, will be your first major mission feed. This mission is of course, the Fangorn mission, or rather a long chain of missions involving Merry and Pippin. Being related to the Ents, the mission takes quite a while to update and you'll probably spend several turns in the same place doing nothing wahtsoever.
Anyway, the first little mission is just to hang around in Fangorn until you find Treebeard...or he finds you..
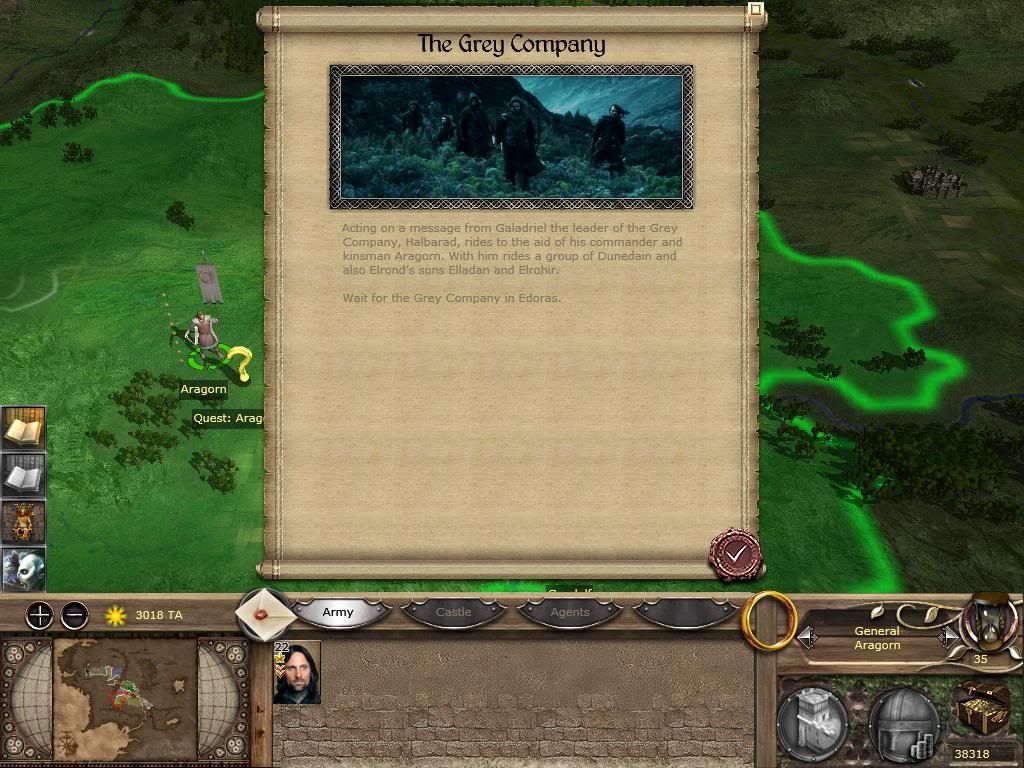
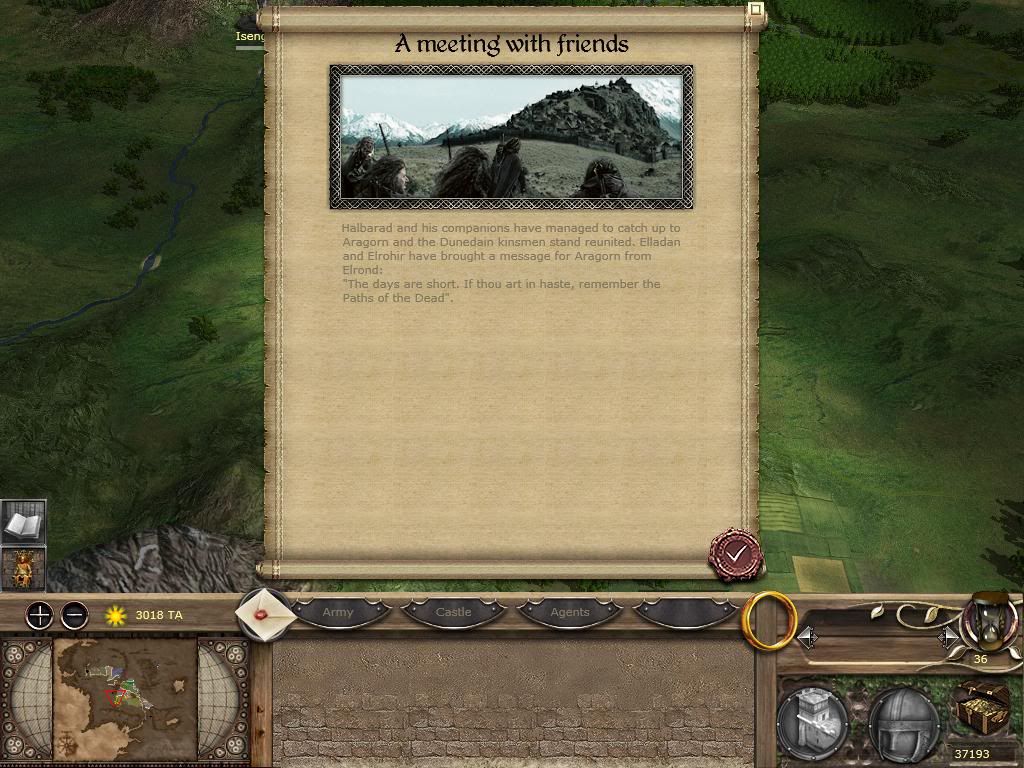
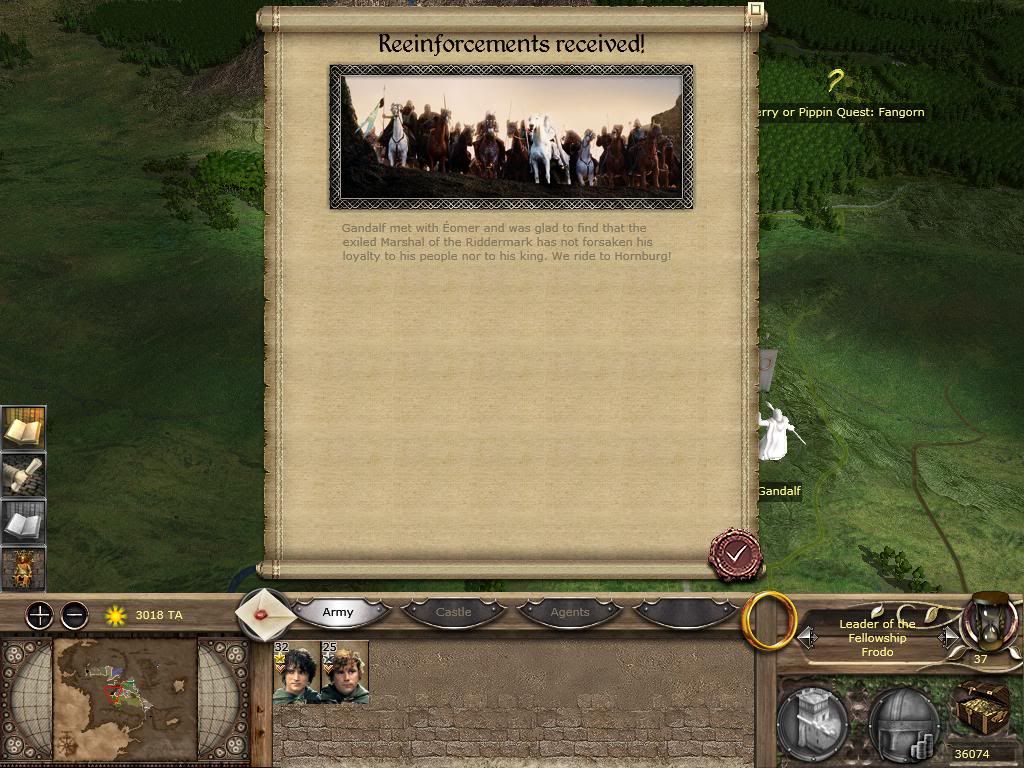
Now by Turn 35, if Aragorn has already hung around in the Westfold for a while, should be when the esteemed Grey Company arrives from the North.
This is the first of the long chain of Gondorian Events which involve doing... a lot. Despite only 75 men arriving, they are one of the best units in the game.
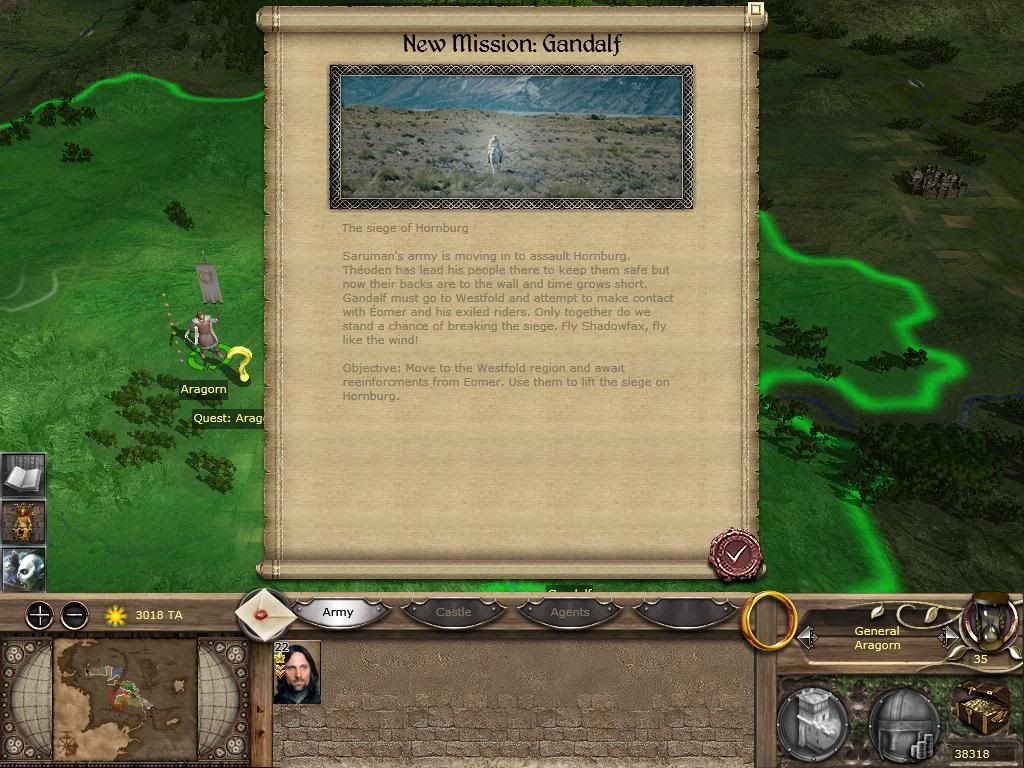
And, you should also now have recieved Gandalf's first mission which involves doing a lot of hardwork in Rohan.
Now I've seen a few people have struggled with this mission despite it being one of the easiest and certainly one of the most rewarding missions in the game!
Yes, that's right, people find it difficult to Search for Riders in the Westfold! Now, ignore the word "search" as it is there for Role-Playing reasons. You don't actually have to Search, all you have to do is hang around the Westfold just as you do for most other missions.
Now also, some people have troubles finding the Westfold. Its the large region between Fangorn, Edoras, Helms Deep, Isengard and Adorn, and it contains the city of Foldburg. If you still have troubles finding it, check you mini-map or simply right-click and hover your cursor over nearby regions as I've done in a further screenie.
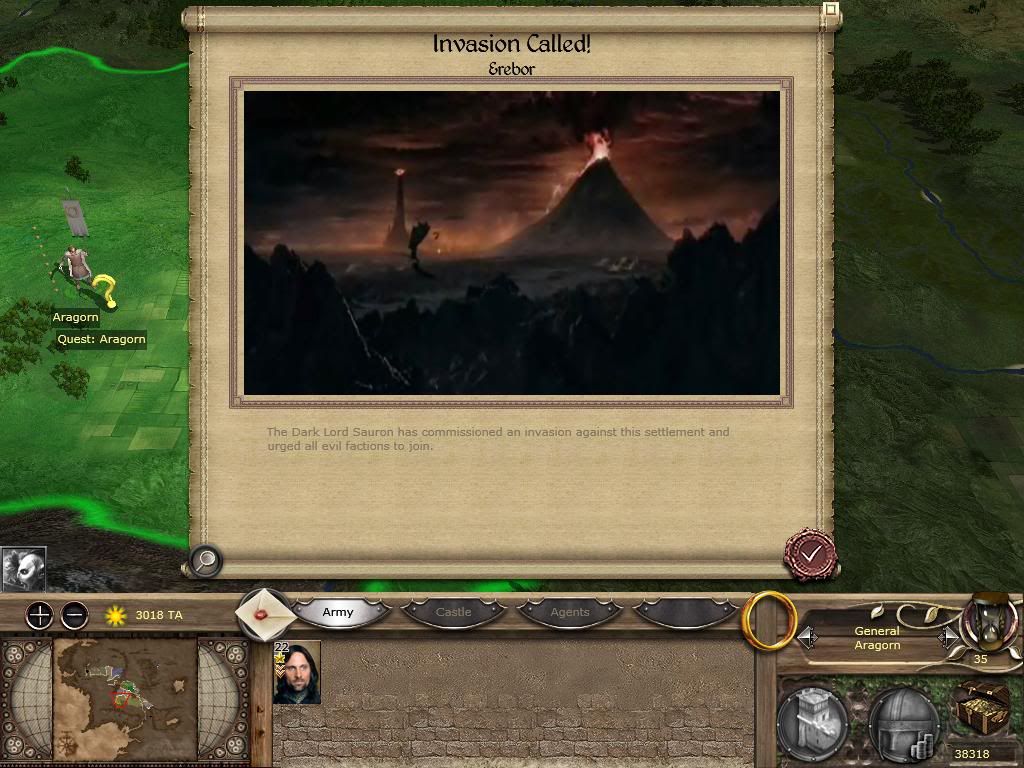
Also, around this time, there should've been another Invasion of Erebor (This was my second). This shows certain improvement to the game script, so the enemy won't call an Invasion on Edoras every 20 turns. However, I'm afraid Erebor might be the new target!
Anyway, don't worry too much about the Invasion as I don't think enemy factions can actually answer it or if they do, I'm pretty sure the Dwarves will hang around and loose Erebor again.
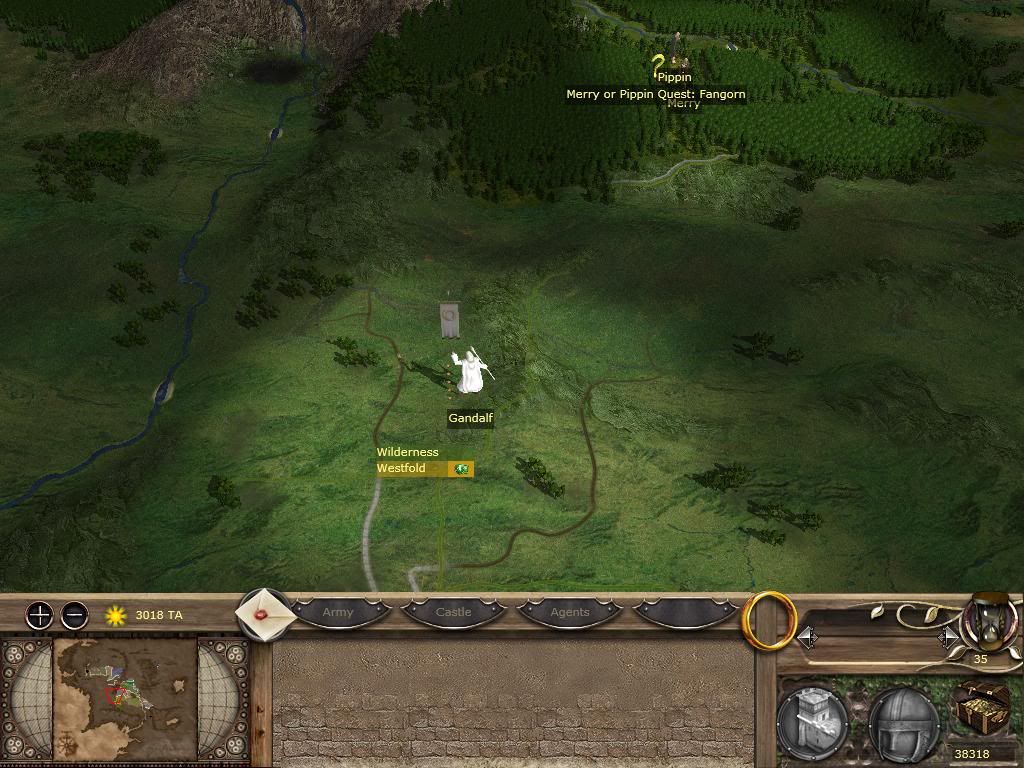
Ok, for those who struggled Searching for Rohirrim in the Westfold, simply park Gandalf here on the map. You may be able to see the faint green like which determines borders, it is on a small rise just next to Gandalf.
Also, you may notice the difference in Roads. Edoras will definately have paved roads whilst Foldburg will have dirt roads. You may want to be on the Dirt Roads.
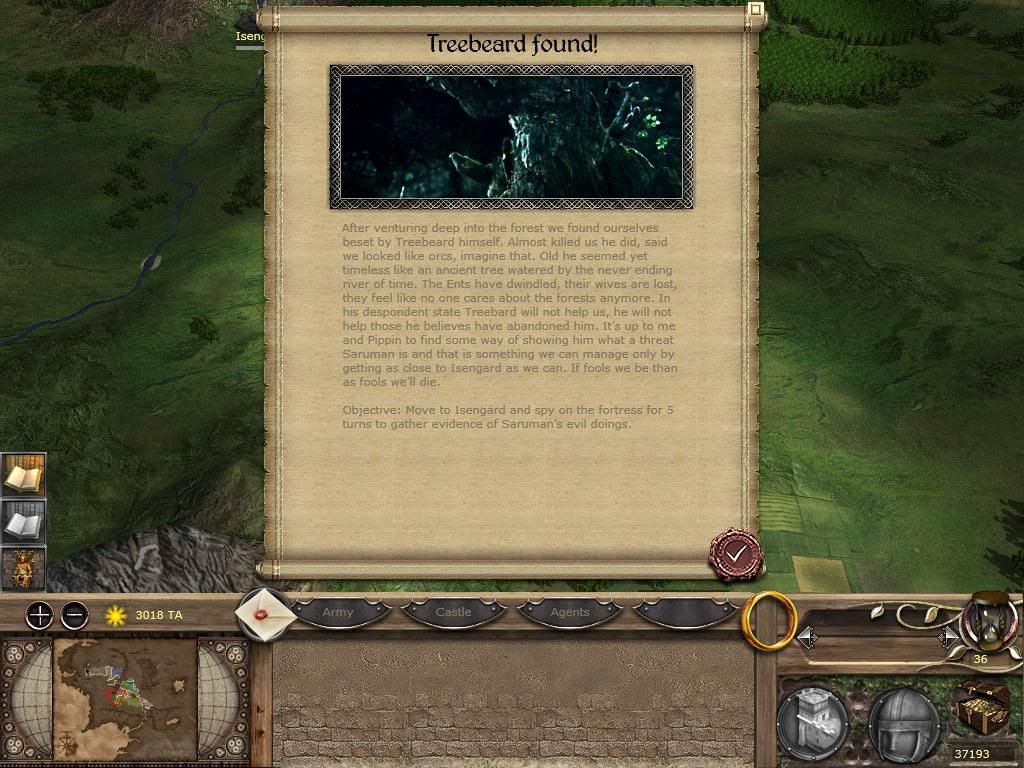
And two turns later, I finally find Treebeard!
Now, once again, you'll be given another mission which involves pretty much doing nothing. You'll be required to move either Merry or Pippin down into the Isengard region, but this doesn't mean you have to spy on Isengard! This will result in one of them dying as they both suck at spying and are good at getting caught, plus, loosing any of them means no respawning, dead for good.
Just hang around Isengard for a little while and you'll recieve your next mission soon.
Well that wasn't too hard, was it? A turn or two after moving Gandalf into the Westfold, you should recieve this pop up and you'll notice about half a stack of Rohirrim appear near Gandalf.
Things are now getting heated up in Middle Earth, and you can pretty much guess what comes next.
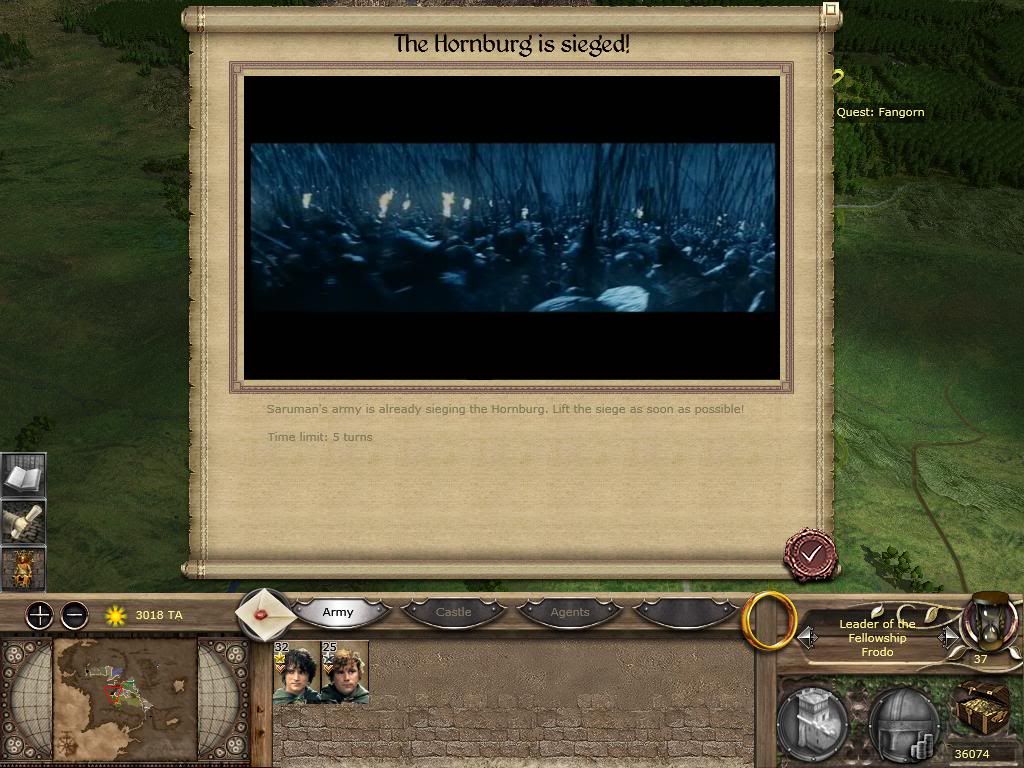
Oh Oh! One of the first and greatest battles of the WOTR. The Siege of Helms Deep involved 2000 defenders and 1000 reinforcements under Gandalf, but sadly, you only get about 1500 men altogether, but on the bright side, Isengard only gets 4000 men instead of 10 000.
You'll notice a large army will spawn outside Helms Deep and immediately lays siege to it, giving you no time to assault it in the field.
This epic battle will come in Part 3 - Saving Rohan and Gondor I.
Last edited by Valandur; July 28, 2010 at 03:42 AM.
Originally Posted by Michele Bachmann
They would be incorrect. The only path to happiness is through Christ.
Re: TATW: Fellowship of the Ring Campaign Guide (Part1)
wonderful! that will help me alot! +rep
tho i have a comment: you dont have to set it to VH/VH you can set battle difficulty to whatever you want but the campeign difficulty must be VH
Re: TATW: Fellowship of the Ring Campaign Guide (Part1)
Really awesome work and very helpful!
+Rep of course
You make some little mistakes (nothing serious):
To trigger the chapter, Frodo has to be right next to the Settlement, and the Chapter completion will be triggered the next turn. Keep that in mind...
Frodo must not near the Settlement, its only important that he stay in the Bree-Region for 2 Turns.
See Script-Conditions:
Code:
monitor_event CharacterTurnStart CharacterIsLocal
          and AgentType = named character
          and IsRegionOneOf 30
          and TimeInRegion > 1
          and Trait Frodo2 >= 1
If a Council of Noble Mission has popped up regarding military units in Hobbiton, 4 units of Hobbitry in Arms will appear and garrison the village the next turn. Also, in my experience, Frodo adopted some guy called Andy who also managed Hobbiton.
You should add that this Units should stay in Hobbiton and the Player shouldn´t use them during the campain.
And the adoption is not intended.
If Merry or Pippin can uncover him before he attacks you, you may be able to completely avoid him.
Not possible to avoid the attack of the nazgul, it doesn´t matter what you do, the nazgul attack you every time via this script-command:
Code:
engage_armies nazgul2, frodo1
You'll notice next to the Balrog is a stack of Orcs, consisting entirely of Heavy Goblin Infantry. I'm not exactly sure of its purpose yet.
To make impossible for the Silvan Elves to attack the Balrog. This stack will be destroyed after the Battle against the Balrog.
Though at this point, any unit north of Eregion is now in a restricted area and cannot be moved
You could add that a character could be selected by right click on the Army-Tab and then click on the general.
Now, Merry and Pippin have been taken captive by a small Uruk Force under Lurtz. It has been cleverly scripted so that whenever Lurtz moves, Merry and Pippin will actually follow him
Take two day´s until that work correct, unfortunately i must remove the last fight of Boromir.
To activate the quests, simply stand next to the marker for a turn as if it was a settlement...
Exactly like Bree, you must only stand in the region where the Quest-Marker stand.
Obviously, you have to stand right next to the Quest Marker and also, as per movies and books, you cannot go through the Black Gate. You basically get nothing out of doing it but I think its a requirement that you go there first before Minas Morgul.
Wrong
I think that was a little mistakes
Great job, i think that will help much people
Third Age Member (Fellowship-Scripter) Under the Patronage of MasterBigAb
Re: TATW: Fellowship of the Ring Campaign Guide (Part1)
Originally Posted by ELB27
when will you post part2?
i need a guide for frodos ithillien sub-mission and for dol-guldor mission...(no pressure af-course)
Probably tomorrow morning, or, 8-12 hours or so. Part 2 probably will probably cover Rohan missions, and some Gondor missions, probs will include Ithillien, may not include Dol Guldur.
Originally Posted by Michele Bachmann
They would be incorrect. The only path to happiness is through Christ.
Re: TATW: Fellowship of the Ring Campaign Guide (Part1)
ok, thanks!
actually i think i can do dol-guldor by myself but this ithillien is too hard for me.no matter how many times i try i just cant complete it
Re: TATW: Fellowship of the Ring Campaign Guide (Part1)
Semi-obvious, but it bears stating: Spy on absolutely everything you can whilst in relatively friendly territory, where you've got high success chances thanks to lots of one unit stacks. Build up that subterfuge. But be extra careful-Merry and Pippin are NOT covered by the Fellowship Resurrection policy: They die and they're gone for good. Which is frustrating seeing as spying is 'succeed or die'....
Re: TATW: Fellowship of the Ring Campaign Guide (Part1)
Originally Posted by Bloodly
Semi-obvious, but it bears stating: Spy on absolutely everything you can whilst in relatively friendly territory, where you've got high success chances thanks to lots of one unit stacks. Build up that subterfuge. But be extra careful-Merry and Pippin are NOT covered by the Fellowship Resurrection policy: They die and they're gone for good. Which is frustrating seeing as spying is 'succeed or die'....
As i said a couple of times: Its not required for any mission that one of them go into a city or castle.
Third Age Member (Fellowship-Scripter) Under the Patronage of MasterBigAb
Re: TATW: Fellowship of the Ring Campaign Guide (Part1)
I have lost 8 mens vs nazguls...The trick is how you said to deploy like this
x = Frodo' troops
y = Sam's troops
o = Aragorn's troops
- = empty space
x --------- y
x --------- y
x --------- y
-- ooooo --
When the battle begins and aragorn start shooting use his special ability (it's not a waste if it's what you're thinking, it will unlock flaming arrows)
Then make use of flaming arrows (works best vs heavy armour and do more damage even if their reloading time is longer)
If you do like this you may kill one or two nazguls before they arrives to you..Then you have to let them charge aragorn (which is what they will do) and outflanking them with the hobbits..
After you have flanked them retreat with aragorn to a little distance and shoot two times the arrows..Then have him charge them in hand-to-hand fight..
This works wonderful..If you want to include this in your main post I will be honoured if not...Nothing..XD it's only a tip..
Last edited by .:Zack Fair:.; July 24, 2010 at 05:31 PM.
Put the units in this formations on the beginning of the hill which is in the center of your deployement area
IMPORTANT!!!! Do not put them on the top!!! Put them on the drop right before the top (you can deploy only Frodo and Sam on the top if you want)
Before the start of the battle remove skirmish mode from Legolas and make him and Boromir use flaming arrows..
When they will come in range use Gandalf and Aragorn to attack the goblins and Legolas and Boromir to attack the Balrogs..
Continue until the Balrogs and the goblins will charge
NOTE: You may use "Light of Elbereth" or "Chiefs of Dunedàin" if you wanna unlock flaming arrows, this will weaken the goblins and in the end you can also weaken the balrogs..However I do not recommend to do it..These abilities will help you later.
When the balrogs and the goblins will charge you will notice that the balrogs have passed charging Boromir and Legolas and they have felt into the trap..Gimli was there waiting..While he attacks the balrog Flank them with Aragorn and Gandalf and use if you want their abilities..In the meanwhile the goblins tried to charge too, but have felt in hand-to-hand combat with Boromir's Dunedàin Rangers and Legolas Bodyguards..They will crash them..If you wanna have more help later on vs the balrogs you need to kill quickly those goblins..To do that advance with Frodo and Sam in the front to outflank the enemy from the right and the left..This can easily broke their morale so they will retreat..While they retreat use Legolas to attack the Balrog and use Boromir to pepper the goblins (maybe they will return) and come back with Frodo and/or Sam (if you don't wanna lose him come back)..
While the goblins will return (they may not) frontal attack them with boromir..The last balrogs should fall in a little time..
Wonder if you wanna add also this...=)
However if you won't they're in the first page..so no problem..
Last edited by .:Zack Fair:.; August 05, 2010 at 04:16 AM.
Re: TATW: Fellowship of the Ring Campaign Guide (Part1)
Valandur , In quest of Legolas in the Forest , I has take the castle Dol gurdul ( or something like that) in the south . But I see the quest "look for Dol gurdul army arrive"
After take the castle , I have wait outside for 1 turn and the castle rioting , not turn to rebel like Isengar
What must I do ?
░░░░░███████ ]▄▄▄▄▄▄▄▄▃
▂▄▅█████████▅▄▃▂
I███████████████████].
◥⊙▲⊙▲⊙▲⊙▲⊙▲⊙▲⊙◤
This is Total War !!!
Re: TATW: Fellowship of the Ring Campaign Guide (Part1)
Originally Posted by Maha Moggalana
Valandur , In quest of Legolas in the Forest , I has take the castle Dol gurdul ( or something like that) in the south . But I see the quest "look for Dol gurdul army arrive"
After take the castle , I have wait outside for 1 turn and the castle rioting , not turn to rebel like Isengar
What must I do ?
'
Ok, remember your only allowed to keep Hobbiton as a settlement.
And I believe in the rules it stated you'll lose the game if you garrison a different settlement for more than one turn.
What should happen, is when you take Dol Guldur, your forces are exiled and the place becomes rebel.
That should happen automatically unless you take some random settlement like Argond or Amon Gastal or something.
Originally Posted by Michele Bachmann
They would be incorrect. The only path to happiness is through Christ.
Re: TATW: Fellowship of the Ring Campaign Guide (Part1)
Very good guide!
I was killed several times when the nazgul come, and hey always killed frodo. When I retreat the fight, the balrog massacred all my heroes.
Re: TATW: Fellowship of the Ring Campaign Guide (Part1)
Originally Posted by Flavio
Very good guide!
I was killed several times when the nazgul come, and hey always killed frodo. When I retreat the fight, the balrog massacred all my heroes.
You doing something wrong
@Valandur:
You forget KK in the first Post
Third Age Member (Fellowship-Scripter) Under the Patronage of MasterBigAb


. Read the text, gain some info, oh, and also I forgot the mention, Gandalf has actually been removed from the campaign.


 Reply With Quote


