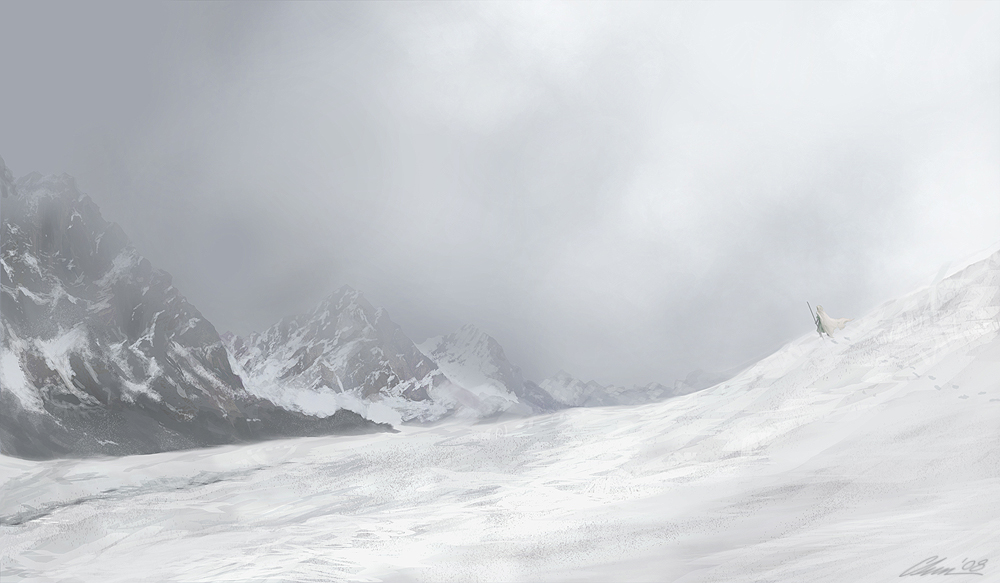
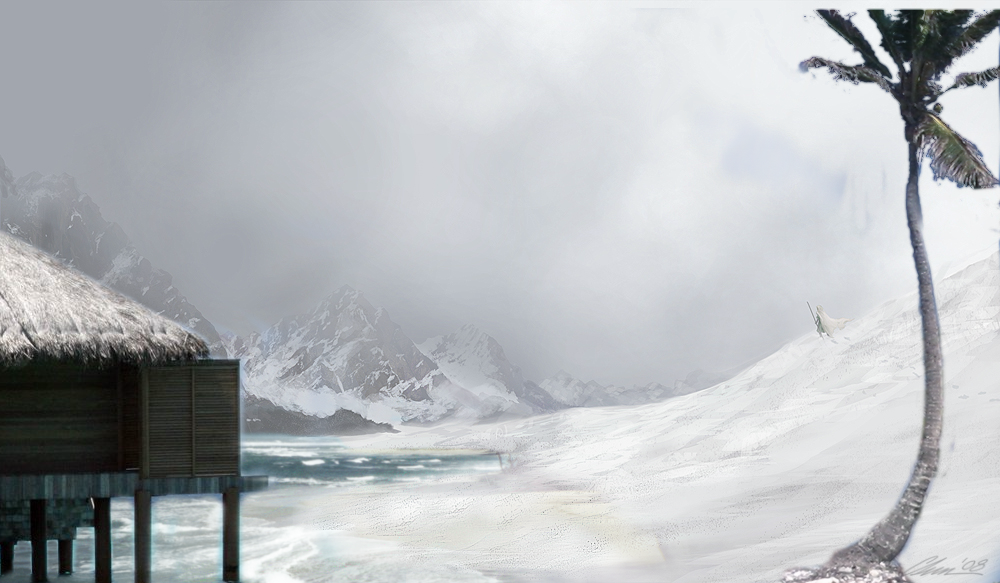
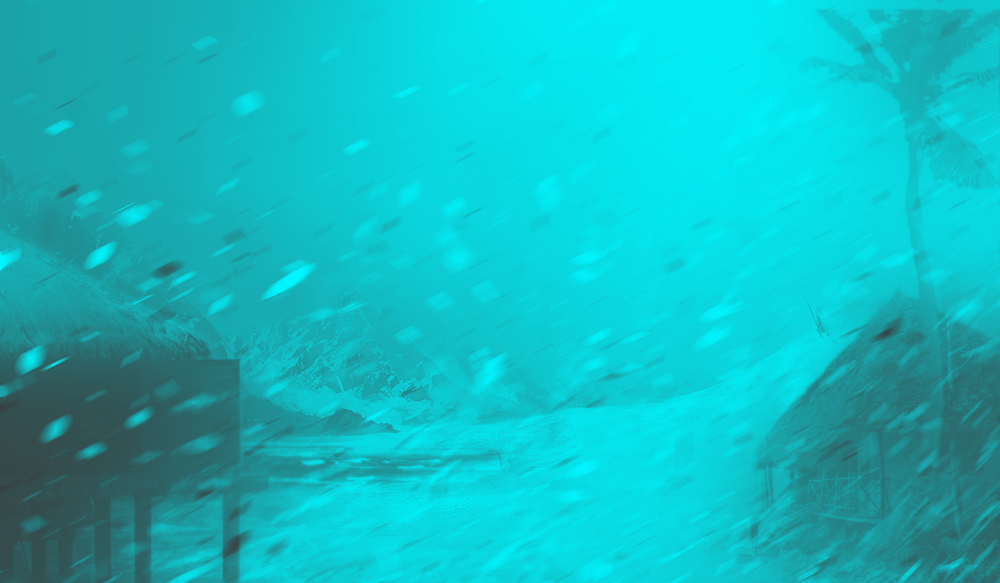
1 - We'll start with opening up the 1st picture in a new image. We'll be keeping this size for our piece.
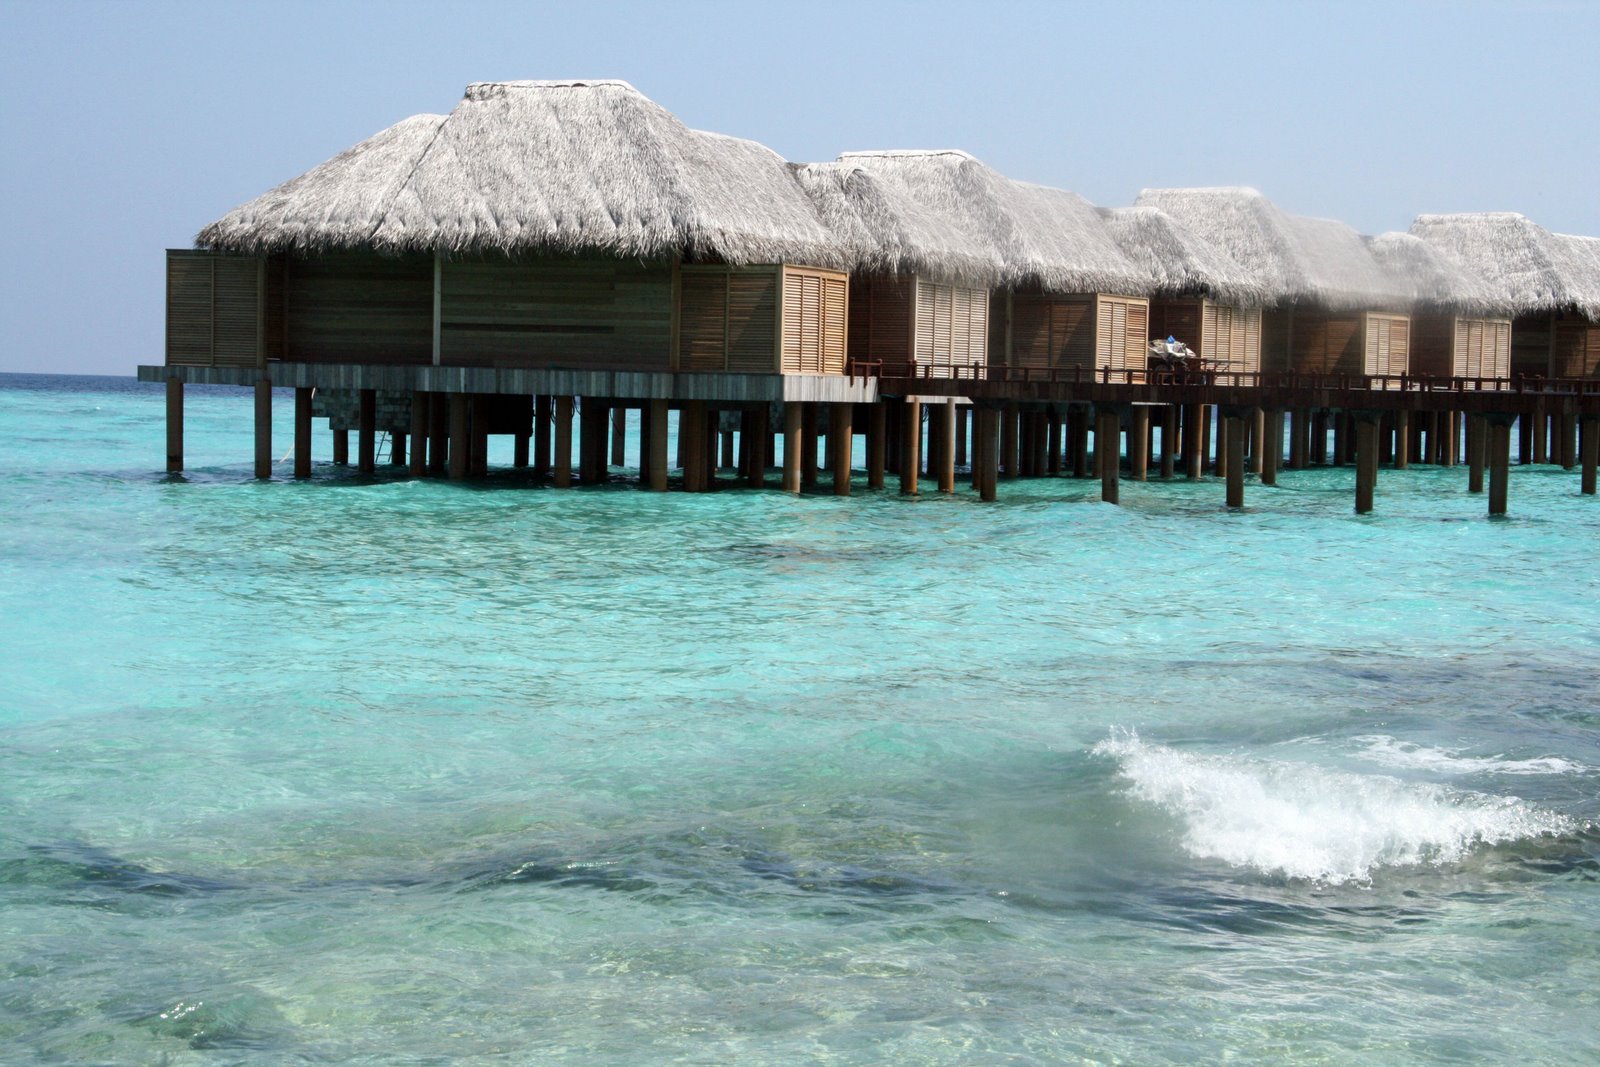
2 - Now paste the 2nd picture into a new layer and mirror it. After you've done that resize the picture to about this size:
3 - Now move the picture in your piece so that the water is placed at a natural spot. You'll also need to rotate the picture with the water slightly because the water doesn't stand completely horizontal.
4 - Now we take our fuzzy circle brush and erase everything but the sand and the water like this:
5 - Well it looks horrible now the colors don't fit at all. So let's fix that. Right Click on the "picture 2" layer and press alpha to selection. Now go to the "picture 1" layer and copy what you've got in your selection.
Now paste the selection into an new layer and place it above the "picture 2" layer. Set the layer to colorize with an opacity of 75%
6 - The sand doesn't look very good yet. And guess what? We're going to fix it. Take your dodge/burn tool set it to lighten keep it on the standard settings and lighten the sand until it is like the one in my pic:
7 - It already looks a lot better but it's still very bland it has now texture in it. To fix this we'll start by making a new layer and place it above the "picture2" layer.
Now take you clone stamp tool. and put the settings like this:

Now use your clonestamp tool to take pieces of snow out of the image and place it above the sand. Make sure you use a lot of sources to make sure it doesn't become repetetive. You should get this:
8 - Now sharpen it with a rate of 80. Put the layer mode to darken only with an opacity of 60%
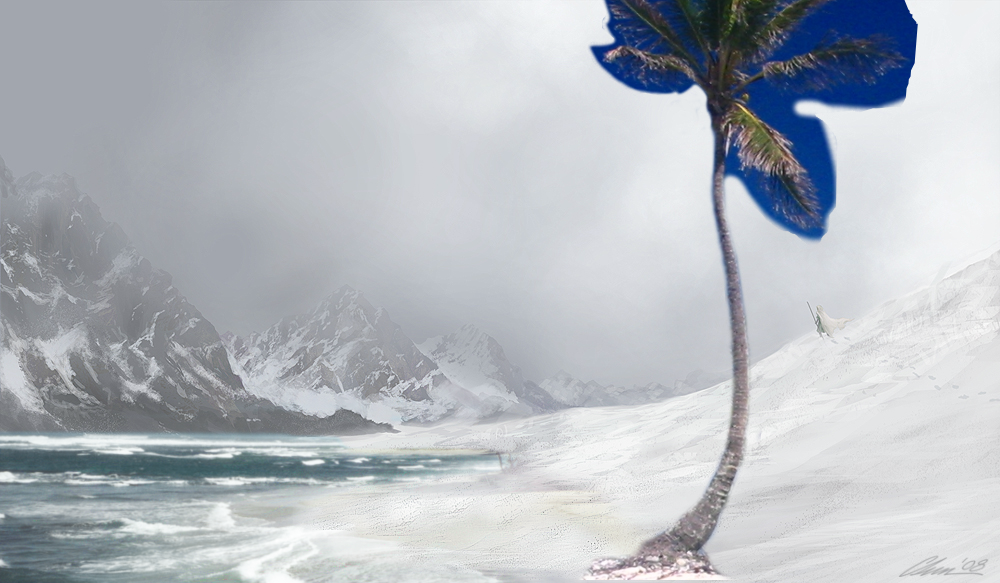
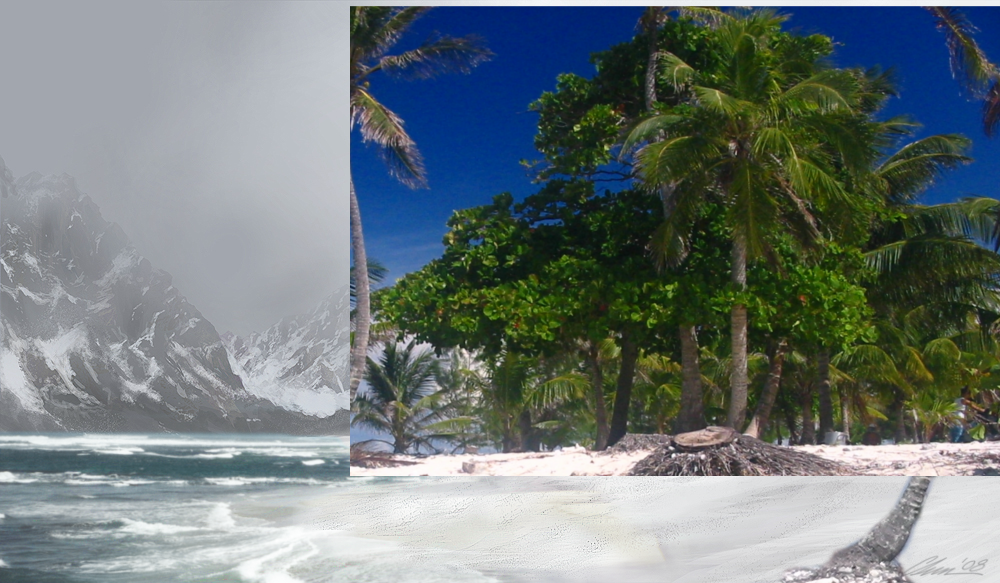
9 - Now take picture 3 and paste it into an new layer. Resize it so that whole of the curved palm tree is on it. Take your lasso tool and roughly cut out the curved palm tree. Then right click on the layer and press layer too image size. You should get this:
10 - Now take your fuzzy circle brush and cut it out way more precisely. Go on till you reach the leaves.
11 - Now we'll move the tree to the position we want.
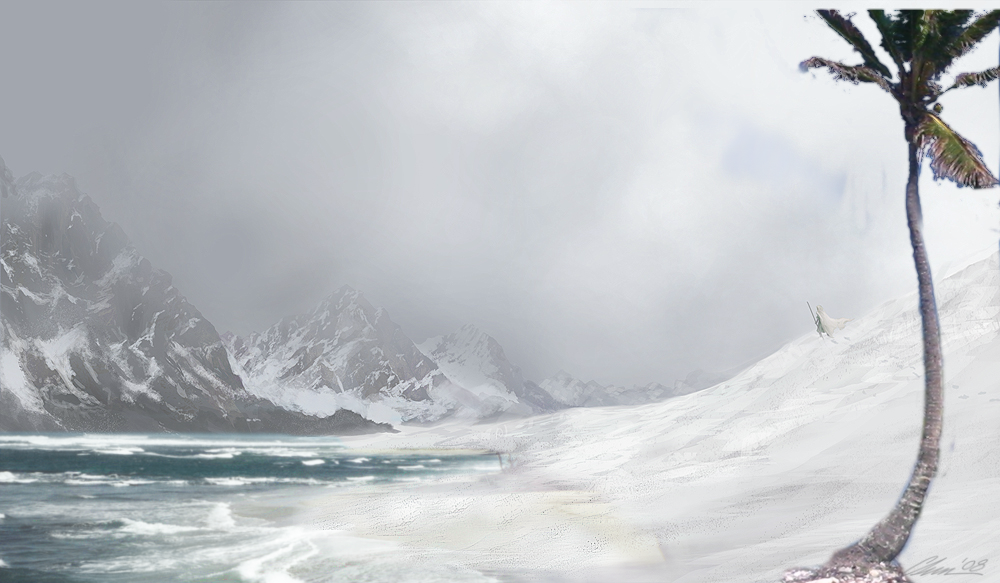
12. - Now take the pick color tool (shift+O). And delete the blue as precise as possible. And for any floating pixles your left with just use the erase tool.
13 - The tree looks very rough right now. W'ell fix that by duplicating the layer. Now take the botom layer of the two and apply a gaussian blur of 3. Now duplicate that layer once.
14 - Now press alpha to selection on on of the blurred layer. Go to the "Picture 1" BG and press copy. Then paste your selection into a new layer and set the layer mode to colorize and put the opacity to 50 %
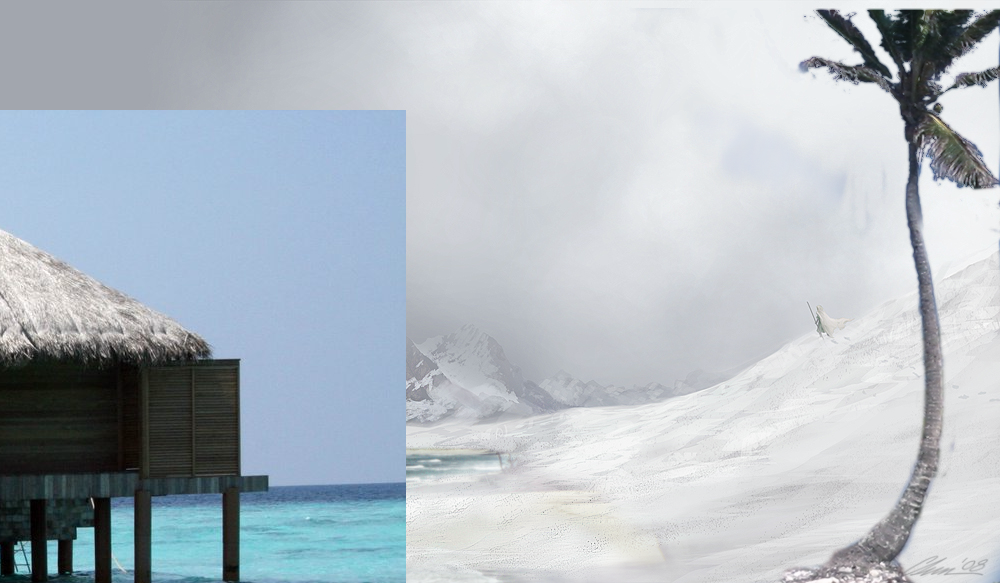
15 - Now take Picture 4 and paste it into an new layer. Mirror it and then resize it and move it into this position:
16 - Now take your fuzzy circle brush and delete everything but the hut like this:
17 - Now press alpha to selection on the hut layer. Go to the "Picture 1" BG and press copy. Then paste your selection into a new layer and set the layer mode to colorize and put the opacity to 30 %
18 - Now take take picture 5 and paste it into a new layer. Place the layer beneath the 2 blurred tree layers. Mirror it and move it like this:
19 - Now take a fuzzy circle brush and remove everything except for the hut like this:
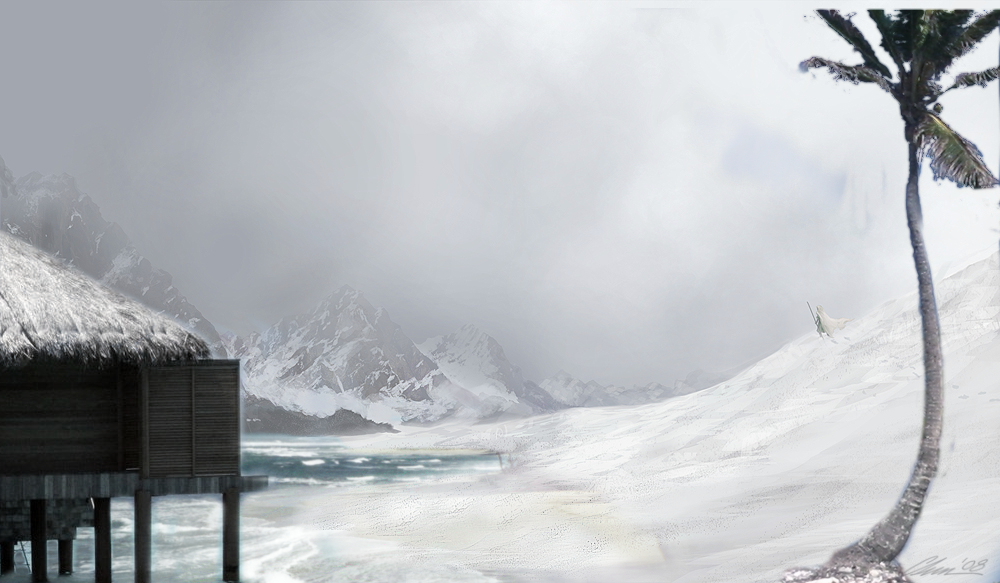
20 - Now duplicate the layer and put it on screen with an opacity of 70 %
21 - Now press alpha to selection on the layer. Go to the "Picture 1" BG and press copy. Then paste your selection into a new layer and set the layer mode to colorize and put the opacity to 80 %. Put the layer above the 2 hut layers.
22 - Now save your progress so far in an
extra safe to show me when your done.
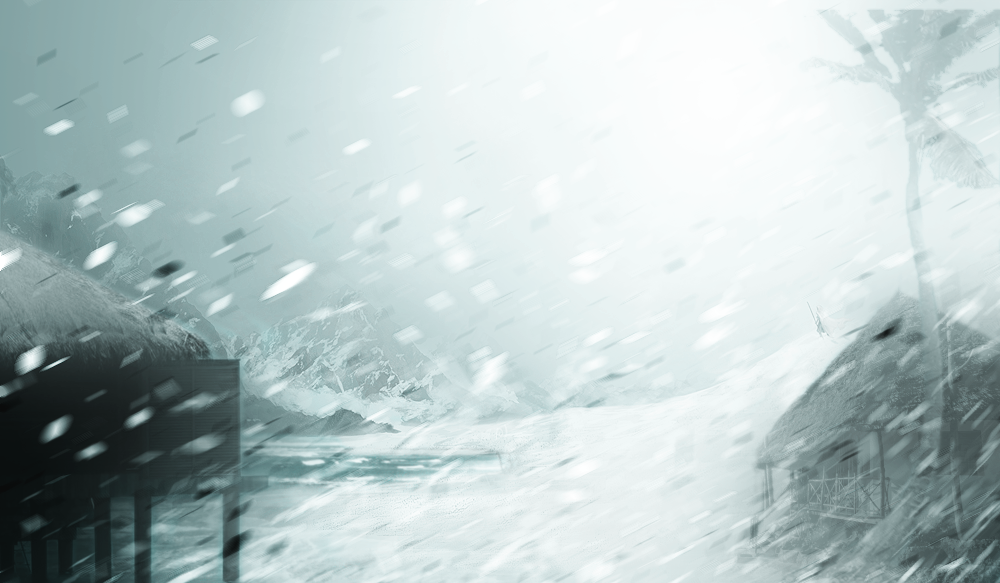
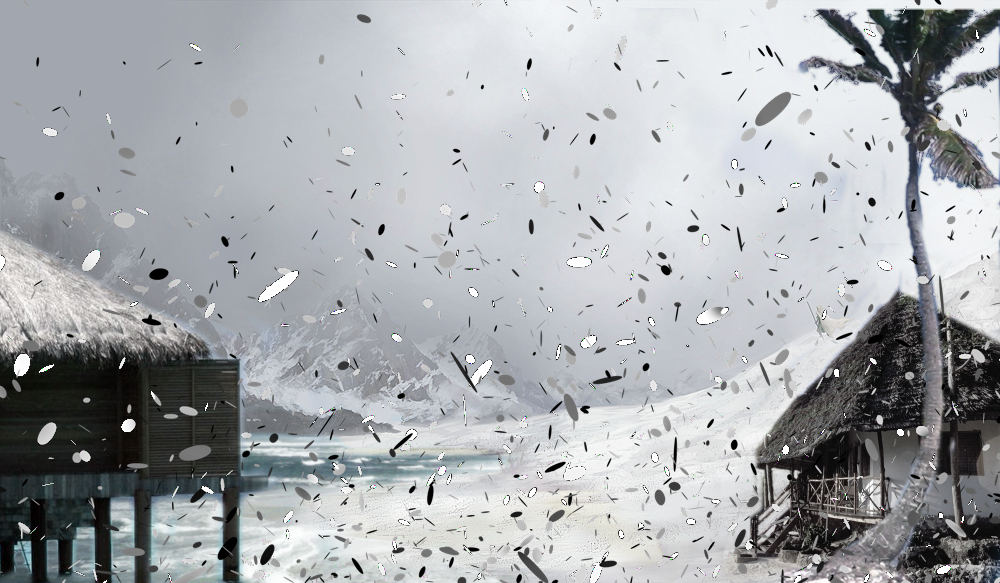
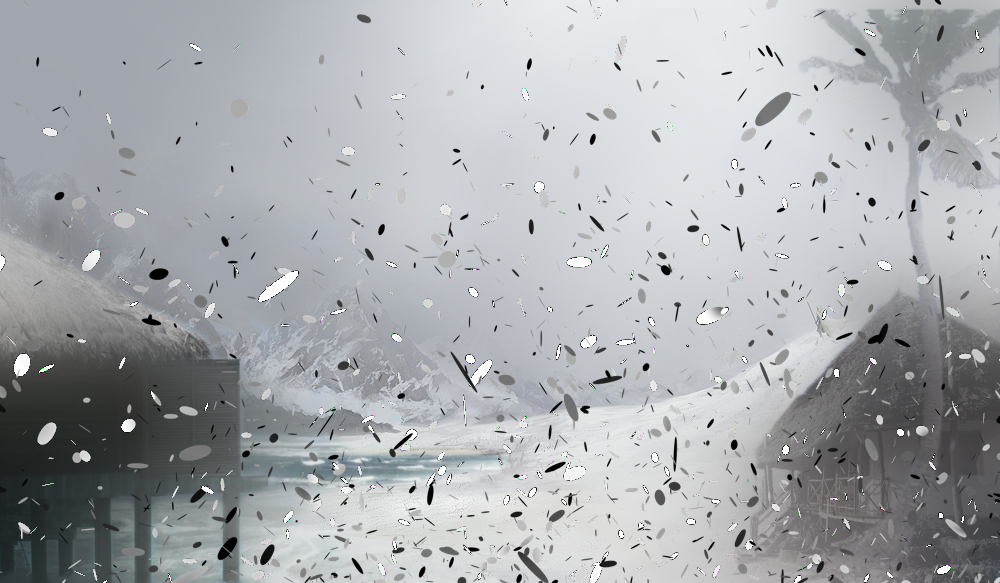
23 - Now make a new layer from visible go to filters>noise>pick
Randomness: 100
repeat: 25
Now go to filters>blur>gaussian blur and put the strenght to 200.
Keep the layer mode on normal and put the opacity to 80%
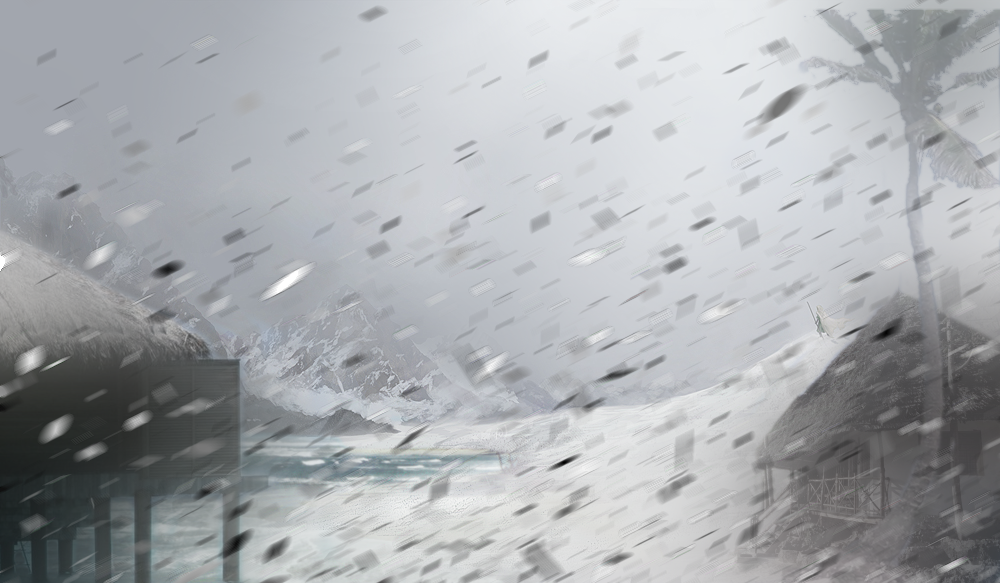
24 - Now delete some of the layer, but keep it around the houses like this:
25 - Take the c4d and paste it into a new layer. Put it as the top layer.
26 - Now go to filters>blur>motion blur
strenght: 20
angle: 150
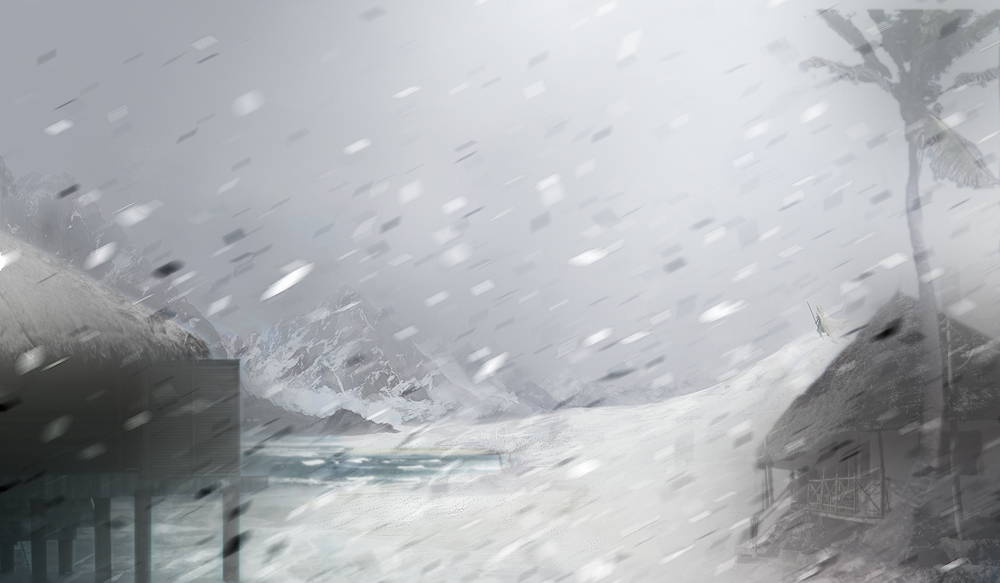
27 - Duplicate the layer and set the top one to invisble.
Now go to filters>deform>Iwarp and just deform it a
little to break the straight pattern.
Put the layer to overlay and then duplicate it.
28 - Now set the layer we put invisible earlier. Go to filters>deform>Iwarp and mess the pattern up again.
Put the layer on screen and leave the opacity on 100%
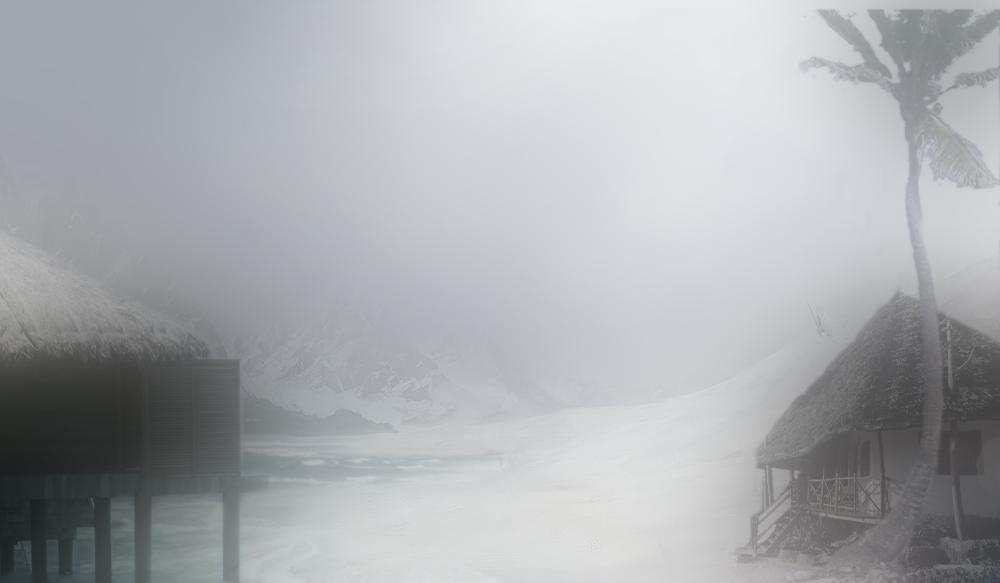
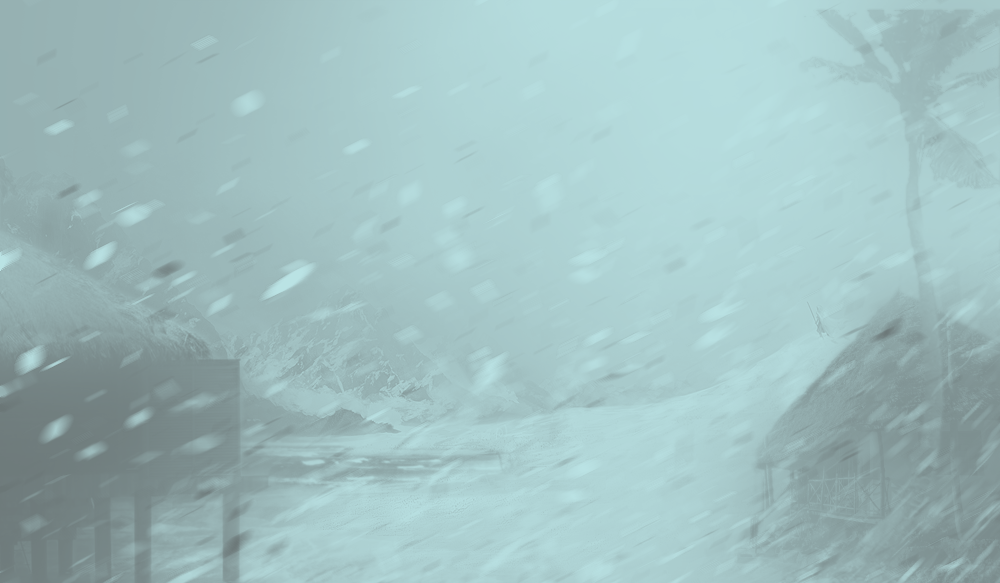
29 - Now it's time for the finishing touches. We start with giving our piece some more depth. We'll do that by making a new layer and filling it with a radial black/white gradient like this:
30 - Put the radial gradient layer to overal with an opacity of 100%
Now we're going to give the picture some more color and soul.
Make 3 "new from visible" layers. And put one of them to visible.
Pick the following 2 colors into your palette:

Now go to colors>map>gradient map.
And you should get this
31 - Now put the the gradient map we just created to overlay.
Now take on of the "new to visible" layers we put to invisble at step 30 and set it to visible. Do the same thing we did in step 29 but now with these colors:

You should get this:
32 - Now duplicate the layer we just made a gradient map on. Set the bottom one to Hue and leave the opacity to 100%
Take the duplicated one set the layer mode to Addition with an 15 %
You should get this:
33 - The color is just a little to intense tight now so we'll take the last layer we put to invisble at step 30. Desaturate it. Set the layer mode to colorize and set the opacity to 20%. And believe it or not we're done!

Good luck guys, Remember to post both your end work and the picture witch you have at step 22


")


")


 )
)


")

 . Well I'll fix it asap.
")


")
")
")

")


