Ok, there we go:
Original:
Spoiler Alert, click show to read:
New:


Ok, there we go:
Original:
Spoiler Alert, click show to read:
New:

Original
Spoiler Alert, click show to read:
My work
Spoiler Alert, click show to read:

")
")
")


")
Great job everyone. For an even better result, I'd suggest using a small, soft brush (e.g. the crazy fuzzy brush, around 1 px wide) and erasing some of the noise at the edges of the cut out image.
Now you could also begin experimenting around with other methods to remove the background. One of them is the paths tool. It can be found in your toolkit:
Spoiler Alert, click show to read:
Simply open up an image of your choice, select the paths tool and you're ready. The tool can be used to connect spots via "curves" so it works similar to the lasso tool but can well be more accurate if done right. Left-click somewhere on the image where you want to start with your selection, then simply left-click every few inches just like you would do with the lasso tool. If one of the spots isn't where you wanted it to be, drag it and move it around by holding your left mouse key. It should look similar to this:
Spoiler Alert, click show to read:
Once you have outlined your selection and have reached the starting point of your path, left-click next to it while pressing ctrl (the "control" key). Now you only have to one last thing: turning the path into a selection. In order to do that, simply select the "path to selection" option in the paths menu as shown below. Proceed by copy-pasting the selected object and deleting the background layer (as explained in the OP). Afterwards, you might want to remove noisy parts or remaining parts of the background with the eraser tool.
Spoiler Alert, click show to read:
The advantage of this method is that the path's curves tend to follow the borders of the image's different objects, such as Kenobi's face in this example. That way, the selection doesn't look as jagged or noisy. However, it takes some time to get used to the paths tool so the lasso tool is probably easier for beginners.
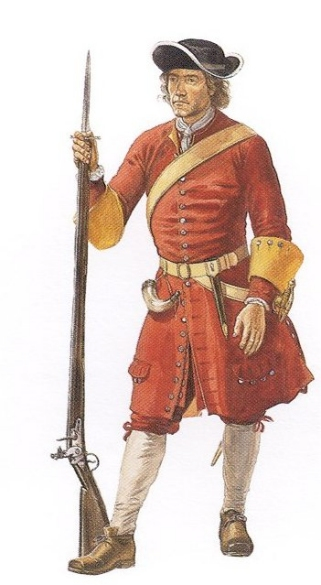
Original
Spoiler Alert, click show to read:
Cut out
Spoiler Alert, click show to read:
Implemented
Spoiler Alert, click show to read:
For some reason I can't seem to upload attachments in the classroom hall forum, but I can in other forums, why is that?


Here is what I would do: select the layer with your object/render/model and choose "select from alpha channel". The model's outline will appear. Now create a new layer behind the model's layer and fill the selected outline with black. Afterwards, play around with the "perspective" tool in your toolkit until the shadow has a good size and is in a good location. Scaling it can also be helpful sometimes but usually isn't necessary. Finally, lower the shadow's opacity a bit and possibly set its layer mode to "multiply" or "overlay".
Here is an example of what I mean. The perspective tool is marked as well.
Spoiler Alert, click show to read:
Here is my work
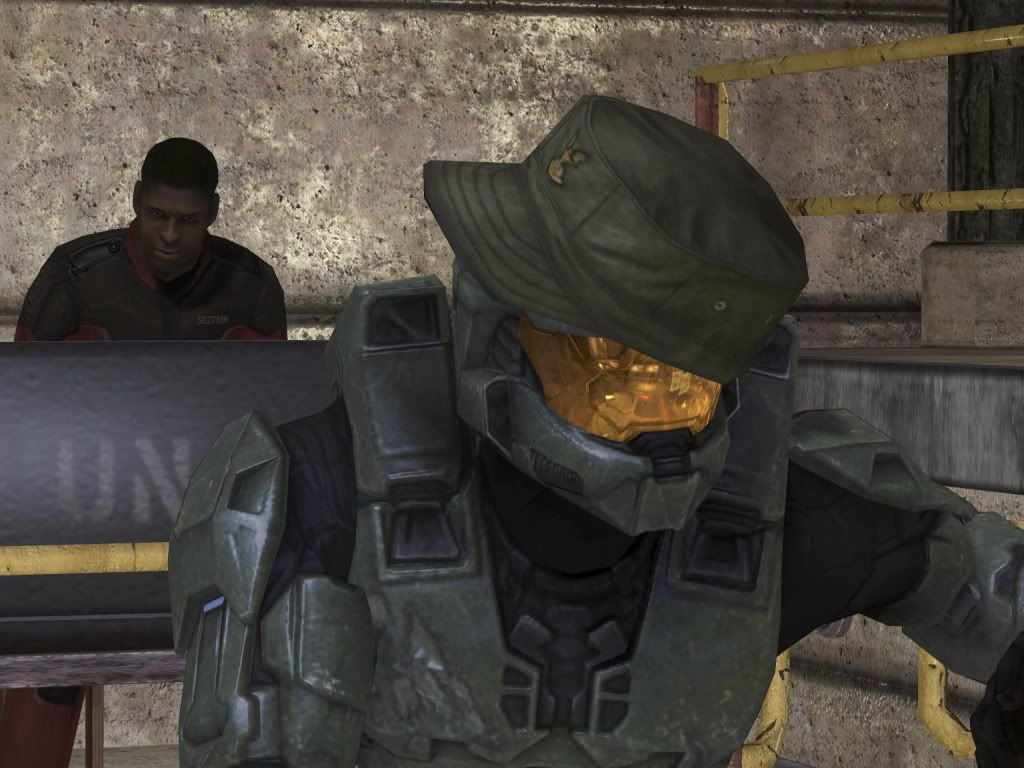
Original:
Spoiler Alert, click show to read:
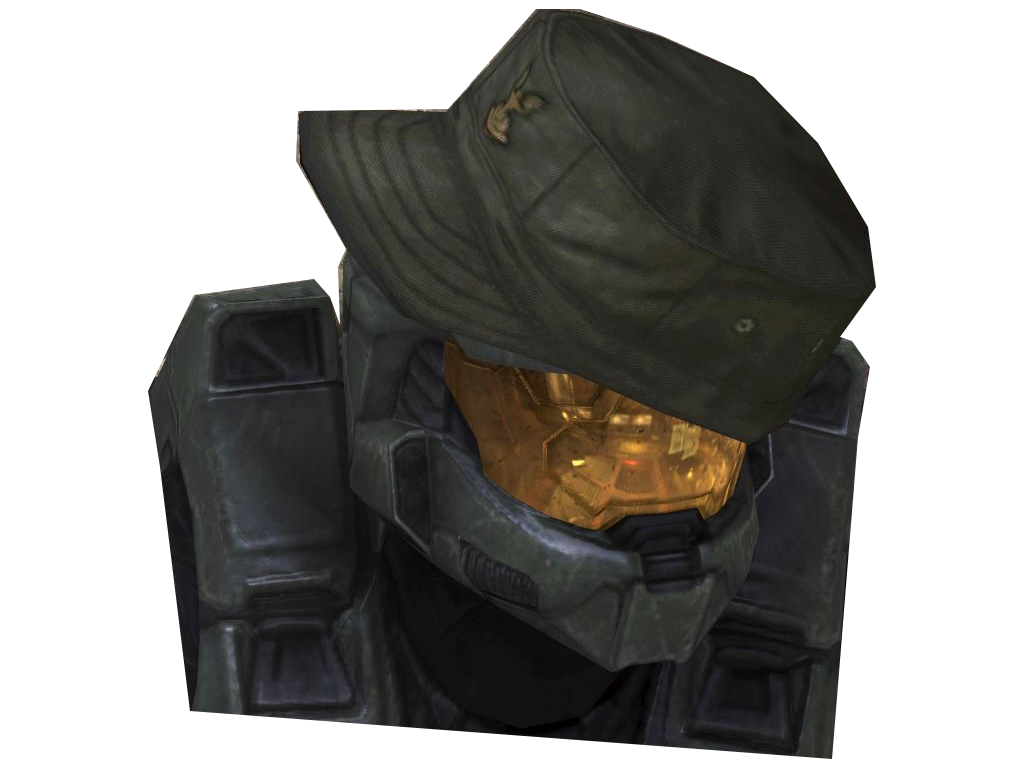
Edited: forgot to make it smaller
Spoiler Alert, click show to read:
Last edited by Roloc; April 25, 2009 at 02:12 PM.

")
")
All right, here's my submission, created using the lasso tool.And the original.Spoiler Alert, click show to read:
Spoiler Alert, click show to read:
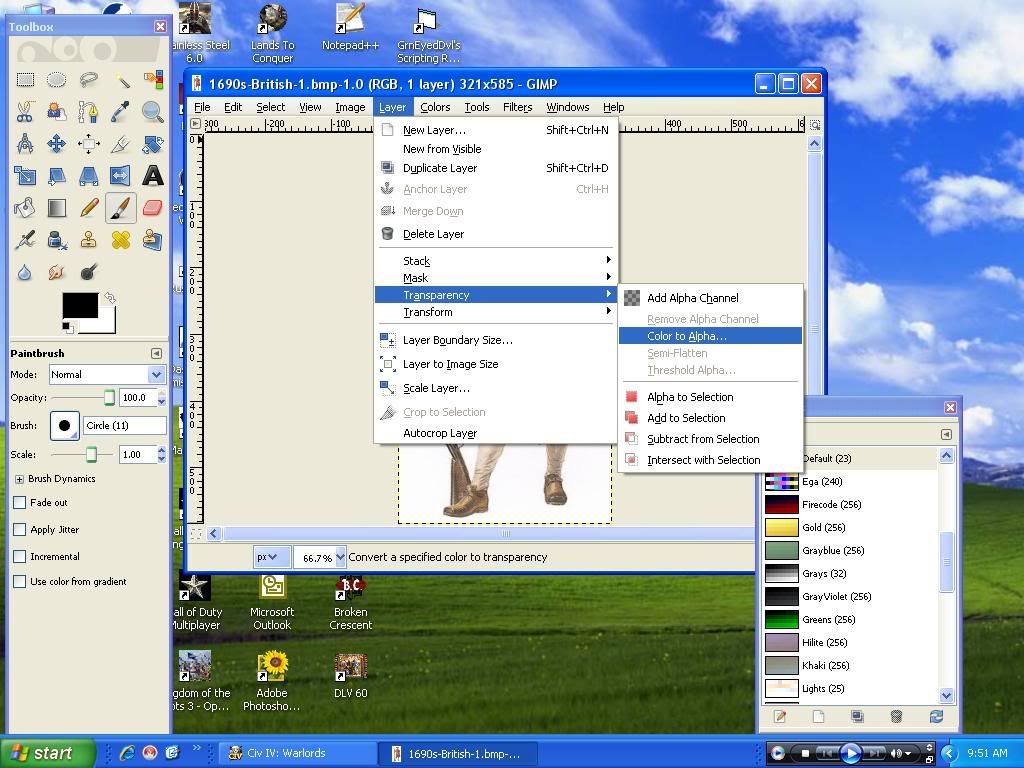
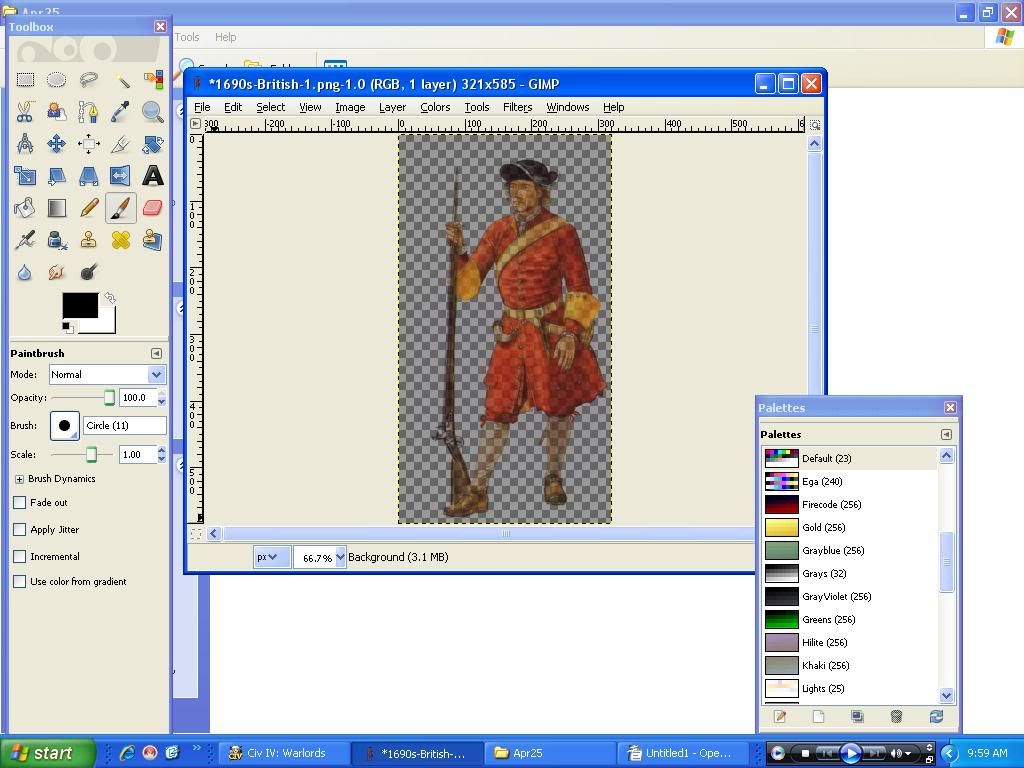
However, the color to transparency didn't seem to work for me. Here's the first picture of my GIMPit doesn't seem to display quite the same under Transparency.
And here's what I get when I color to alpha, the only real option available.Spoiler Alert, click show to read:
Spoiler Alert, click show to read:
What am I doing wrong here? I have the version of GIMP the link leads to, so we should be on the same page. Obviously, lasso works fine, but I'd like to know how to do this. Thanks, Theo.
Last edited by Theodotos I; April 25, 2009 at 06:54 PM.
Son of PW
Very nice, although you should probably delete the white background layer to get a transparent background for the head which you cut out. In order to do that, simply copy-paste the cut out head onto a transparent background and save it as .png file.
Anyway, about the color to transparency method: you did it 100% correctly. However, since the soldier on your image partly consists of white as well, these white parts disappeared along with the background. As a result, he became partly transparent. That didn't occur in my example because the object in question was white and therefore didn't contain any black parts.
In order to fix that problem, there are several options:
- Simply leave it the way it is. This works well if the object's new background has a color which is similar to white (such as this forum skin). The missing white parts will simply be compensated by the background and it will look just fine. This does however not work in most situations.
- Choose the option "select from alpha channel" after right-clicking on the layer with the soldier. The soldier's outline will now be selected. Afterwards, simply add a new transparent layer below the soldier's one and fill the selected outline with white. The white will now compensate for the lost white parts. This is probably the best method but won't work all that well if the soldier has already become too transparent. In that case, method 3 has to be done beforehand.
- Simply duplicate the layer with the soldier so he becomes darker and less transparent. Proceed with method 2 afterwards.
I hope this helps.
What do I click to get a transparent background? Sorry for being such a noob.Originally Posted by Astaroth


Son of PW
Simply open a new image (File -> New) and delete the background layer (right-click on it in the layers menu and press "delete layer"). Then copy-paste your selected object (the soldier's head in this example) onto the transparent background and save it (File -> Save As) as a .png file.
Alternatively, you can simply copy-paste your selected object onto any image you want to (such as the original one) and delete all other layers.
Thanks, I'll try it.
Son of PW
Awesome. Here is my work.
Original:
Spoiler Alert, click show to read:
New:
Spoiler Alert, click show to read:
Complete:
Spoiler Alert, click show to read:
Getting the hang of it:
Spoiler Alert, click show to read:
Last edited by Templar Hospitaller; April 26, 2009 at 03:33 PM.
Patton Jr. - "Rommel... you magnificent bastard, *I read your book*!"
Patton Jr. - "Now I want you to remember that no bastard ever won a war by dying for his country. He won it by making the other poor dumb bastard die for his country."
[SIGPIC][/SIGPIC]
nice lesson well done +rep
my work
Spoiler Alert, click show to read:
Astaroth pretty much explained everything I did. Except I didn't mess around with the layers.
Original:Spoiler Alert, click show to read:
Mine:Spoiler Alert, click show to read:
I think I did okay. I especially like how the hair turned out. I think i clicked a few hundred times to get this render, but i am pleased with the result.
EDIT: Found this and had to do it.
Original:Spoiler Alert, click show to read:
Mine:Spoiler Alert, click show to read:
Last edited by ♔Jean-Luc Picard♔; April 26, 2009 at 10:59 PM.
How do you get the lines so smooth?
Patton Jr. - "Rommel... you magnificent bastard, *I read your book*!"
Patton Jr. - "Now I want you to remember that no bastard ever won a war by dying for his country. He won it by making the other poor dumb bastard die for his country."
[SIGPIC][/SIGPIC]
you can sharpen the edges.
You can also use the eraser tool with a small brush to remove unwanted parts.
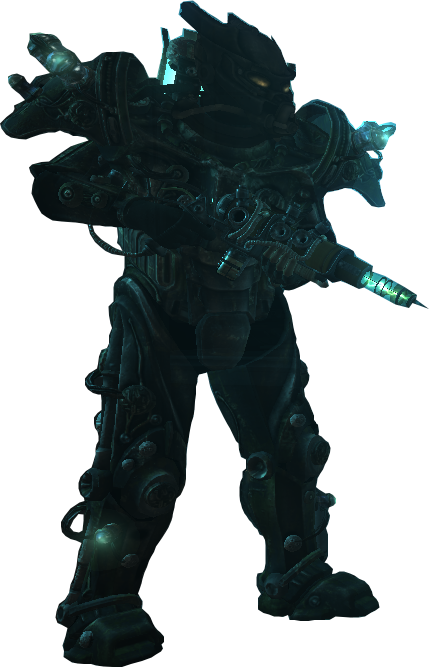
Good for this lesson?
Spoiler Alert, click show to read:
Son of PW
 Posting Permissions