Golden Text __________________________________________________________________________________________________
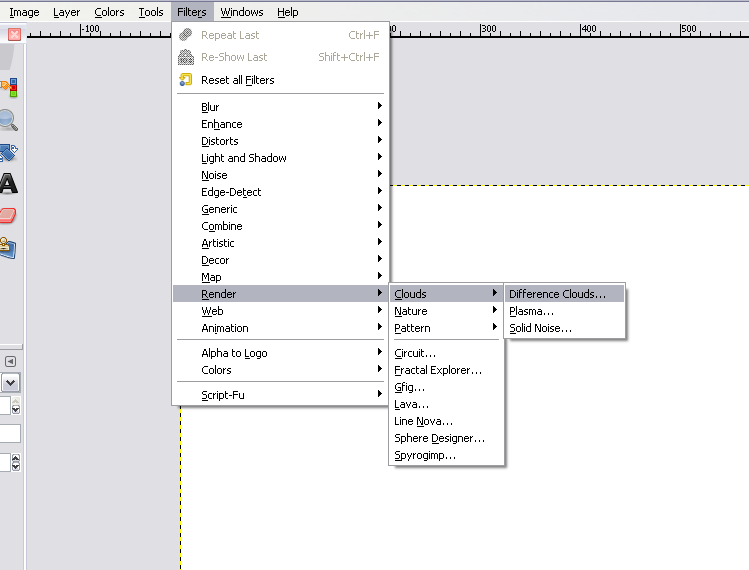
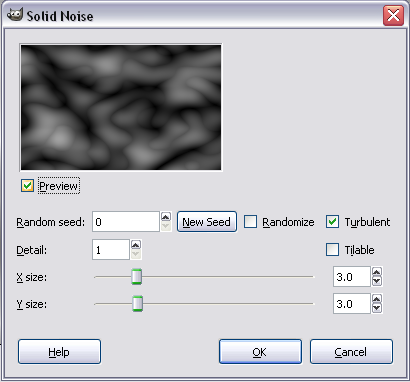
Step 1 <image> --> Renders --> Clouds --> Difference Clouds . __________________________________________________________________________________________________
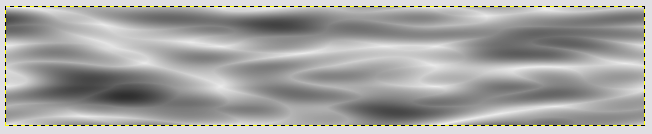
Step 2 <image> --> Colors --> Brightness/Contrast and do it manually or go to <image> --> Colors --> Automatic --> Stretch Contrast . Anyway, your image should now look similar to this:
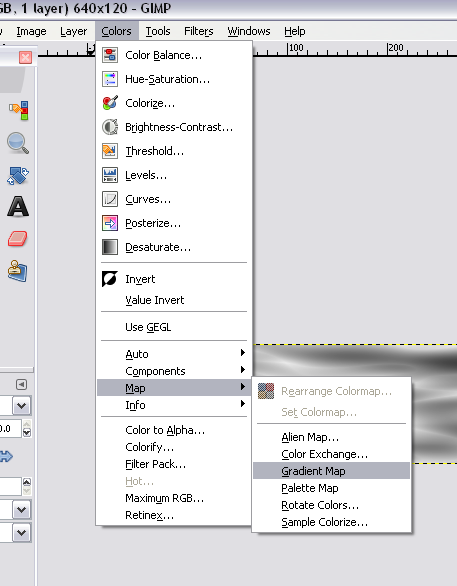
Step 3 <image> --> Colors --> Map --> Gradient Map :<image> --> Filters --> Blur --> Gaussian Blur , set it to 10 for both horizontal and vertical and apply it to your image. The result should look similar to this:<image> --> Colors --> Brightness/Contrast and make it a bit darker and with more contrast (so it actually looks golden). __________________________________________________________________________________________________
Step 4 __________________________________________________________________________________________________
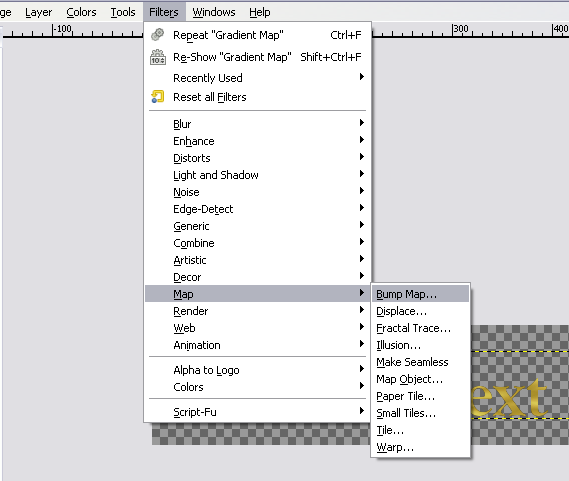
Step 5 <image> --> Filters --> Maps --> Bump-Map :__________________________________________________________________________________________________
I hope you liked this tutorial.


")
")
")


")


")
")

")


")
")
")
Helped me a lot. As for pictures in English, I took some while I was following your instructions, so here are the pictures of my version in order that Astaroth has posted his. Astaroth, if you want to put mine into your guide, feel free:
Originally Posted by Xavier Dragnesi

. +rep
 Posting Permissions

 Reply With Quote