


Barbarian Invasion
guide
Thread version 1.0 Text from RTW series guide v3.0
Contact
Welcome to my guide for barbarian invasion. This is the thread version of the guide so a few elements will be missing like unit cards and this thread may not be as updated as the pdf version is. For general notes on using unit classes and tactics check out my RTW guide under strategy guides. This PDF contains all of my RTW guides in one!
Copyright
This guide is exclusively the property of Allan Curtis aka Forlornhope, Forlornhop3, Trueforlornhope and sites I CHOOSE to allow to host it. Do not sell, make mass copies of, make derivative works of, bundle or charge access to this guide. This guide will remain free and may not be sold, except when I deem it allowable. Any breach of copyright will be met with the full extent of the law. I take my work very seriously and I will find you if you steal it as this took a long time to write. If you want to use it on your site CONTACT ME FIRST and make sure Im credited.
You can contact me via PM on TWC as Forlornhop3. My Xfire is DarknessofFate feedback is greatly encorauged!
New Formations
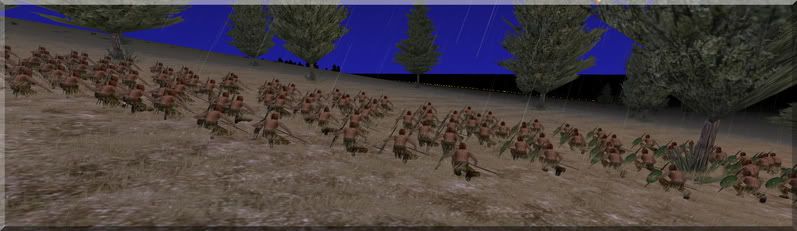
Barbarian invasion includes two new formations the Shieldwall, usable by the better trained spear and sword units, and the schiltrom which most spear units can do.
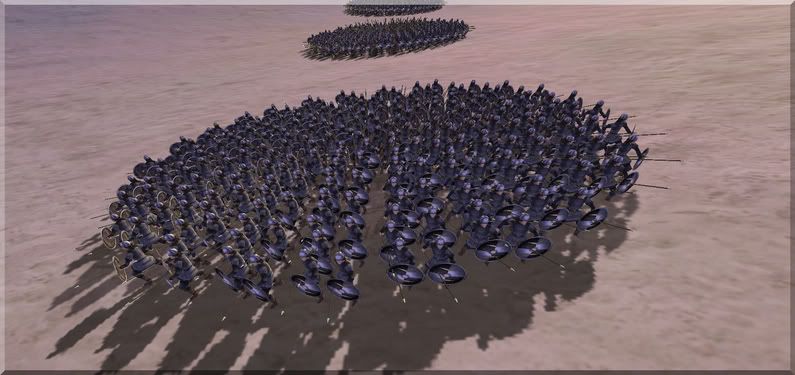
Shield Wall
The Shield wall. Note the captain and banner carrier in the back out of harms way.
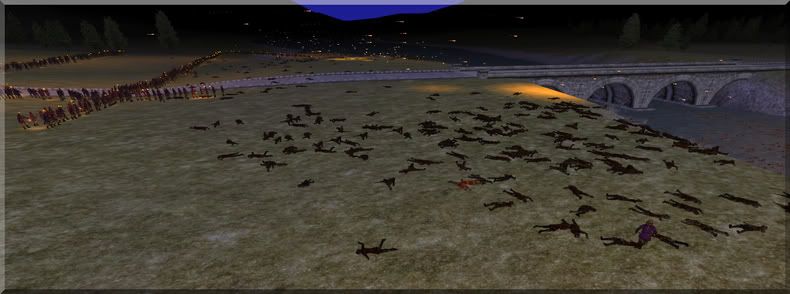
This formation causes the unit to tighten up into a very dense formation, shields held forward. The banner carrier and captain (if present) or unit leader moves to the rear center. In this formation the unit stays as dense as possible and gets a large defense bonus, it takes much longer for men to be killed as long as the formation doesnt completely fall apart. I tested this using Auxilia Palatina, against gothic warriors: first without shield wall the unit was dead in about 3 mins as the formation broke up quite easily and the men were shredded. In Shieldwall the men stayed in formation and held out for ages about ten mins of solid melee except for once time where the Goths pulled back a short distance and charged at me against immediately. Even though it took longer, the Auxilia killed roughly as many as they did in normal formation, though they did eventually lose as they are spearmen fighting swordsmen. The unit doesnt seem so inclined to fight flankers: only the closest turned around to fight when they were very close and most of them stayed in formation.
Guard Mode makes the formation even more brick like. The unit will stay rigidly in formation, even if they are attacked from the flank or behind, just the man being attacked will turn and fight and maybe his neighbors if the enemy is very close. Some men will even just stay in formation, facing the front and not react before the flanking enemy has killed him. Guard mode makes a huge difference as it increases their survivability even more. After 15 or so mins of melee, the unit actually routed the swordsmen, the battle was in a desert map and the spearmen were still at fresh fatigue, as Shieldwall doesnt fatigue men faster and since they were very tough for the enemy to kill they won by war of attrition slowly wearing down the swordsmens numbers. The swords routed with about 60 left the spears had about 90 left, both units out of 162. The Goths also kept withdrawing every minute or so and tried to flank me, but I turned to face them as men can run in shield wall
You should use spearmen in Shieldwall with guard mode turned on, if they are defensive, such as holding your line or blocking a breach, as it increases their usefulness many fold. The unit wont kill as quickly however so if you want them to attack effectively you should keep them in standard formation.
Thus Shieldwall is an excellent formation for when you need to hold a location or a line as the spears will be able to hold out for the longest time possible, while you flank or something. The fact that the captain moves to the center rear of the unit and stays there out of harms way makes this a good unit for captain led armies, if the captain is in their unit as he is safest at the back.
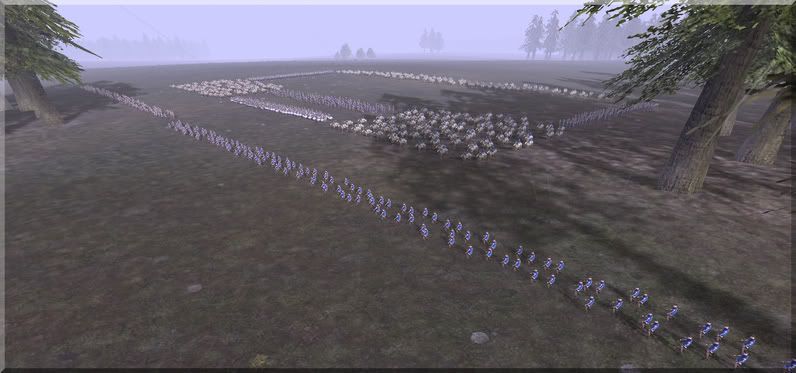
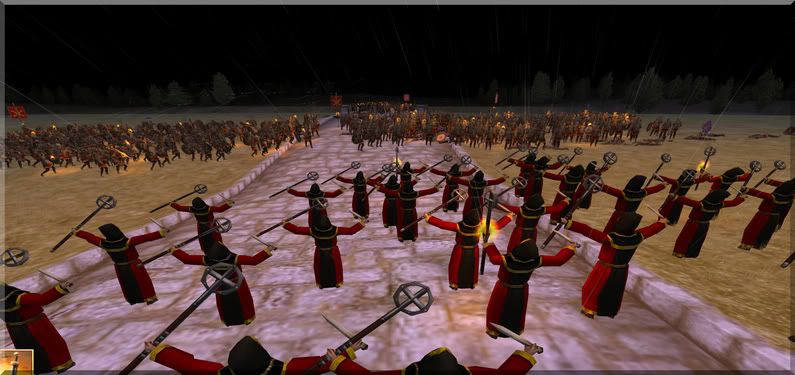
Schiltrom
Multiple Schiltrom, Scottish style.
The schiltrom is a common spear unit formation that most spear units can do. In this formation the unit forms a circle with spearpoints pointing out in all directions. This means that the unit doesnt really have flanks anymore and they can fight back in all directions. Schiltrom is more a defensive formation; because the units weapons are more spread out it cant focus as many men in one direction to fight against the enemy, so there are fewer men in battle at a time. This is balanced by the fact that in this formation the unit seems to have better defense and their phalanx type attacks seem to work better with the very closely packed formation. This formation is also great to prevent flank attacks, as a schiltrom has no flanks or rear as they have attack ability in all direction making them very effective at resisting cavalry attacks. Units in this formation can march, but not run, and forming the formation takes about 10 seconds, as the men close in and form up making it hard to react to sudden cavalry charges. When a schiltrom is moving the men all point their weapons in the direction they are moving, meaning they are vulnerable in all directions besides the front. When enemies are close keep a schiltrom stationary so they can brace themselves.


 Reply With Quote
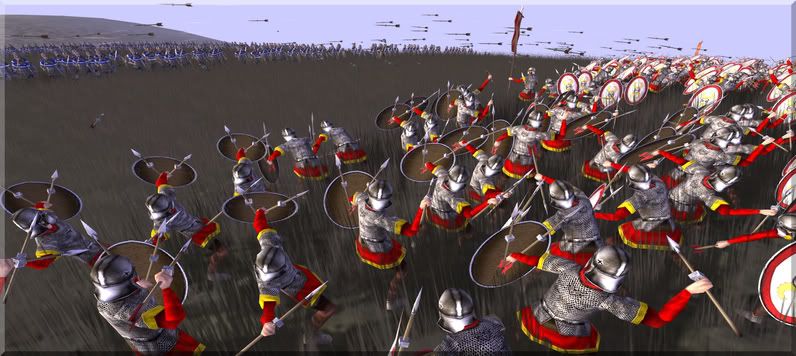


 You can post in this thread now


 :sparta:

")


