ONLINE BATTLE #5: ENGLAND VS THE TURKS
So, I bought Medieval II on May 21, 2008, but due to various bugs or whatnot, I've only managed to log-on to Gamespy (GS) on 2 out of 20 days. Not a good thing for an MP player trying to learn this game. Anyway, I won my very first online battle using Spain, but then lost the following 3 battles (also using Spain).
THE OPPOSING ARMIES
For my next game, I wanted to give England a whirl. My opponent, LastSamuraii17, chose the Turks. Now, unlike in Rome: Total War, I have little experience with this game. That said, the best way to approach any battle was to have some kind of plan. And my plan was simple: shoot as many bad guys as I could with my longbows, and hope the remaining Turks could be mopped up by my Knights.
Here's how our armies matched up...
Prince_of_Macedon (England)
- 4 Dismounted English Knights (plus the general)
- 2 English Knights
- 6 Longbowmen
LastSamuraii17 (Turks)
- 1 Bodyguard (early) (plus the general)
- 2 Sipahis
- 2 Janissary Archers
- 5 Dismounted Sipahi Lancers
- 2 Naffatun
- 2 Ottoman Infantry
- 2 Town Militia
DEPLOYMENT AND BATTLE
I chose Lombardy as the battlefield, but this new map surprised me with its abundance of trees. In any case, I deployed my army in the area of the map where there was the least amount of forestation. I wanted my opponent to see my army, and goad him into attacking it. For this purpose, I kept my foot soldiers in plain view, but my mounted Knights were tucked in behind some trees near far to my right. My Longbows solidified the rear and flanks. Rows of stakes were planted in the ground to prevent a direct cavalry assault on these elite troops.
LastSamuraii17, on the other hand, concealed his entire army save for a squadron of mounted Bodyguards (led by the Turkish general himself). With that many troops hidden, it seemed like my opponent was going to play ultra-defensively. After many seconds of waiting for LastSamuraii17 to move, I decided that my enemy was not willing to advance against me. So if the Turks would not come to me, then I would go to them. The beauty of archers is that I wouldn't have to travel very far to get them into action...
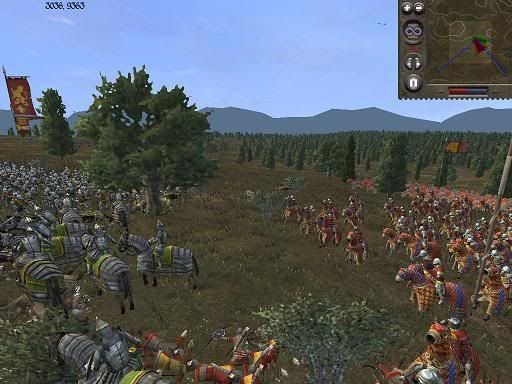
First I moved the dismounted portion of my English Knights forward.
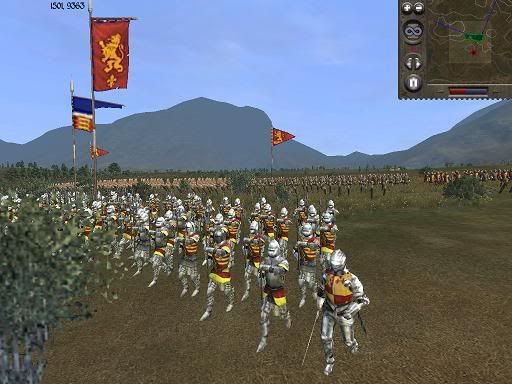
(Bringing the fight to the Turks)
I kept my cavalry hidden because I wanted their first appearance to come as a complete shock to the Turks. Shocking an enemy at the right moment can sometimes trick an opponent into thinking they've lost (or at least stun the enemy momentarily). Deception wasn't part of my original plan, but the layout of the map gave me this option. I won't rely on trickery to win, but I certainly won't deny its employment either.
Forward went my English knights who fought on foot. My movement inspired the Turks to come out of hiding. The first enemy units to make themselves known were the Dismounted Sipahi Lancers as well as a pair of Janissary Archer units. Using my English knights as an anchor, I then moved my Longbowmen forward from the safety of their stakes.
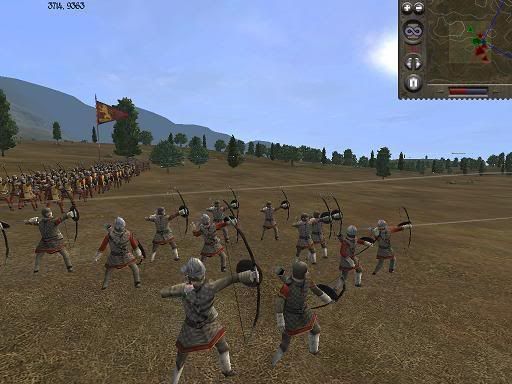
After re-positioning themselves, the Longbowmen targeted the Janissary Archers, and maintained a steady flow of fire.
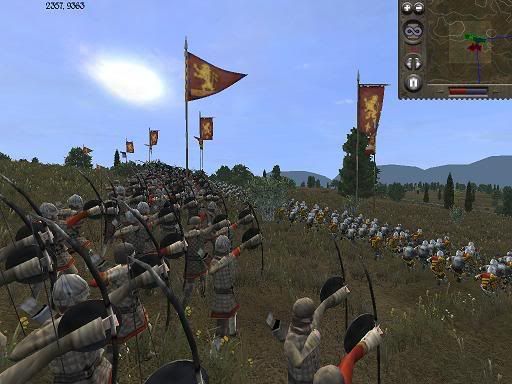
(Fear the Longbowmen!)
Seeing that my flanks were protected purely by Longbowmen, LastSamuraii17 gambled on a swift cavalry charge from his Bodyguards along with 2 squadrons of Sipahis against my right-sided archers.
For him, the cavalry charge must've made perfect sense since his foot-archers didn't seem like a match for my Longbowmen. Furthermore, my flanks did appear (at least to him) to be unsupported by anything heavy. Taking my archers out of action would've made LastSamuraii1's life much easier. LastSamuraii1 calculated that the Longbows on my right flank presented the best target for his cavalry charge.
LastSamuraii1 sent his first squadron of Sipahis headlong into my Longbowmen. But the second squadron of Sipahis charged carelessly into my Dismounted English Knights who were hiding in front of the Longbows.
(LastSamuraii1's Sipahi squadron got a nasty surprise when they charged into a hidden unit of Dismounted English Knights)
Incidentally, my opponent didn't even see these knights until it was too late. Suffice it to say, my Dismounted English Knights got the better of those Sipahis.
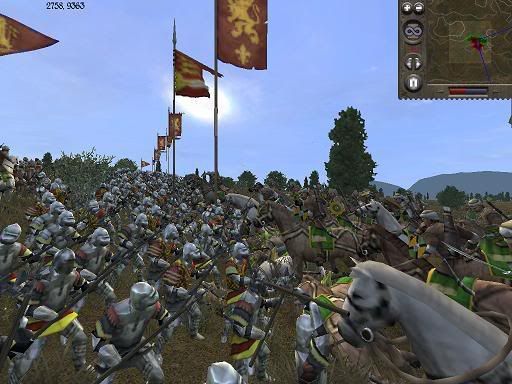
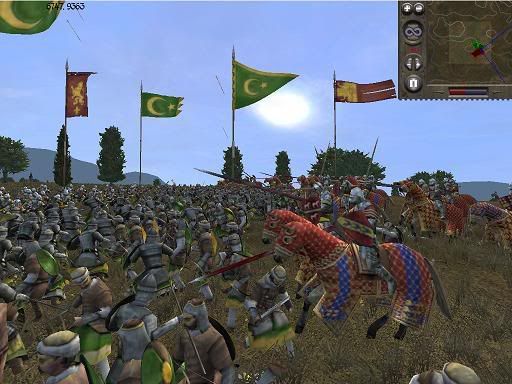
When the Bodyguards joined in on the action, the situation now appeared to be going my opponent's way.
(Brace for impact, boys! Here come the sultans of swat!)
In fact, one entire group of Longbowmen already called it quits. But what my opponent didn't realize was that I had a hidden force of English Knights on horseback racing out of the forest to trap his cavalry force between my horses and my bowmen.
My horses galloped forward towards the enemy.
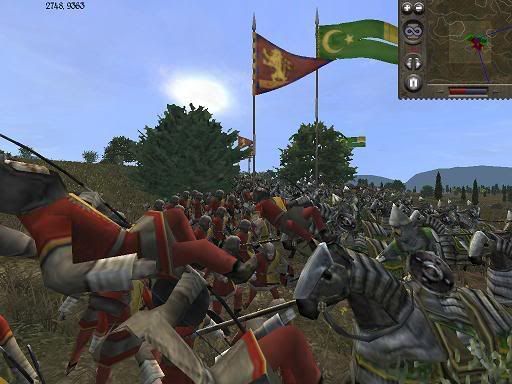
At the moment of impact, my English Knights on horseback obliterated the first squadron of Sipahis. The second group of Sipahis had already been dealt with by my kneeling English Knights. The Turkish Bodyguards, who were doing the most damage to my archers, decided to run for their dear lives.
("Pick on someone your own size!" My horsemen scare off the invading Bodyguards)
The Turks thrashed around through my Longbowmen in a frantic attempt at escape, but the feeling of being surrounded finally got the better of them. They routed from a disheartening situation.
Their escape route was a poor one as they dashed directly into the wooden stakes that I had planted during the Deployment Phase. A handful of these Turkish horsemen were lost during that calamity. The remaining Bodyguards disappeared somewhere behind my lines, but I wasn't too concerned about them anymore.
In the centre, my army was scattered around after chasing out the Turkish horses. Thus, I took a moment to re-assemble my troops. While I was re-organizing, my Longbows on the Left Flank were charged ferociously from behind by a surviving group of Sipahis and Bodyguards. But given the small numbers of the enemy's incursion force, I decided to let my Longbows on the Left protect themselves from this minor threat. Only a few (if any) Longbowmen fell as they ejected the Turkish cavalry force. This time, the enemy's Bodyguards retreated towards the safety of their own lines.
Now that I had a coherent line re-formed, I desired to move forward against the Turks. Since my opponent had lost his horse-archers, I knew my Longbows could win in a shootout with the Turkish foot archers.
(Throughout the battle, my Longbowmen maintained a steady rate-of-fire)
So I inched forward just close enough to give my Longbowmen something to shoot at. After several volleys of English missiles, my opponent revealed the bulk of his army (which had remained hidden up until this point).
LastSamuraii1 knew he couldn't wait around while I shot his men to pieces; so he advanced. Instantly, I started seeing all kinds of units coming out of hiding. There were Naffatuns, Town Militia, more Dismounted Sipahi Lancers and more Ottoman Infantry. If I would've charged forward at the beginning of the game, I would've been picked apart by these guerrillas with ease.
I decided to advance so that our armies would meet somewhere in the middle. But seeing my advance, LastSamuraii1 haulted his own movement, and retreated his army in a retro-manner (expecting to use the trees to his advantage). I let my Longbowmen continue firing while my shock elements advanced. I wanted to bring the fight to him. The English Knights demanded it.
Down the centre my English Knights moved forward with determination. On the extreme right flank, my mounted squadrons of English Knights trotted calmly through the forest. I was moving the army forward using the cavalry as a hook.
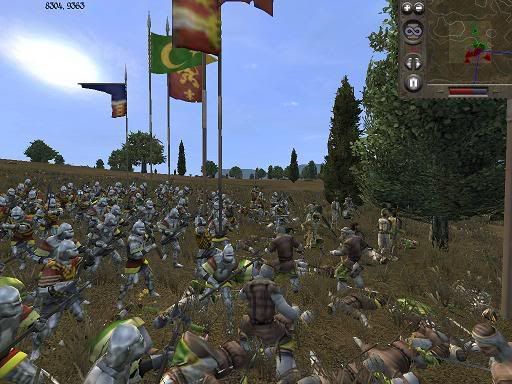
When the infantry clash began between my Dismounted English Knights and the Turkish foot soldiers, I was quite confident of a complete slaughter. But when I took a closer look at the centre, I realized that half of my Knights (on foot) were already routed from the battlefield. My men hadn't even swung their swords yet when they had routed!
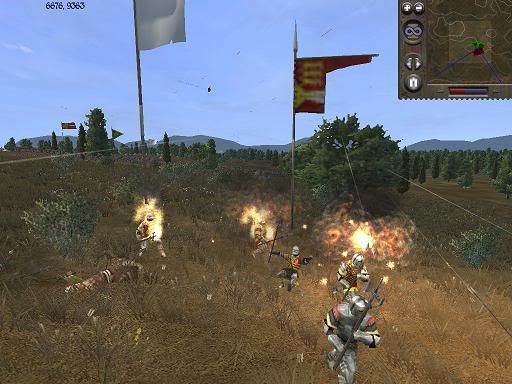
(Holy hell! I'm getting attacked by Medieval grenades!)
Apparently, those Naffatuns were much more lethal than they looked. The Naffatuns were all armed with what appeared to be a Medieval version of the Molotov Cocktail. It was a shocking introduction into Medieval warfare.
Since the Turks had numbers on their sides, I wasn't feeling so confident anymore. My infantry force was reduced to half of their original size, and I hadn't even dented the Turkish infantry force yet. I needed to create an advantage somewhere on the battlefield.
My immediate answer were my horses. Since the majority of the Turkish forces were concentrated against my Dismounted English Knights in the centre, I felt that a direct cavalry charge against a couple of unsupported Janissary Archers on the Left would give me a temporary advantage.
So I ordered my cavalry to charge down the right flank. My horses raced out of the forest like a pack of desperate wolves. The Janissary Archers were right there for the taking. But before I could reach them with my horses, a group of Dismounted Sipahi Lancers jumped out of hiding. Instead of backing down from those bandits, I decided to aim my charge at them.

(These Turks weren't impressed by my cavalry charge)
I reasoned that a determined charge would knock these enemy troops out of the fight with the first blow. But I completely underestimated the resolution of those Dismounted Lancers. They stood their ground. What ensued was a grinding battle.
Losing horses against these fodder units was poor business. To make matters worse, another hidden group of Turkish units came out of hiding to support the Dismounted Lancers. These Town Militiamen swarmed towards my horses like mosquitoes. I couldn't afford to fight this kind of battle with my cavalry. So my first order of business was to get my horses out of there. My soldiers were dying in the centre, and they needed the support of the cavalry to win.
I was doing really poorly in this battle. The combination of Ottoman Infantry and Dismounted Sipahi Lancers proved quite capable in fighting off my two remaining groups of Dismounted English Knights who were badly outnumbered.
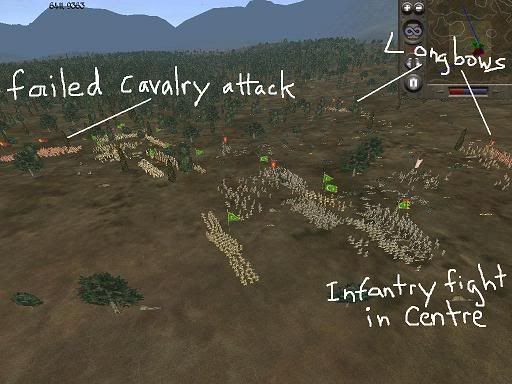
(An overhead view of the chaos)
I needed to alter the present course of battle with some maneuvering.
I withdrew what few horses I could from their current engagement, and raced them towards the centre behind the Turks who were focused on killing my few remaining infantry. I pulled my horses back, and then released them like a slingshot into the rear of the Turkish infantry.
(Another hopeful charge for my English Knights)
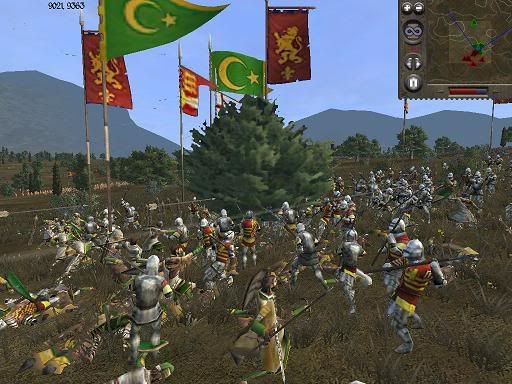
Unfortunately, this decisive move did not cause a mass rout. But it did give me the upper hand in the huge infantry fight in the centre. After a minute of banging swords, the individual fighting ability of my soldiers gained the upperhand against this horde. One by one, the Turkish infantry units began to melt away from the struggle.
(English Knights don't mind fighting on foot)
When the bulk of the Ottoman Infantry and Dismounted Sipahi Lancers had finally routed, I felt my grip on the battle tightening.
LastSamuraii1 was now reduced to a few Town Militia, Naffatuns, Ottoman Infantry and a handful of Janissary Archers (who were getting destroyed by my Longbows).
I ordered my Dismounted English Knights to clean-up these outmatched Turkish troops. Suffice it to say, the Town Militia and Naffatuns could not stand up in a toe-to-toe fight against the English Knights. My men took great pleasure in punishing the Naffatuns for their previous crimes against the Crown.
(Bashing heads with the English Knights)
LastSamuraii1's last hopes of survival rested in the hands of a lone unit of Ottoman Infantry who were currently pinned down by my Longbows. I commanded my Longbows to cease fire lest they hit my own men who were moving in for the kill. I wanted to grant my cavalry the honor of a glorious charge to end this battle.
Like a bull, I positioned my horses back in the distance, and when my arrows stopped flying, I sent the mounted English Knights slamming into the diminished ranks of Ottoman Infantry. The power of the lance immediately swept these enemy units from the fields of battle.
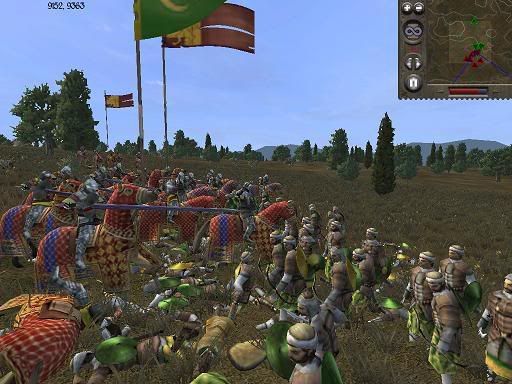
(One more charge. One more glorious charge!)
Glory to the Knights of England! And extra-rations for the archers!


")
")
")


Thank you [user]Prince_of_Macedon [/user] and [user]Gaius Baltar[/user] for your contributions.


")


")


")


")

")
")


